
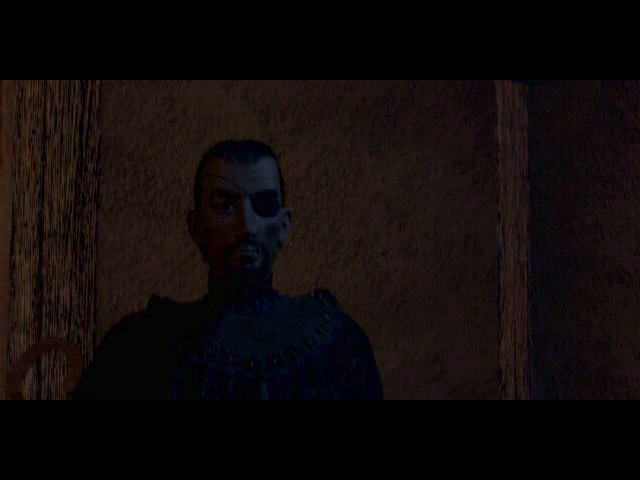
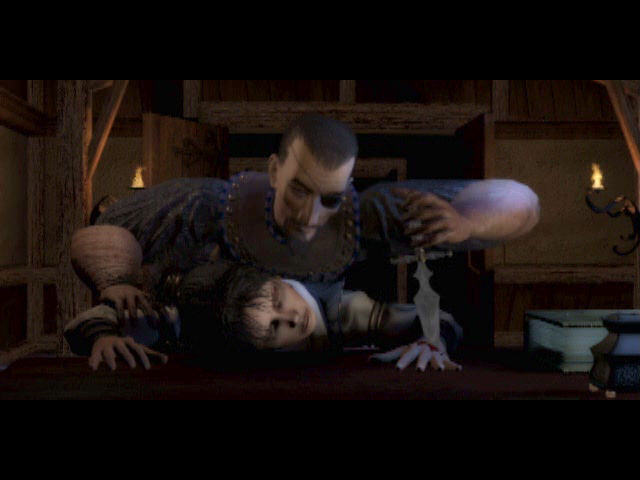
Today, I start out by going back to Samhaynes. This triggers a cutscene where he turns me over to Blackthorn and I’m dragged off with alarming ease.
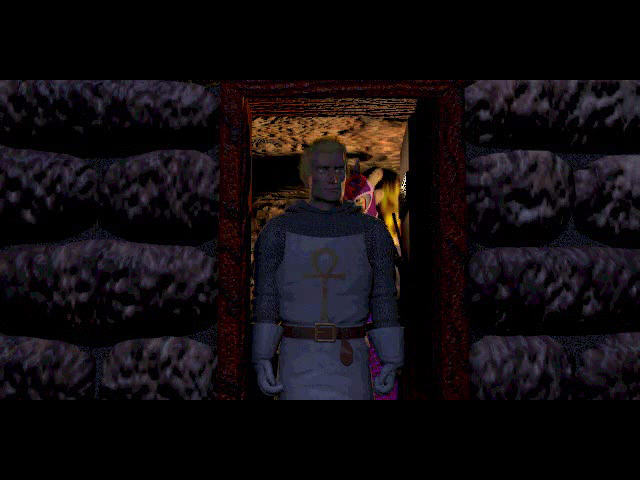
I’m then thrown in a jail cell.
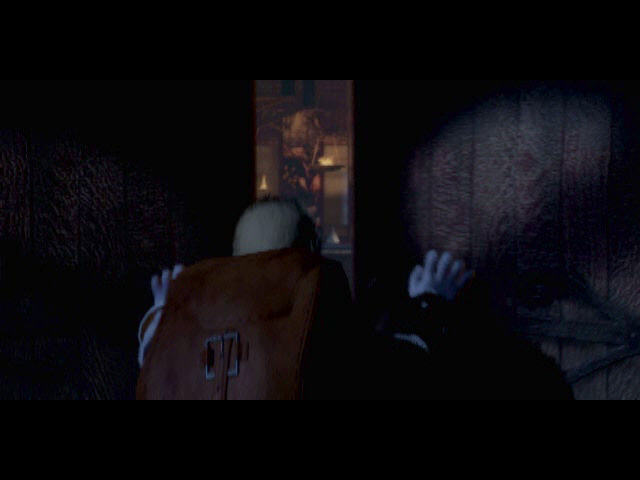
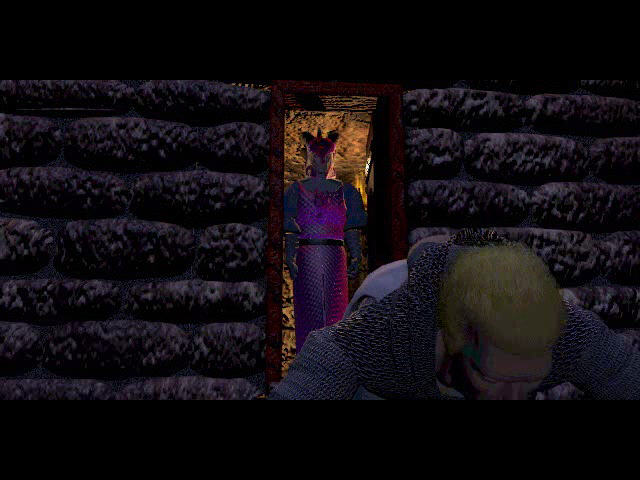
Things are looking bad but what good jail cell wouldn’t have a secret door on one side of it?
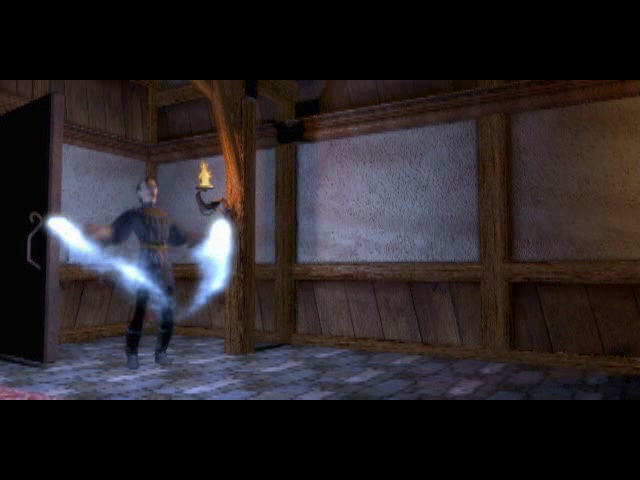
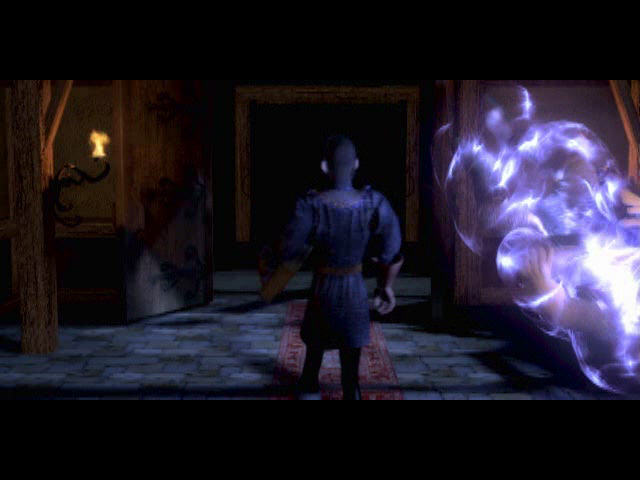
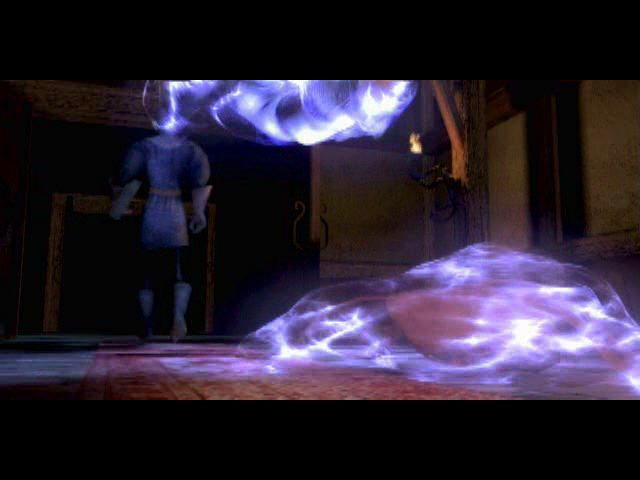
There is also a giant spider. This thing changes colour when I use it. It appears to swap me in and out of phase.
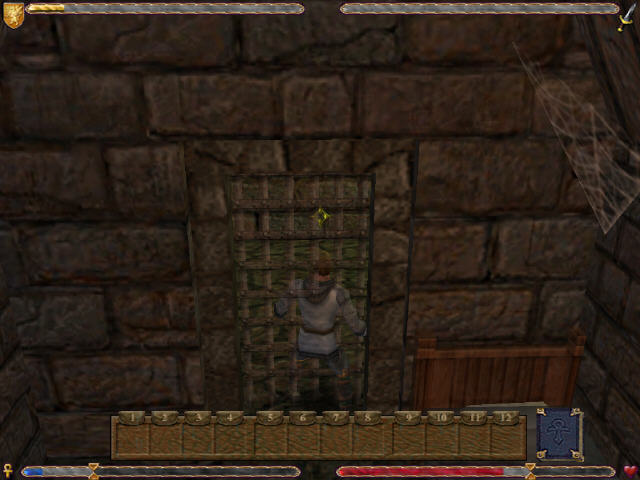
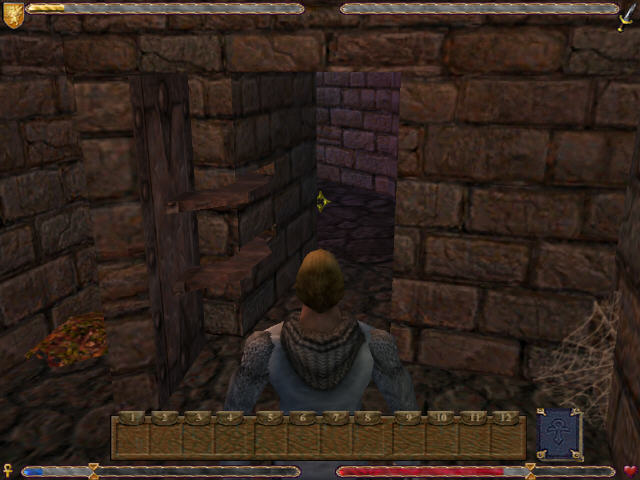
This allows me to walk through the portcullis holding me in my cell. I have to swap the colour a couple of times to allow me access to different rooms.
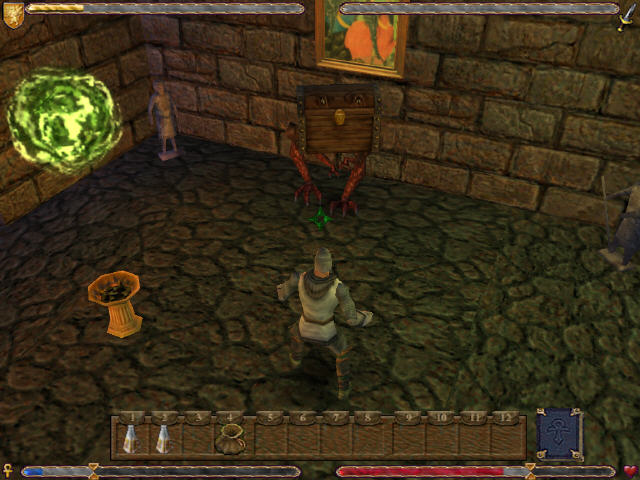
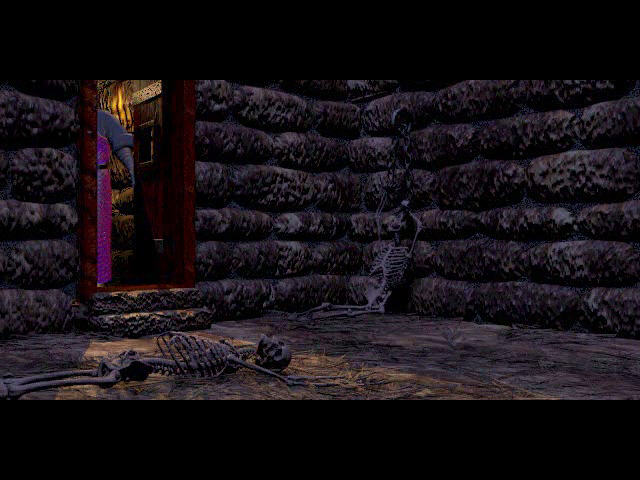
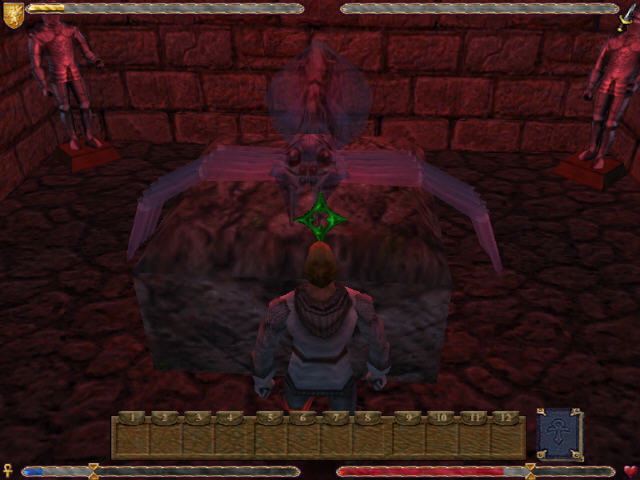
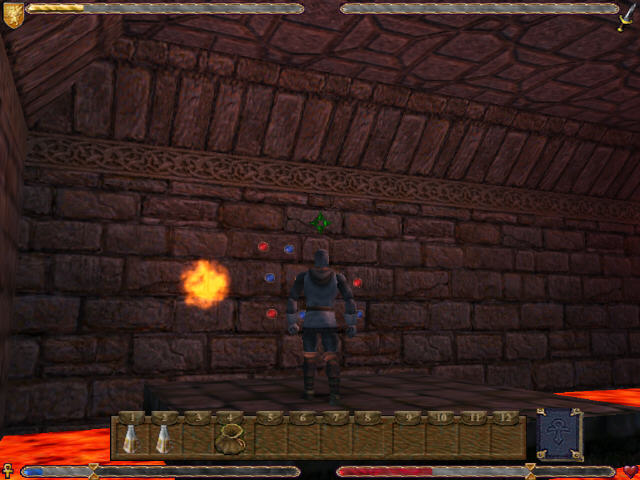
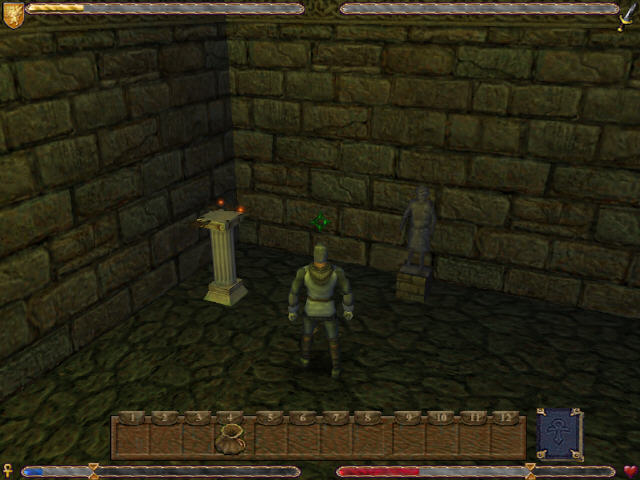
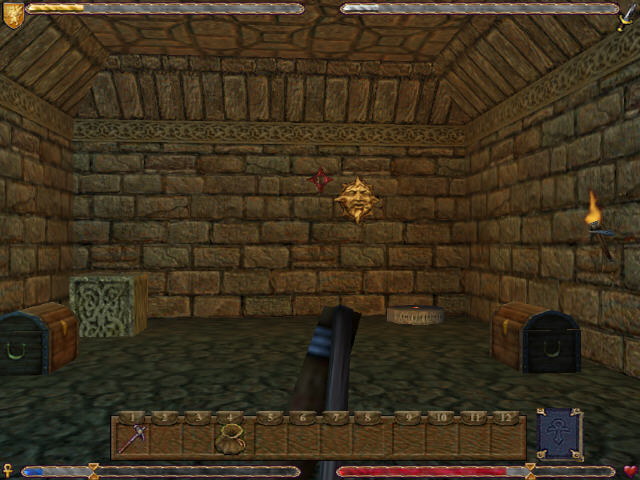
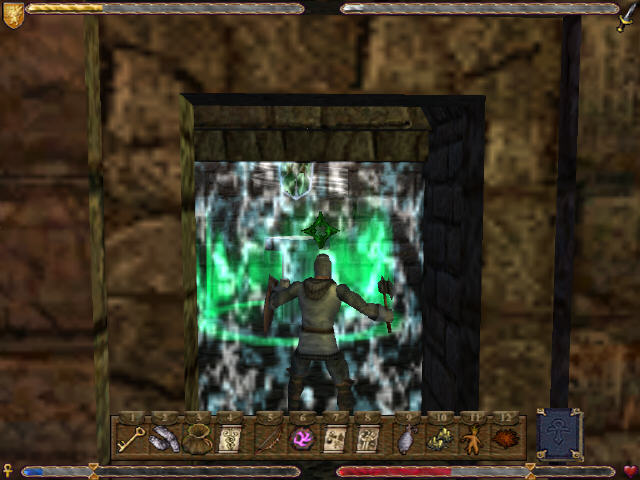
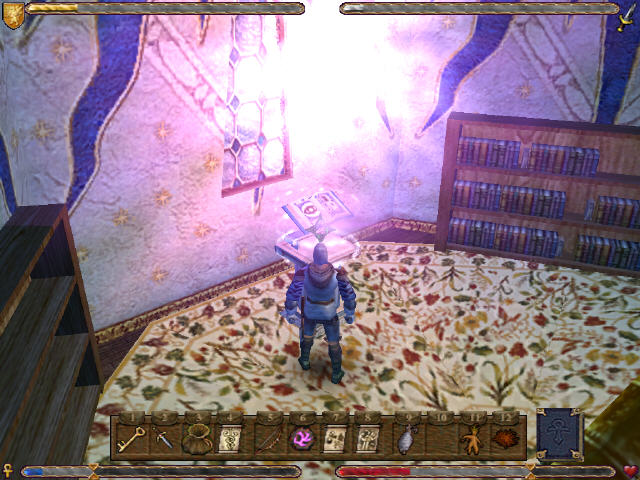
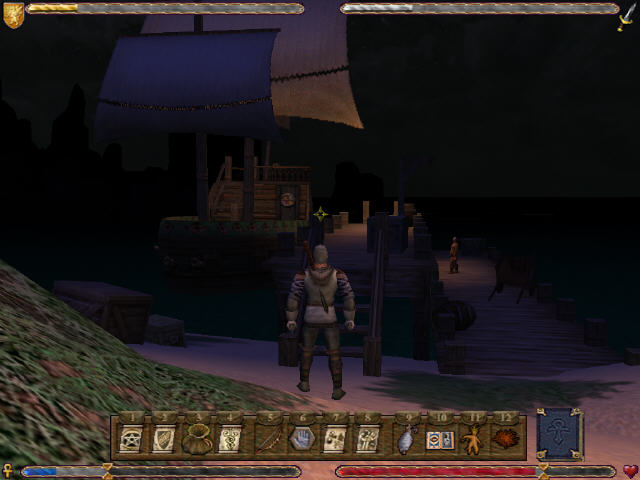
I should point out that I lost all my stuff when I was being dragged from Samhaynes so I’m now faced with the prospect of another dungeon with no stuff at all. I don’t even have my weapons or spellbook. Thankfully, this dungeon is more about puzzles than combat. This puzzle here involves moving statues and a big coloured ball of light. I’d be lying if I said I had any idea what this puzzle was about but I click on things until the locked door unlocks itself.
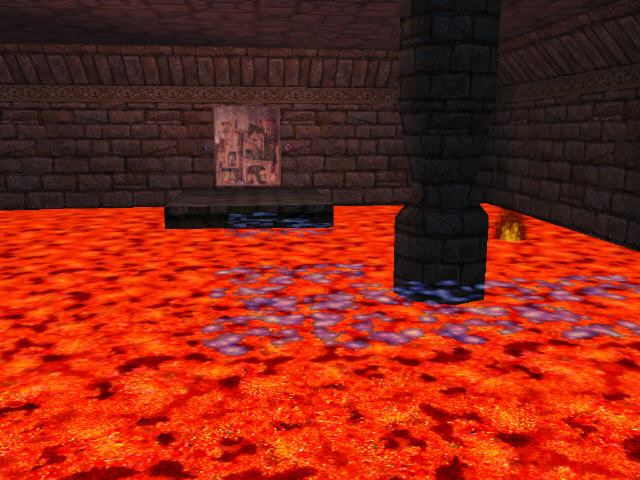
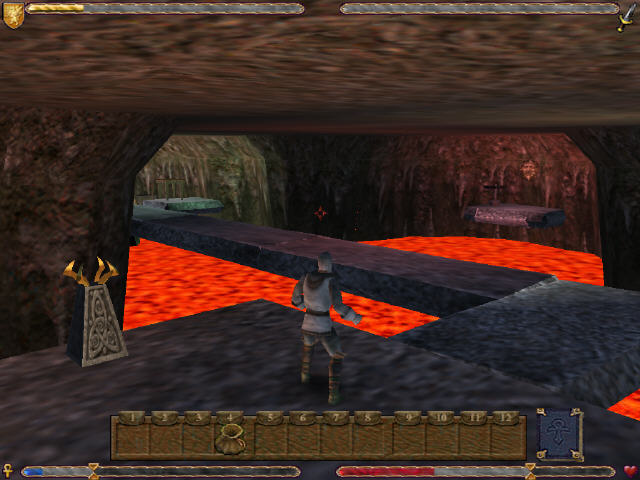
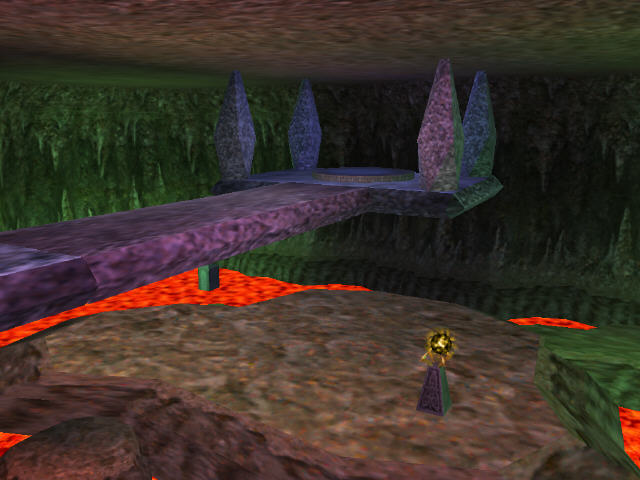
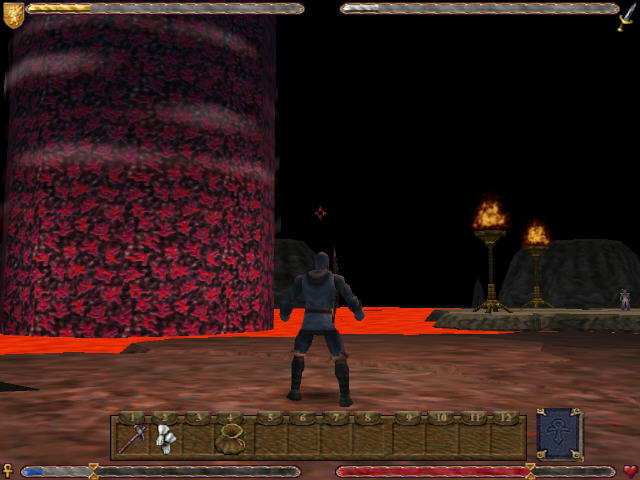
This gets me to a lava filled area in what I’ll later find out is Deceit. Clicking a button in the entry room makes an invisible bridge over part of this lava.
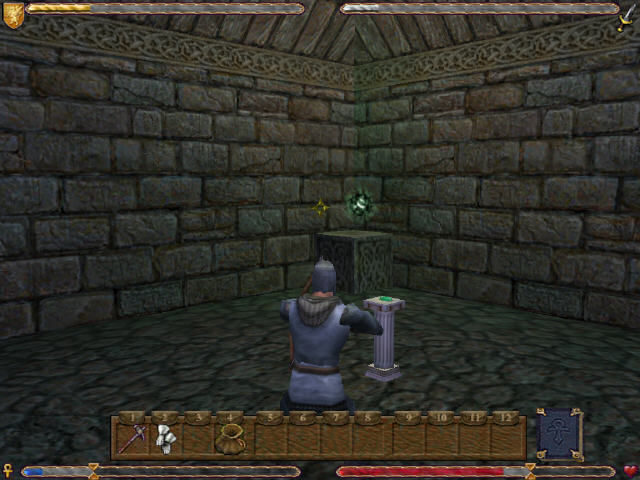
This room is another puzzle. This statue here can be moved using buttons on the wall and then will shoot a ball of energy which summons a platform to carry me over the lava.
This gets me to a wall full of buttons. They vanish each time I press them so I just press them all. I have to cope with a second statue shooting fireballs at me the whole time.
Pressing all of these raises a new set of pillars, the end of which has another target I can shoot with the first statue. Doing this removes a forcefield from around the central teleport. I can now get to this from the new platform.
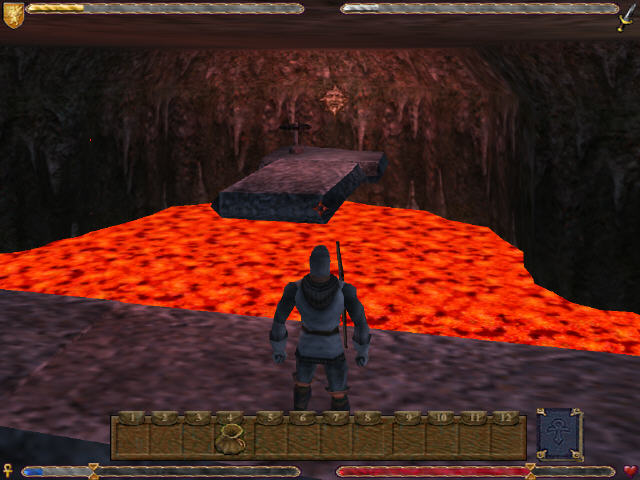
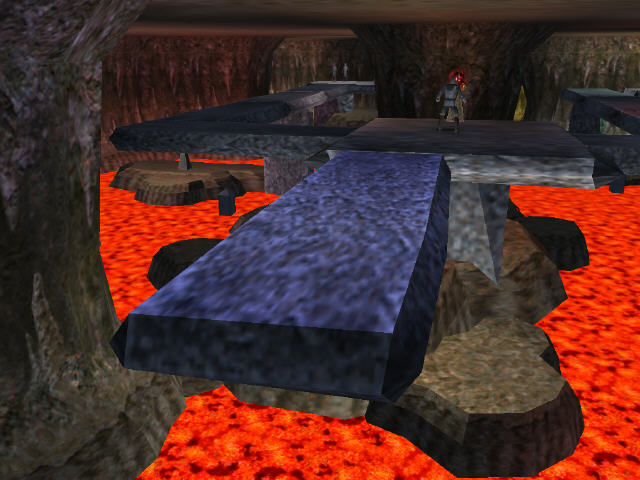
This gets me to another lava filled area – much larger this time.
The first puzzle here involves moving this target so that a statue when used will hit it with an energy ball. This is a trial and error puzzle really.
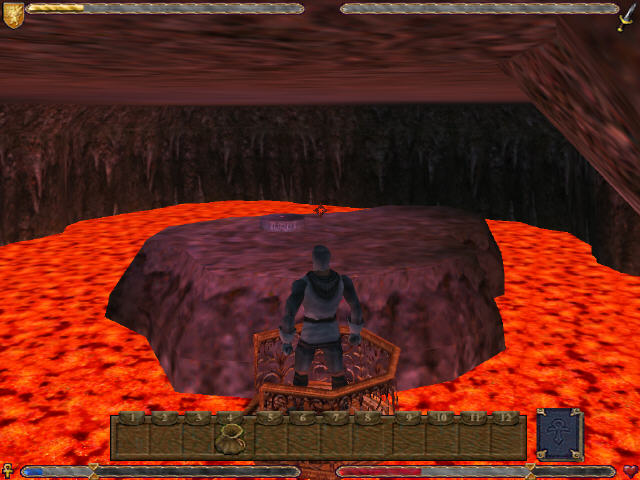
When done this summons a platform which carries me over all the lava to a teleport.
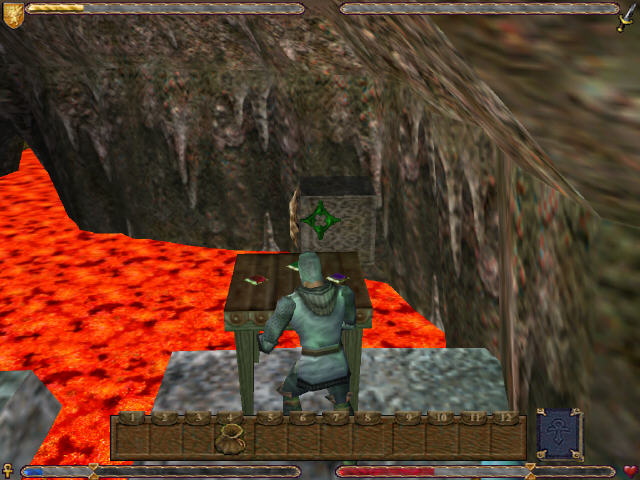
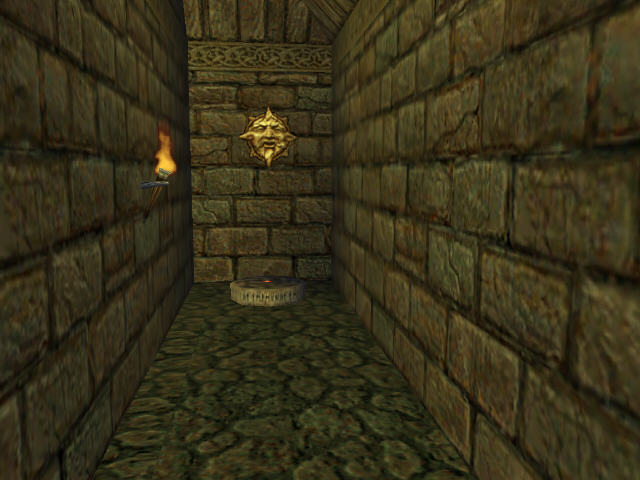
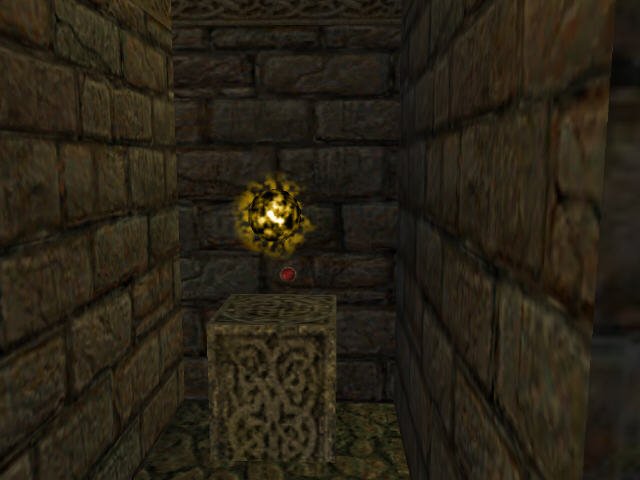
This gets me into a small room with yet more puzzles. Using the statue here nets me some arrows.

Picking up the arrows, triggers a bow fading into view.
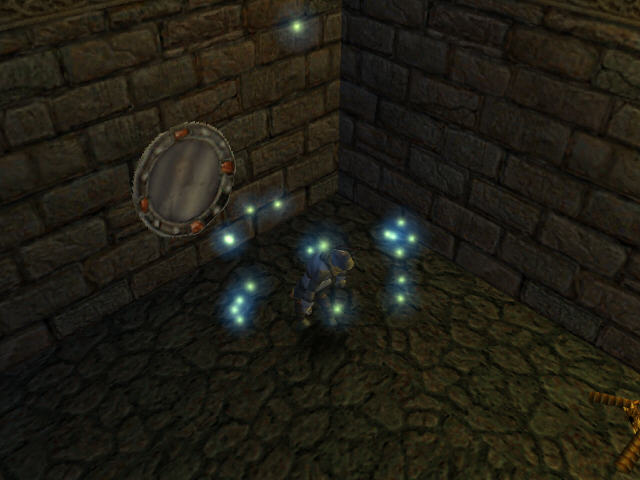
There is also a mirror down here which restores my health when I use it.
I have to use the bow to shoot a target at the top of the room. This triggers the creation of a load of steps.
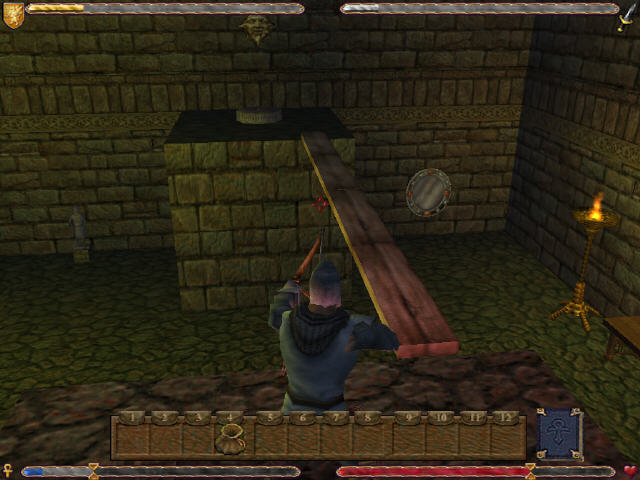
I climb up these, stand on a switch and another target pops into view. Shooting this fades in a long plank which I have to quickly run across to get back to the teleport I came in on.
This whole section had been about getting the bow. There was a target I saw earlier on which I shoot now and this triggers a bridge.
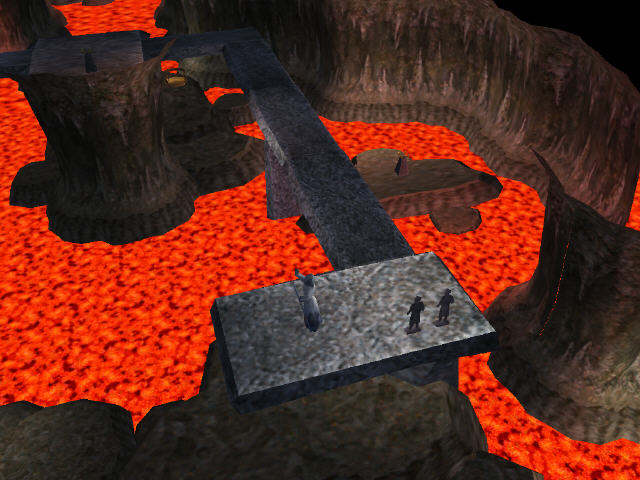
This allows me access to a valve which drops the lava level of the whole cavern.
I can now see obelisks poking out of the lava. Using these drops the lava to nothing but only for a short time so I have to quickly make my way between raised sections while the clock is ticking.
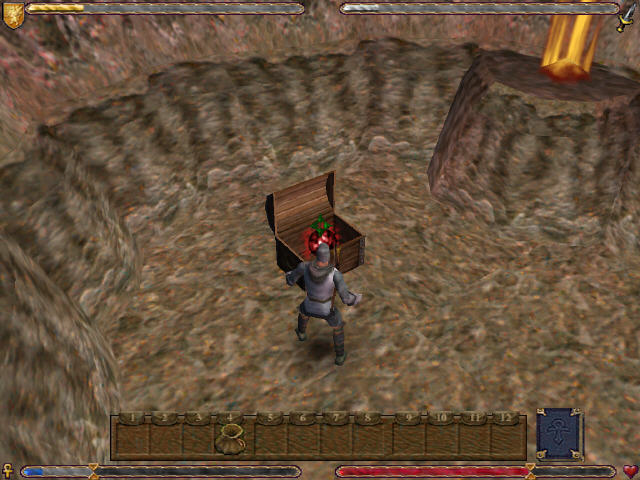
The goal of this bit of dungeon is going to be collecting and using coloured spheres. This one is hidden in the lava until it is lowered. The chest must be made of asbestos or something.
I drop the globe into a claw pedestal and it pops one segment of a bridge into existence. I’ll need to do this 3 more times.
With the lower lava level, I’ve got access to several new areas. They tend to have a similar theme. In this one I have to run around a small maze shooting targets.
If I’m quick enough a globe pops into existence.
The teleport to the next section is by a crystal ball that shows me goats walking on the ceiling and I have no idea what this is about.
This is a small room with a moving target on the far wall. It moves faster when I shoot it and the goal seems to be to shoot it twice quickly in succession which nets me another globe.
The final globe is in a very similar room except this time targets appear all over the walls and I have to shoot them all quickly within a time limit.
With the last globe in place, I now have a bridge to a giant teleport.
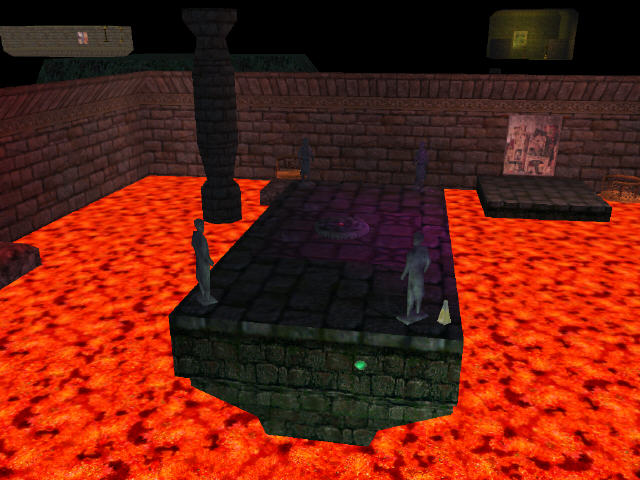
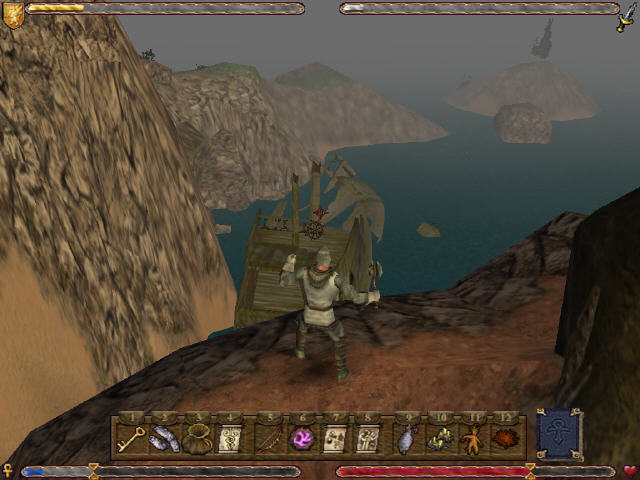
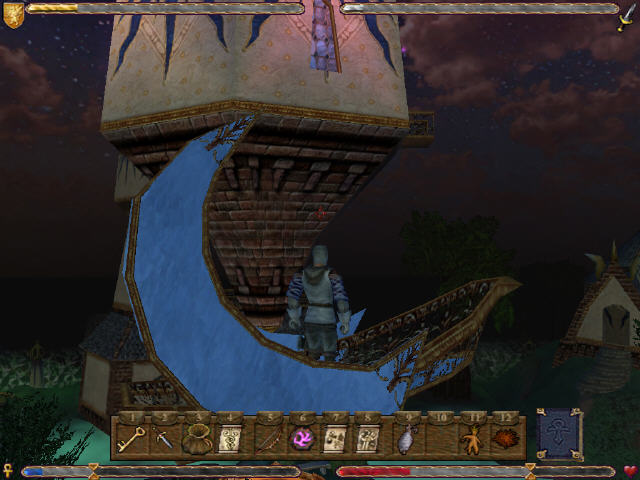
This gets me to a cavernous new area.
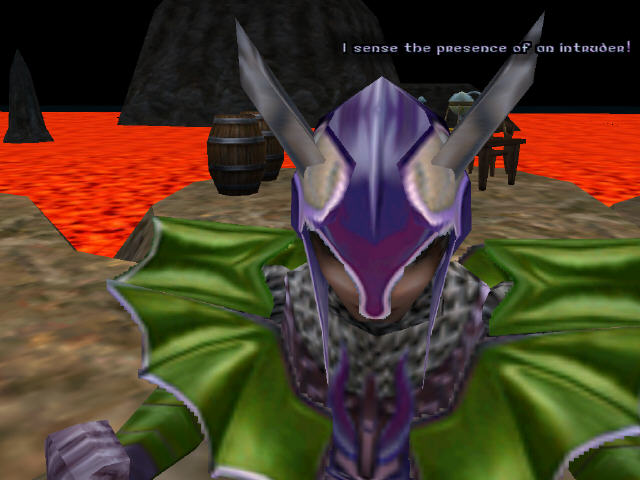
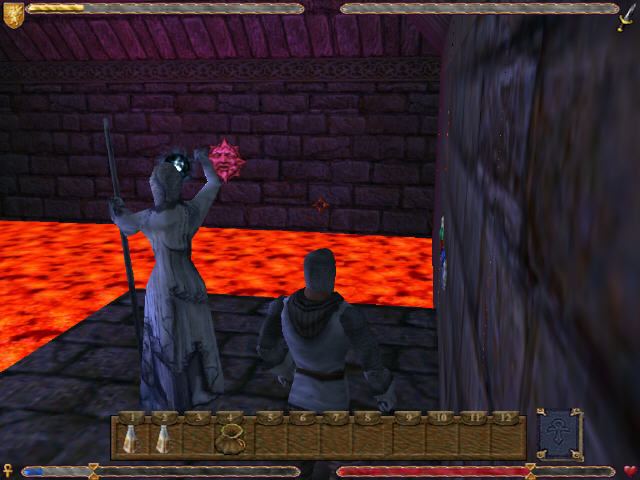
There is another wyrmguard here on a distant island.
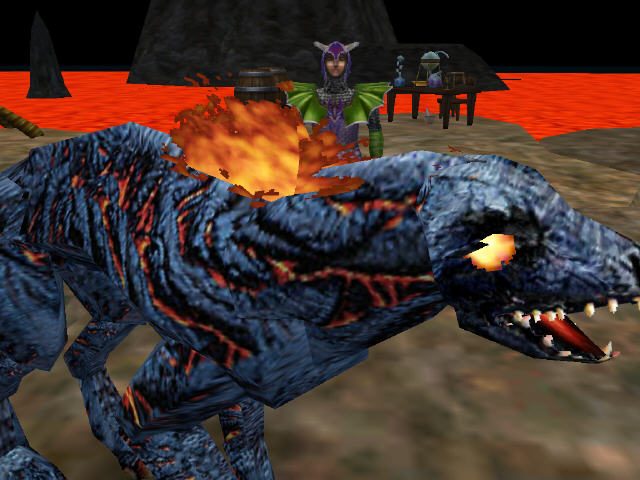
She sees me and sets her pet on me.
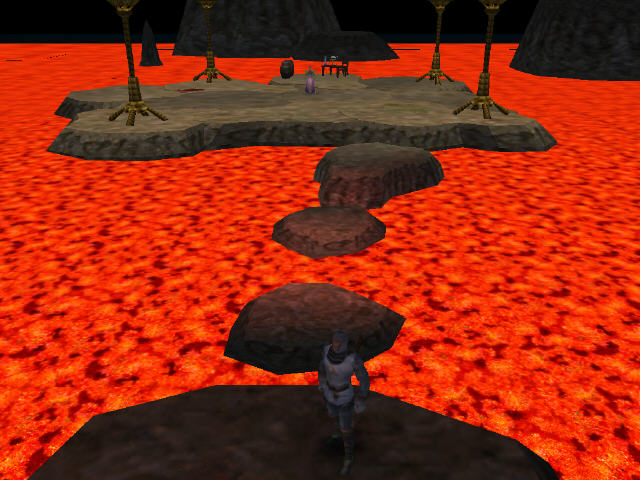
Thankfully this pet isn’t too tough and once its dead a load of stepping stones come out of the lava to get me to the wyrmguard.
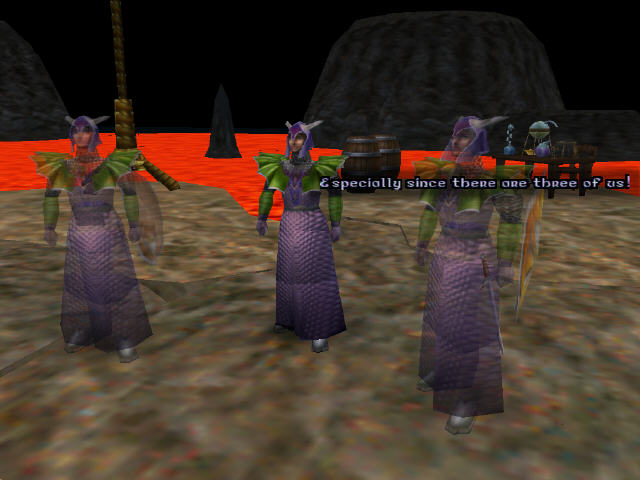
She splits into 3 at this point and I have to kill her several times but she’s down in one blow so its no trouble. I’m fairly sure this was Mariah I just killed although you wouldn’t know it at this stage of the game. I’ll get a chance to right this later on but this idea of killing off all my companions throughout the game is a bit disturbing.
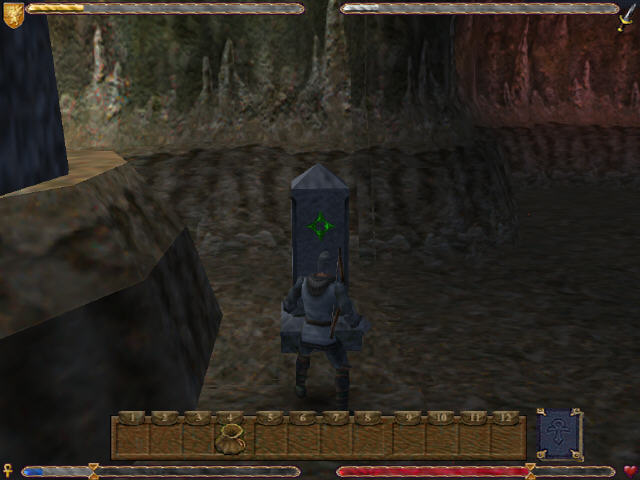
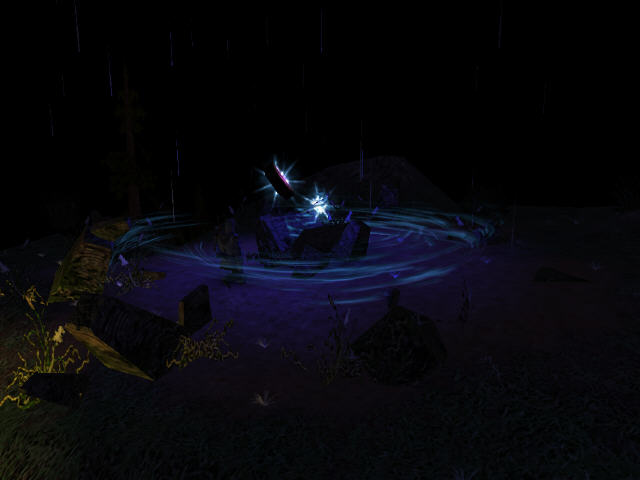
Once she’s dead a platform pops up which carries me to the column and I get the glyph.
The platform then carries me to another island and a teleport that gets me out of here. Thats another dungeon down. Again it was completely different to the ones before it. I’m really liking the dungeons in U9 – the engine coped with the large cavernous areas with ease and it felt nothing like anywhere I’d been earlier in the game.
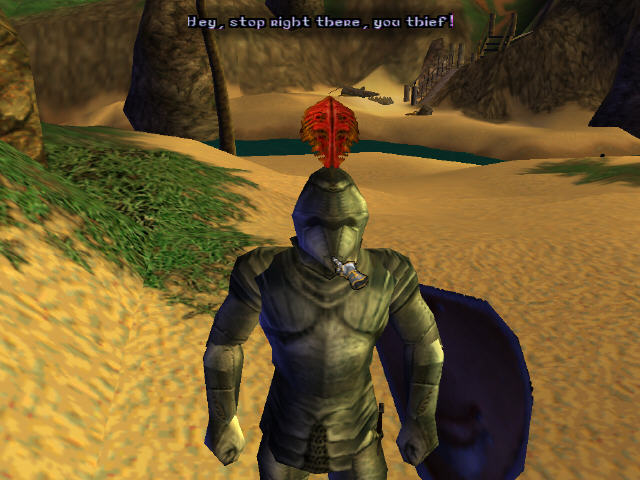
I’m met by an angry knight called Duncan as I leave the dungeon. He had been told that I would be carrying his missing dagger but I let him search me to prove I don’t have it. It turns out that someone in Moonglow lied to him and that no one is to be trusted there any more. This figures given that it will now be the town of Deceit until I sort things out.
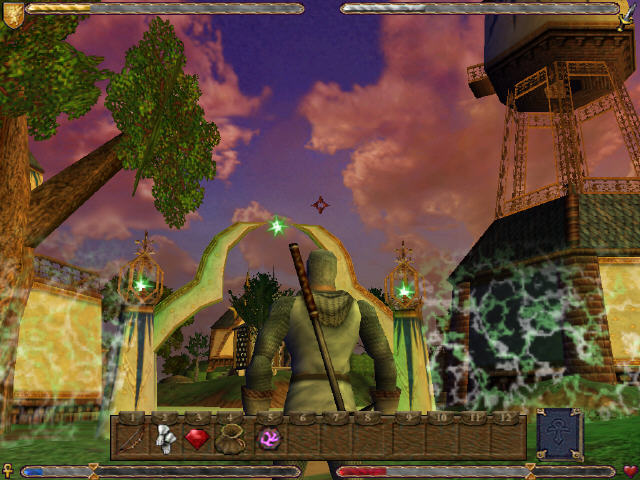
It’s not just the dungeons that have all looked different in this game. The towns are each unique and Moonglow has its own style with magical lighting and everyone living in towers. It’s only about 7 or 8 buildings in size but somehow its large enough that it doesn’t matter.
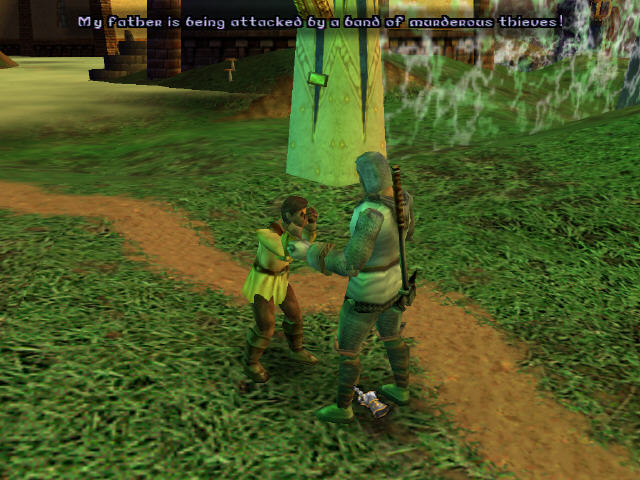
When I enter the town, I’m greeted by a child who wants me to rescue his father. When I run to his house there is no one there of course.
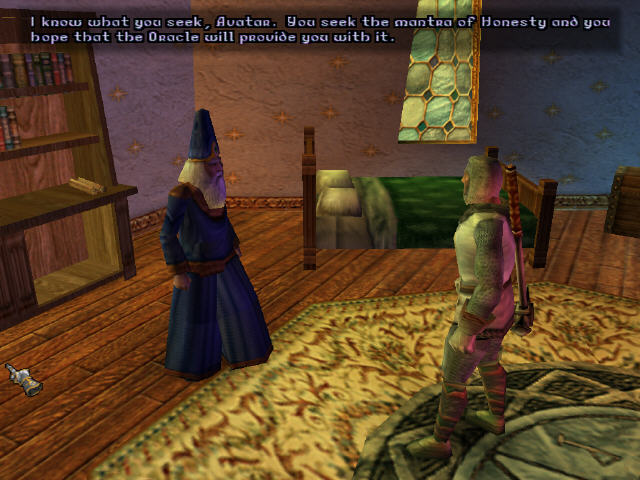
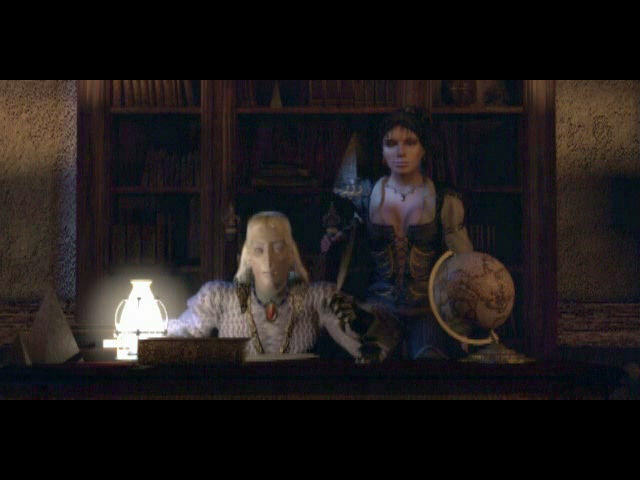
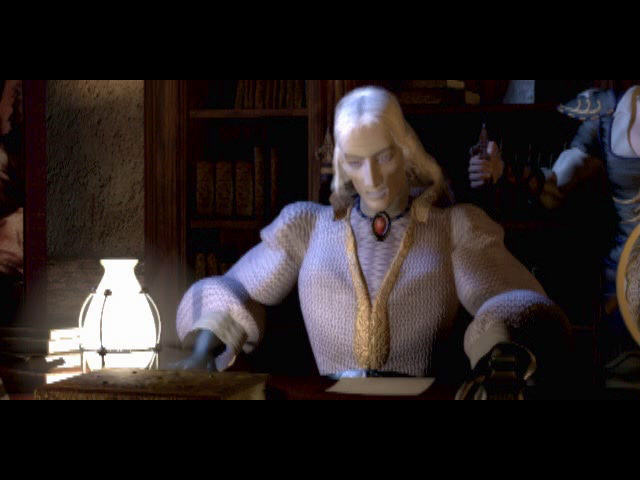
Next I talk to Tybus – the keeper of the Lyceum. He knows I want the mantra… This whole next section of the game is going to be about getting a mantra which I of course already know. I don’t want to skip it but I;m sorely tempted.

He won’t let me see the Lyceum unless I fetch him a staff from a cave down the the South. It’s about this point that I really started to struggle with the game crashing. After a lot of trial and error I discover that talking to this guy about the cave crashes my game every single time and there is nothing I can do about it. Unfortunately, I can’t get access to this cave without talking to him as it moves a giant boulder blocking the entrance. The only way I can find around this is to cheat. I guess I should have expected this at some point – the odds of playing all the way through U9 without having to cheat your way through a bug at some point are very slim indeed.
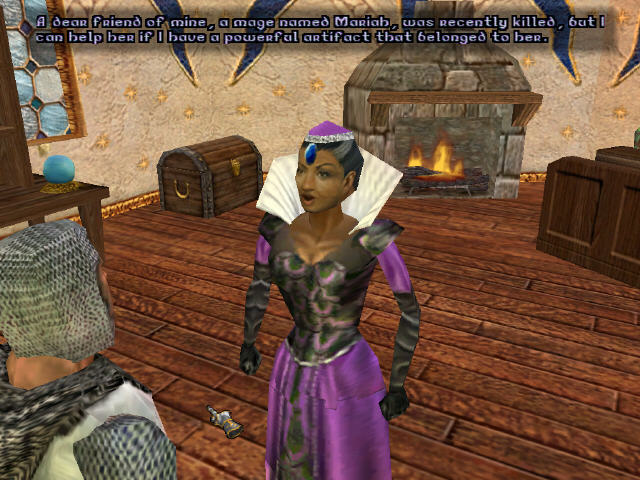
I carry on looking around Moonglow. This mage wants me to fetch her a shield from Mariahs house in return for the sigil. I don’t have much choice here.

I head for what I guess to be Mariahs house and find a trapdoor in the floor.
Sure enough I find a shield, but its behind two forcefields. I have to open up two hidden doors in the walls and put barrels on pressure plates to lower the fields. I take the shield back and get the sigil. I’ve clearly been lied to about the motives for wanting the shield but there is nothing I can do about this.
I go looking for the cave next. I notice this ship and swim out to have a look.
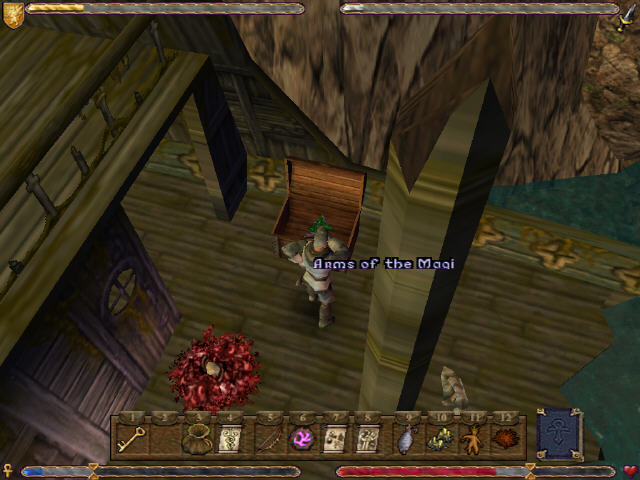
I find a hostile thief + the arms of the Magi in here. The cave I was supposed to enter to get here is just to the North. I have to cheat my way through the boulder and into the cave. This sets off a trigger which marks this task as done and allows me to move onto the next one. I still have problems with crashes around Moonglow and won’t be sorry to see the back of this place. I don’t find the missing staff and get sent off to another cave by Tybus.
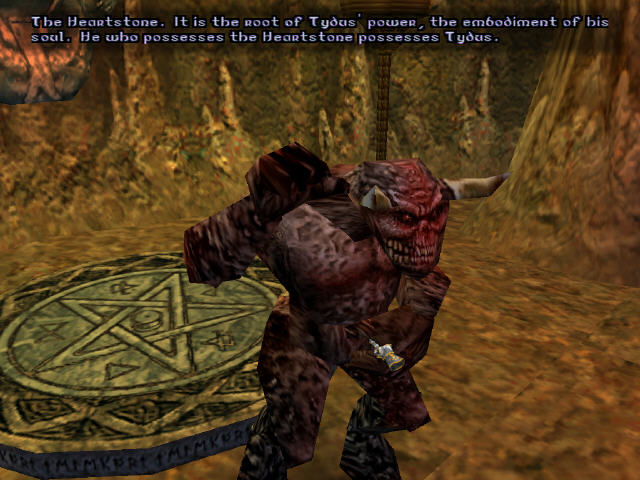
This cave has a demon in it who wants me to trust him and drop my weapons. I do so and he gives me Tybus heartstone which holds control over him.
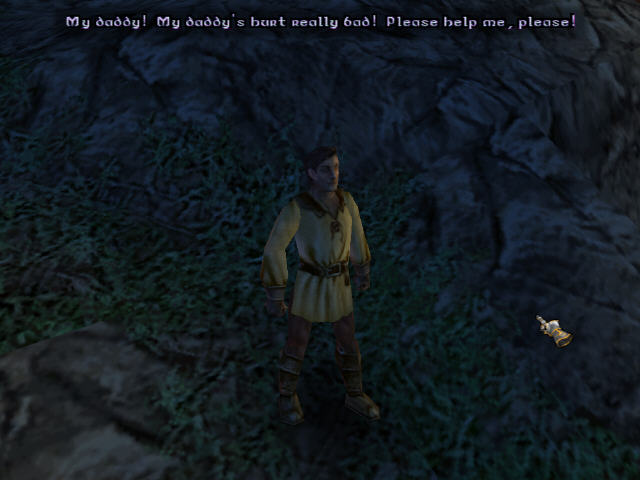
On the way back, the boy who hassled me about his Dad before comes running again.
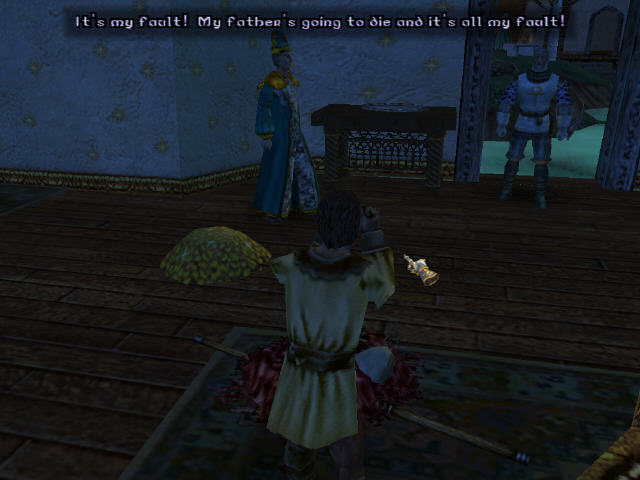
This time he’s actually telling the truth and I kill off some bandits to save his father.
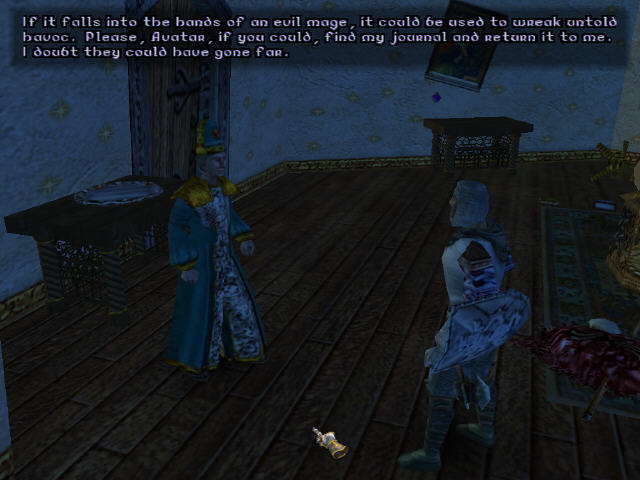
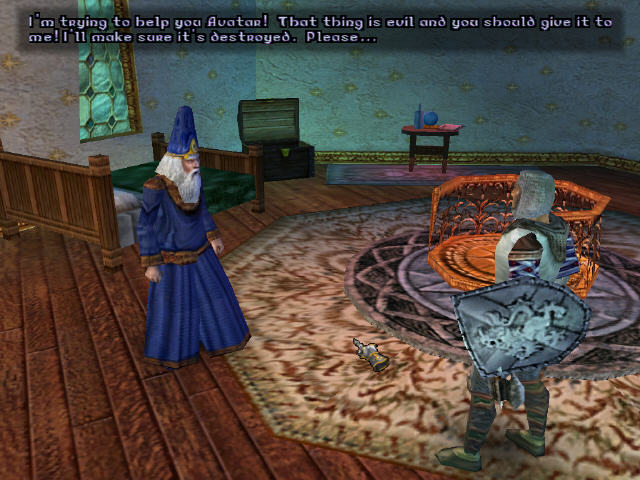
His father has more work for me as he has had his journal stolen by bandits and wants it back.
Tybus tries to talk me into handing over his heartstone but I refuse until he reveals the Lyceum.
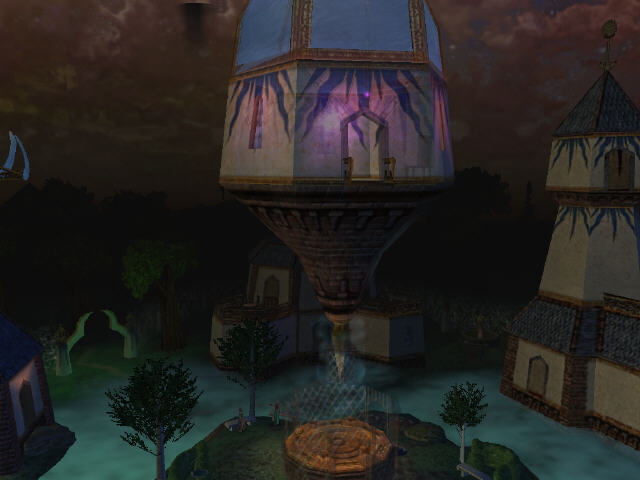
It’s a lot less grand than it used to be and is just a small floating building in the middle of town.
He reveals a small boat along with the building. This floats me between all the buildings and eventually up to the Lyceum.
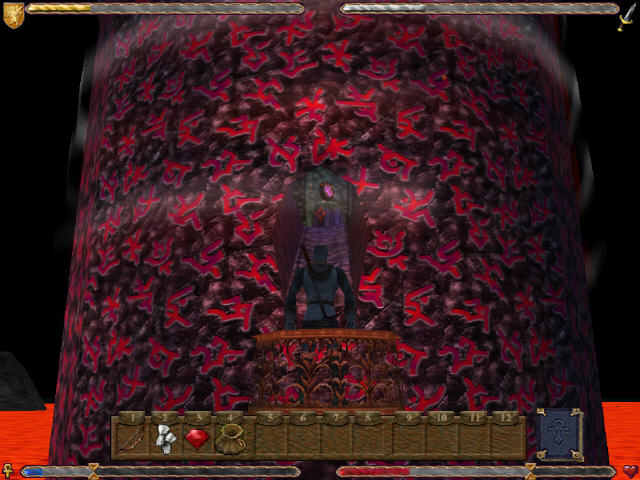
There is something called the Oracle in here. I have no idea what this is but it gives off a lot of light. It tells me to look to the heavens for my answer.
I look through the convenient telescope and see a not so subtle mantra in the sky.
While I’m in here I notice a book which I try to use. This triggers the Oracle again who wants to know who is to blame for the destruction in Britannia. I get a choice of me or the guardian. To get the book I have to say its me. I admit that I don’t know this yet but I’d prefer not to have to come back here and have the game crash on me every couple of minutes again if I can help it.
To be fair, I’d have just picked both options even if I didn’t know the correct answer. I now have the Book of Truth. I won’t be needing this for a long time but it will save me a bit of walking later on.
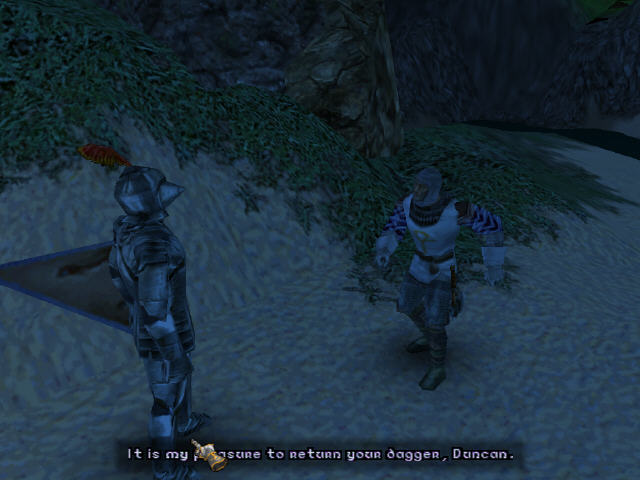
I now have a couple of errands to complete while I’m here. I return Duncan’s missing dagger which I found in the thieves cave. He trains me with a double handed sword move. I don’t have a double handed sword to try it out right now.
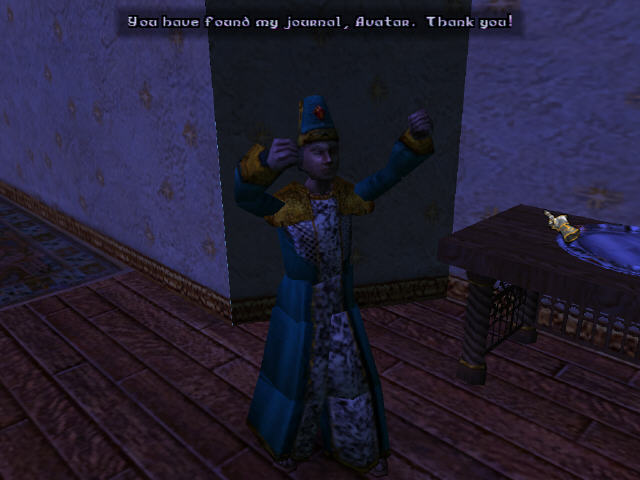
I return the missing journal in return for a couple of scrolls. This journal describes how Britannias moons are going to crash into each other. I’d better get on with sorting out these columns and hope it fixes it.
I also go to the shrine and cleanse it. This time I increase my dexterity as my strength is maxed out already.
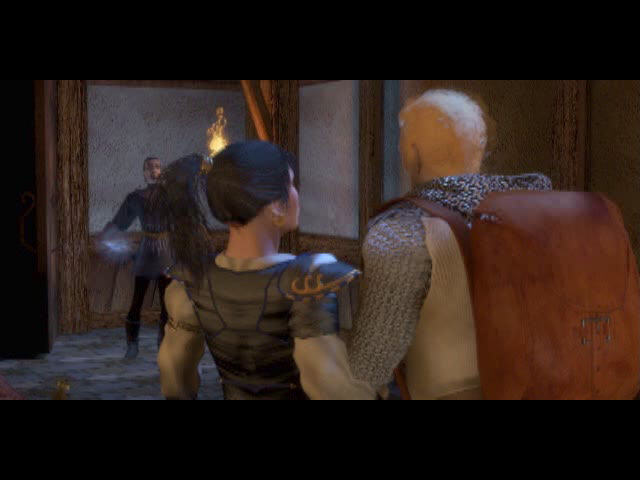
Once the shrine is cleansed, Raven’s ship appears in the docks here.
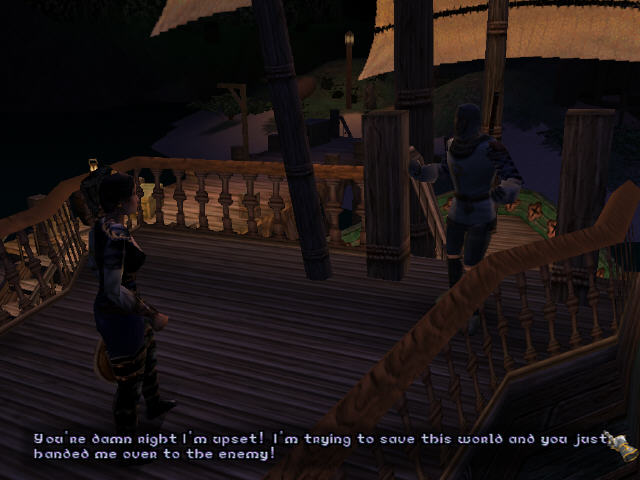
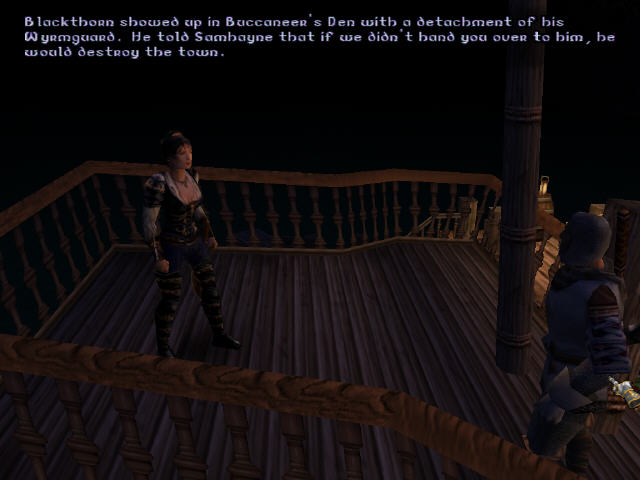
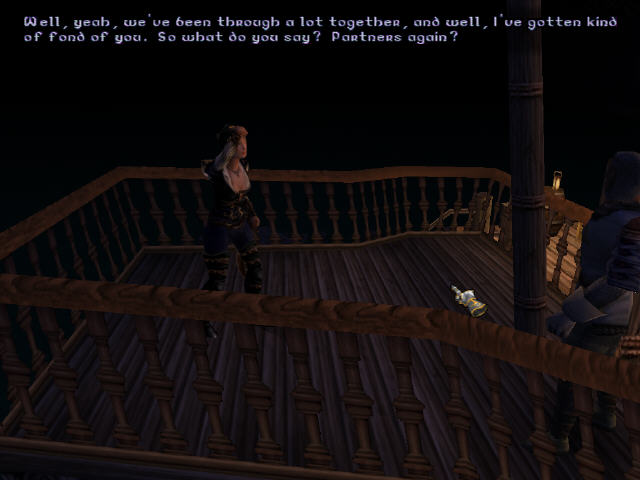
She tells me that Samhayne had no choice about handing me over and we make up. This is a really forced love interest. The whole of the games dialog is a bit like that – the basic story is there but none of the detail required to flesh it out. We’ve barely exchanged more than a few words at this point. Raven hands over all my missing equipment which I’m glad to get back.
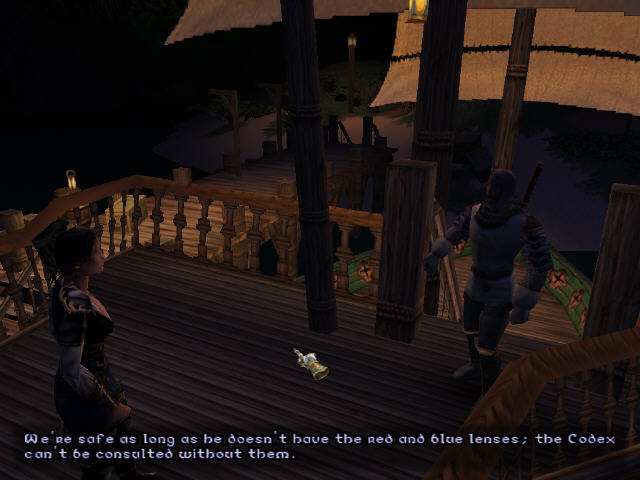
He tells me that Blackthorn can’t view the Codex without the lens. This is a load of rubbish – the lens was to see the codex in the void. Since it isn’t in the void any more he could just read away. Is him reading the codex a problem anyway? It only ever gave me advise on the virtues and it strikes me he could do with this.
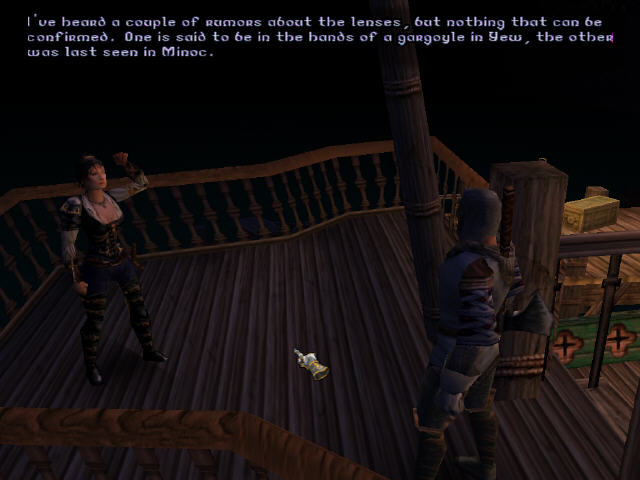
I will need the lenses it seems to advance the plot. Raven tells me one is in Yew and the other in Minoc. She can’t sail me any nearer to Yew than Britain but I decide to go for this first. It means I can finish off a couple of the subquests in Britain on the way + I was told that the reagent seller in Britain was being held in Yew. I’d like to release him and start filling up my spellbook a bit.
I’ve had a lot of trouble today with the game crashing and I really hope that I’ve seen the last of it. I’m being careful with keeping loads of savegames but I really shouldn’t have to cheat to get around bugs in the game. U9 must have crashed at least 50 times in Moonglow and it also corrupted some savegames so I had to delete them, then replay the start of the game to get the journal and load up the previous one. I even had to replay the whole of Deceit when this happened the first time.
It’s not put me off too much and I’m still enjoying the game but I’d like it to be stable from here on out. Being realistic I’ll be lucky not to run into more major bugs before the end.
U9 is turning out to be a truly huge game. This could easily be the largest of the Ultima’s at least in terms of how long it is taking me to play. I’m only 3 virtues in and I must have spent going on 15 hours on it already. There is no danger of me getting bored with it yet either which is more than can be said for Dead Space which I think I’m going to abandon. I cannot believe how good the reviews have been for a game that is so deeply unoriginal as to offer no incentive to play it whatsoever over the any of the superior titles it steals from.
mmm… Nico is held at Minoc, not Yew… so you will be missing him for a while 🙂
The Codex is supposed to answer any question, so it could be used by Blackthorn to get any answers he needs.
The only thing they needed to at least the codex have some meaning in this game would be to put a line somewhere saying that after it was brought back from the void was damaged somehow or something… but no… Ultima IX does not do that kind of thing….
It’s really weird you got so many crashes in Moonglow. I never had many problems there. Maybe 2 or 3 crashes but nothing as what happened to you…
btw… if you hadn’t killed Mariah, she would have taught you the Restoration Ritual when you find her at her basement. Of course, the first time playing it’s impossible to know who she is…. I usually kill her copies and then after the lift appears leave her there.
Both Mariah and Jaana had more lines in the game but due to bugs they don’t appear when they should…