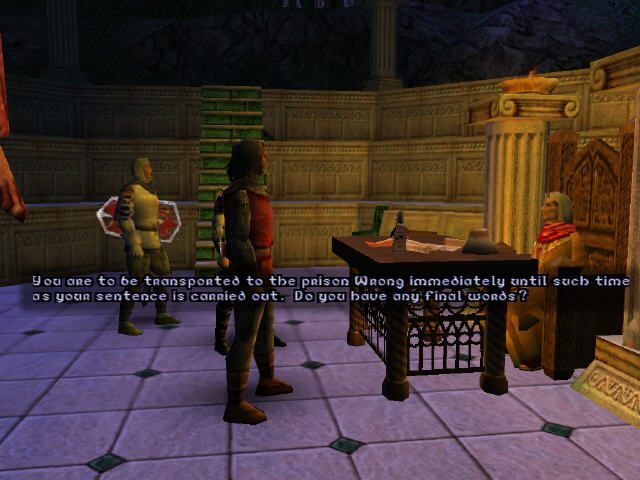
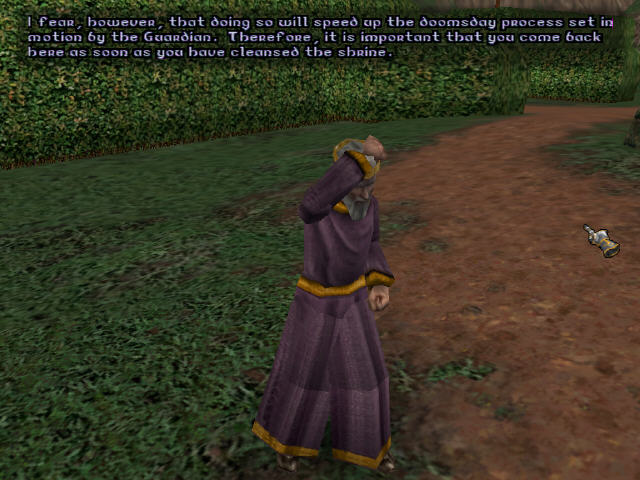
Saturday was the final push and in the longest gaming session I’ve had since student days I finished off Ultima 9. This is going to be a seriously long post.
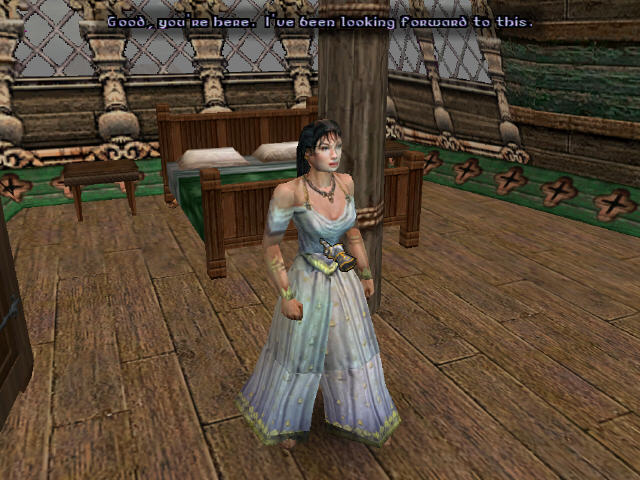
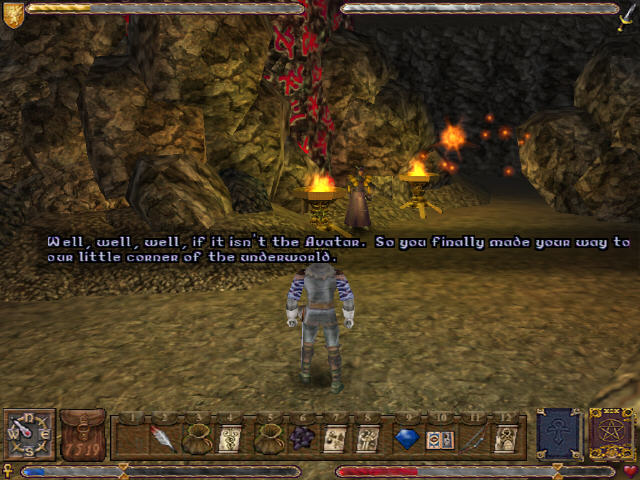
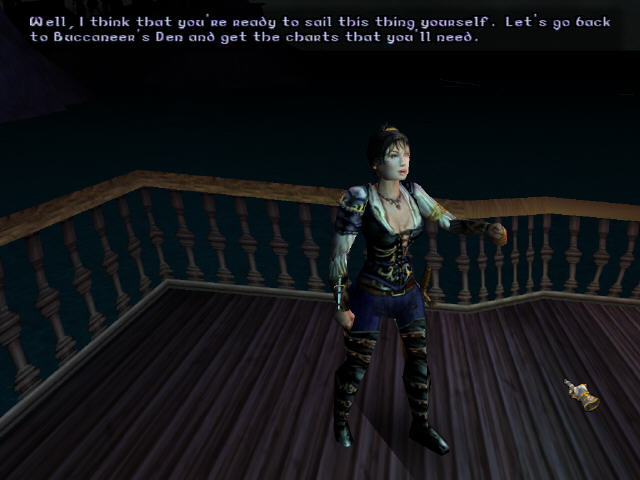
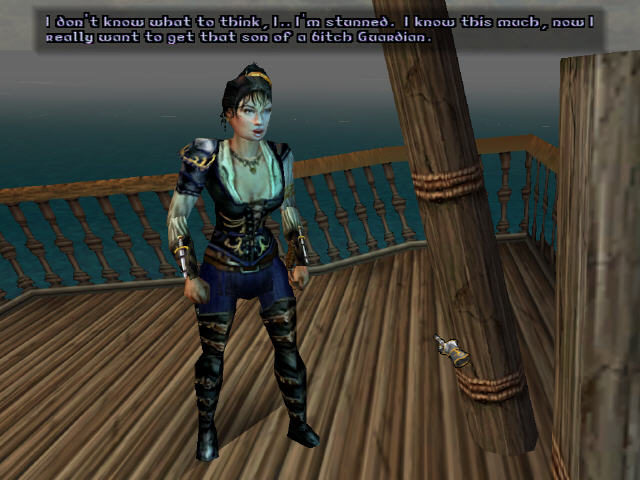
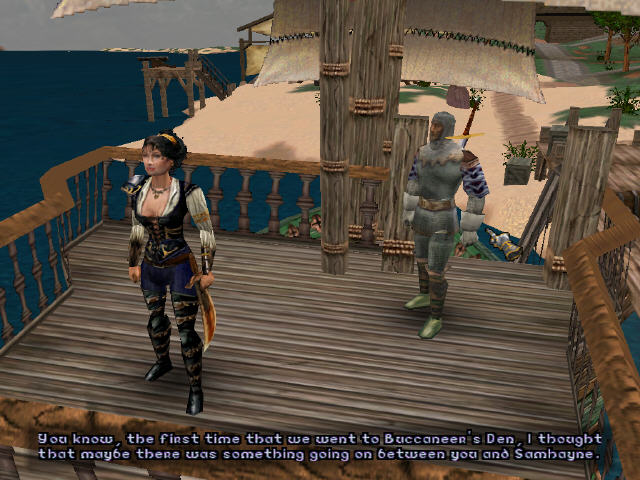
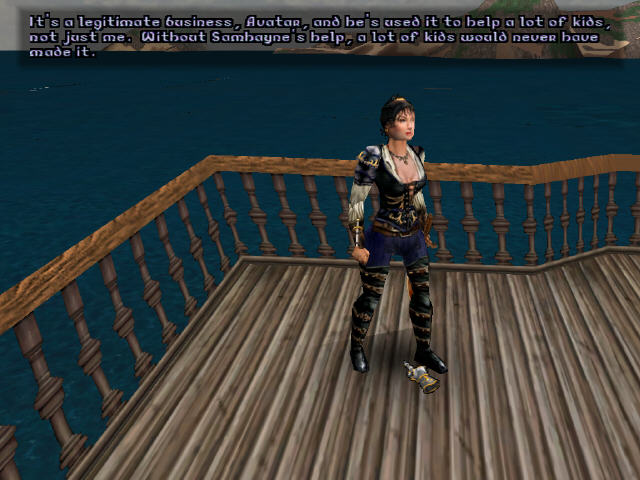
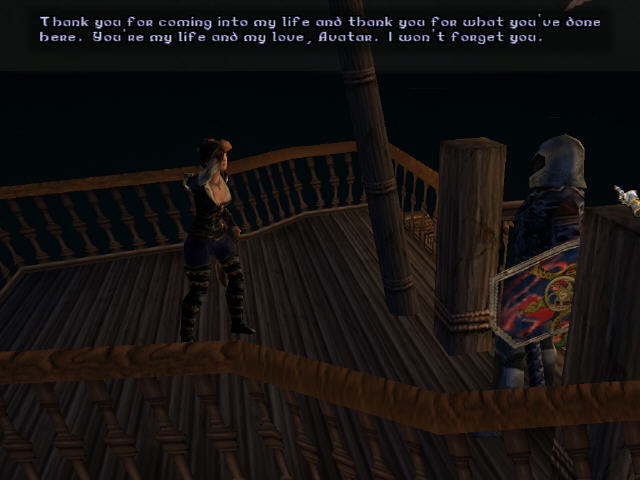
I’m starting off in Buccaneers Den. Raven sends me off to pick up some charts from the mapmaker and then to her house for a surprise. She’s had a bit of a change of outfit which is a surprise for a start.
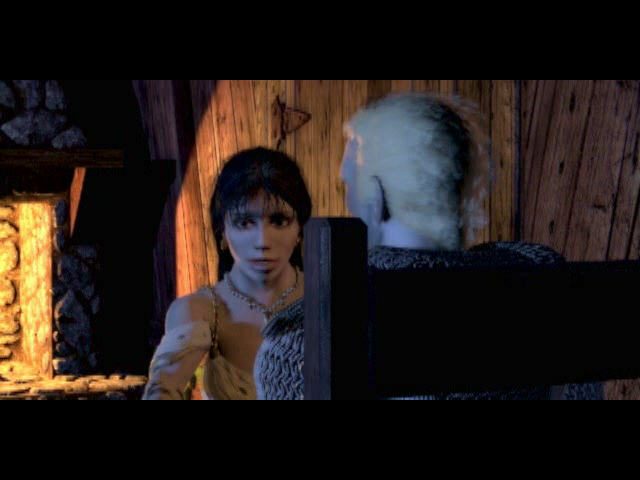
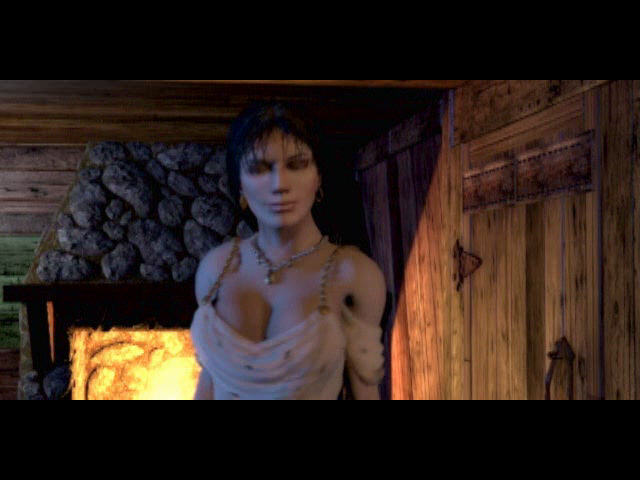
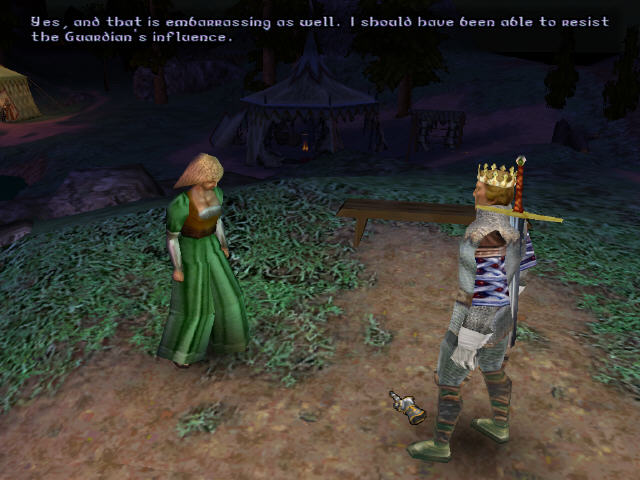
Raven brands me with the mark of the guild before making it up to me.
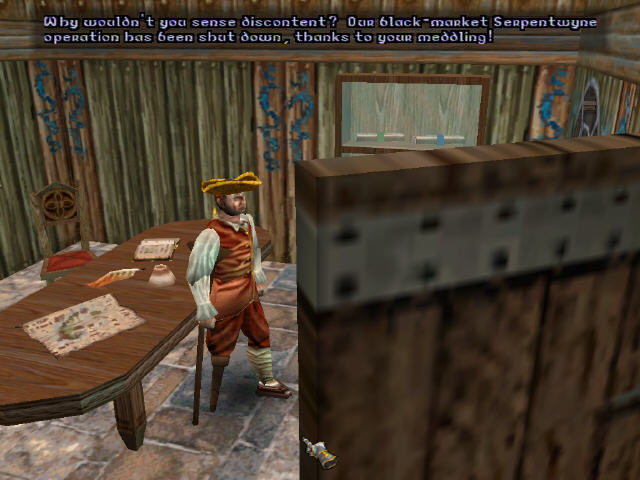
This means I can finally get in the locked door of the guild here in Buccaneers Den. It doesn’t do me any good as the owner here is not happy with me about returning the silver serpent some time back.
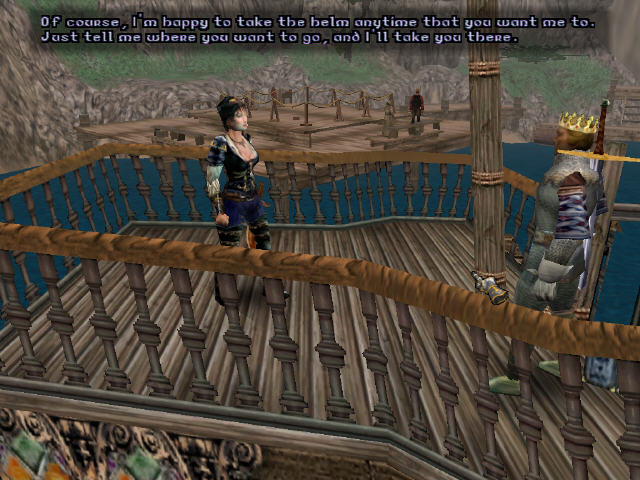
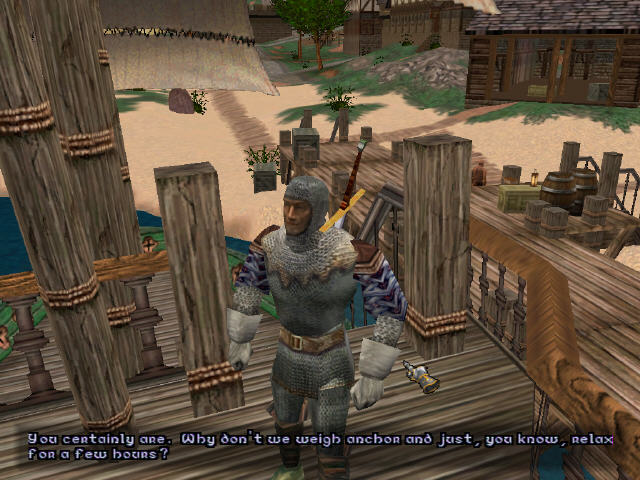
I can now sail the ship myself if I want to but for the most part there isn’t much need and its much easier just to tell Raven where I want to go.
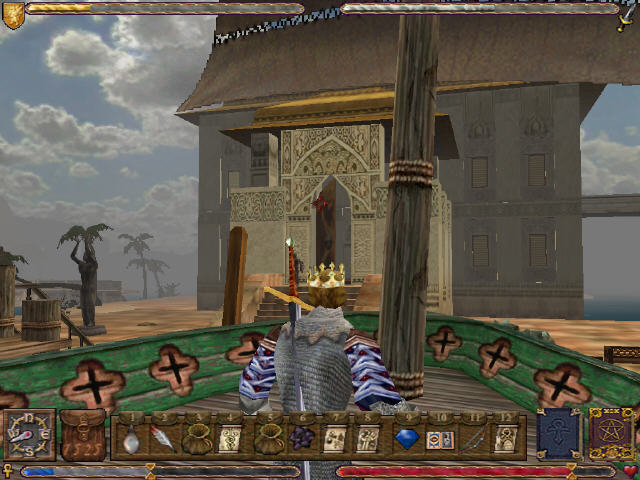
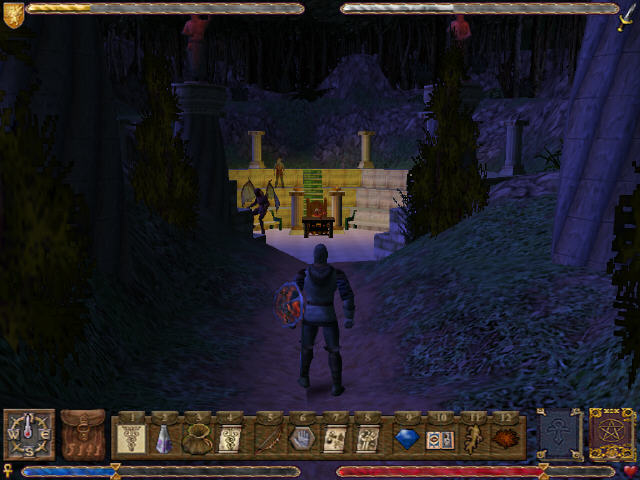
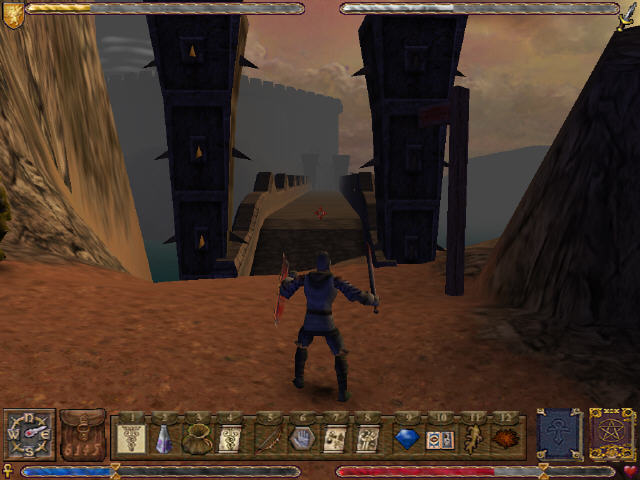
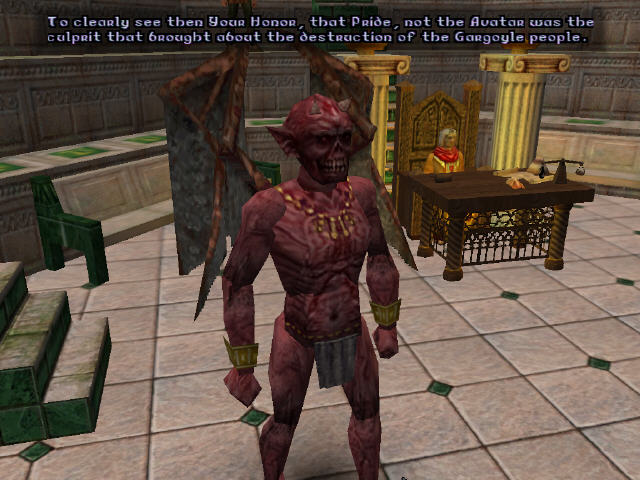
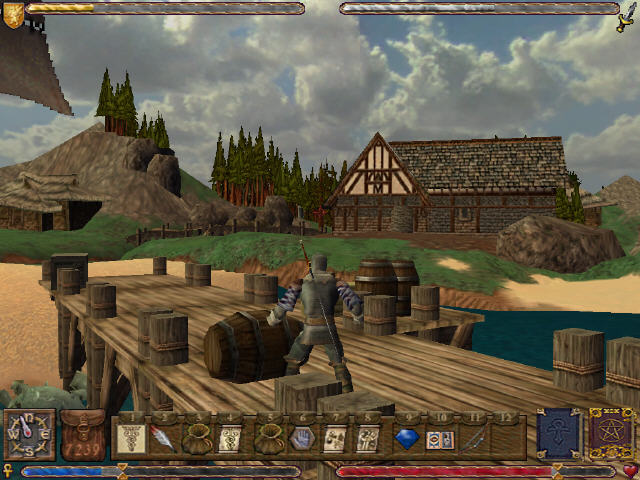
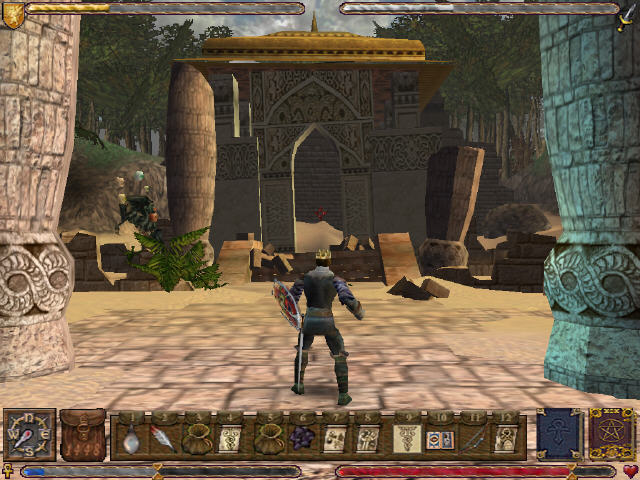
I want that blackrock sword/armour that I know I can get someone/somewhere to make so next stop is Trinsic. This town is made of of stone with long bridges over the sea.
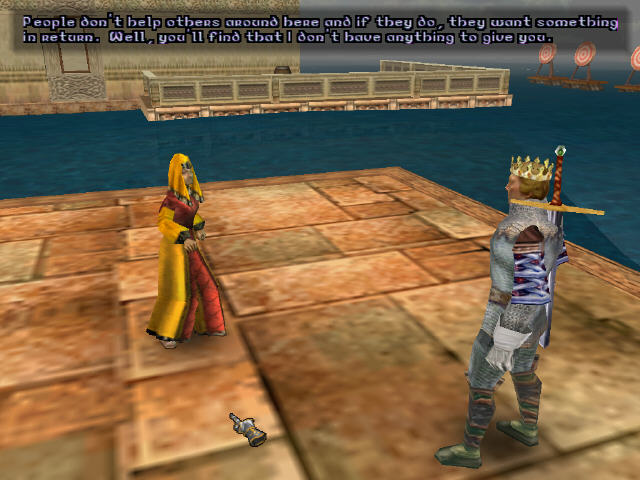
I’m told by the woman outside that the people here have lost their honour – no surprises there then. This includes her husband.

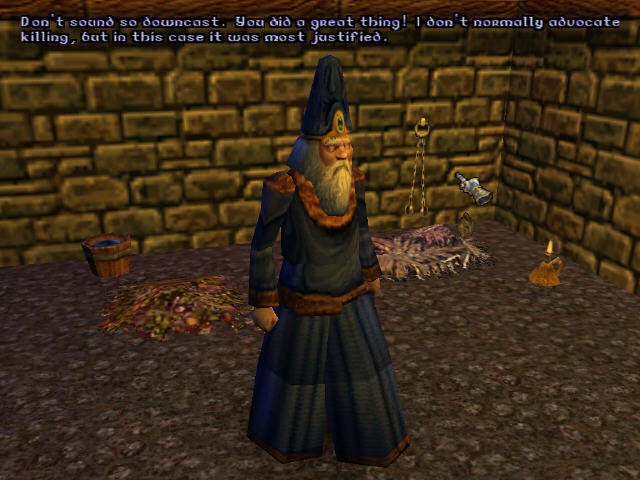
The lack of honour isn’t the only problem around here. The chalice of honour has been stolen and as a result the ghosts of former paladins have taken over the Bastion to keep the unworthy from entering it.
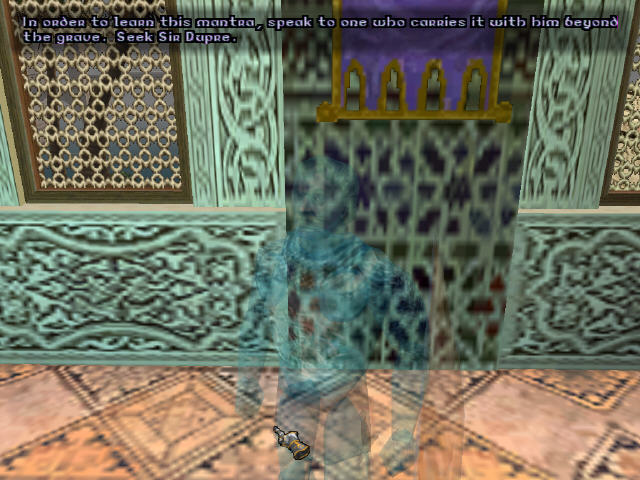
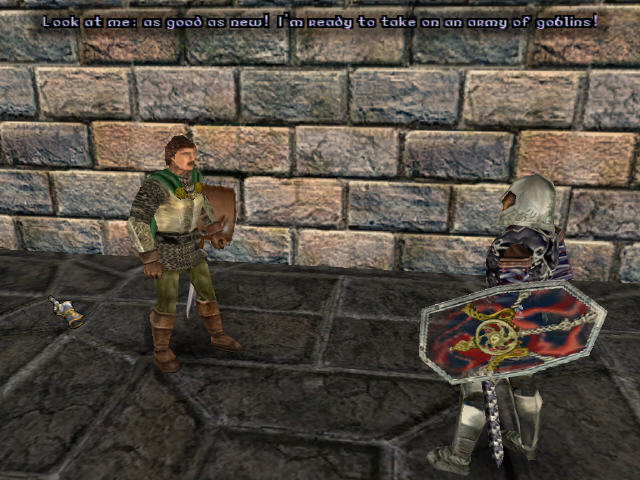
They don’t take well to my presence either but there is at least one ghost here who helps me out. He says I need to speak to Dupre which isn’t going to be easy since his heroics in Serpent Isle.

In their current dishonorable state, the paladins here are not exactly looking after Trinsic. Some of the bridges are broken, shopkeepers can’t be bothered to run their shops and goblins are running around all over the place.
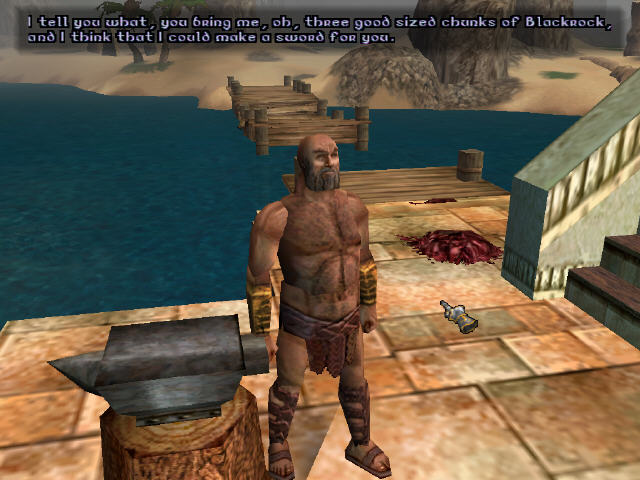
I was right about Trinsic and the local blacksmith here agrees to make me a sword out of blackrock although it is going to cost me a monumental 7000 in gold + I have to provide the blackrock.
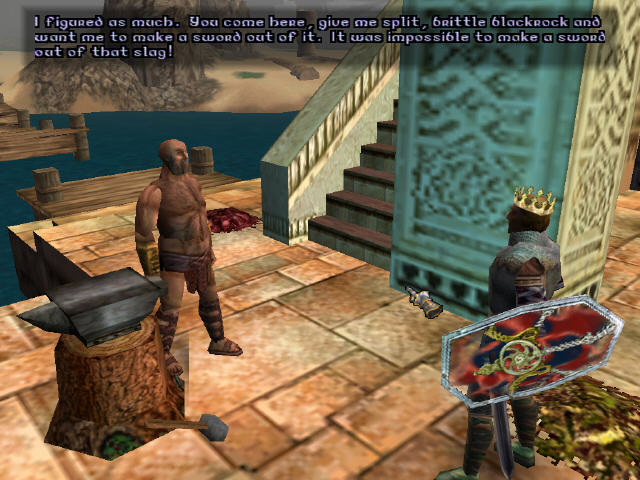
He tells me to come back next morning. I talk to him again straight away and he whines about me giving him brittle blackrock and doesn’t give me either a sword or my money back. It looks like I’ll have to cleanse the shrine before I can get my hands on this thing.
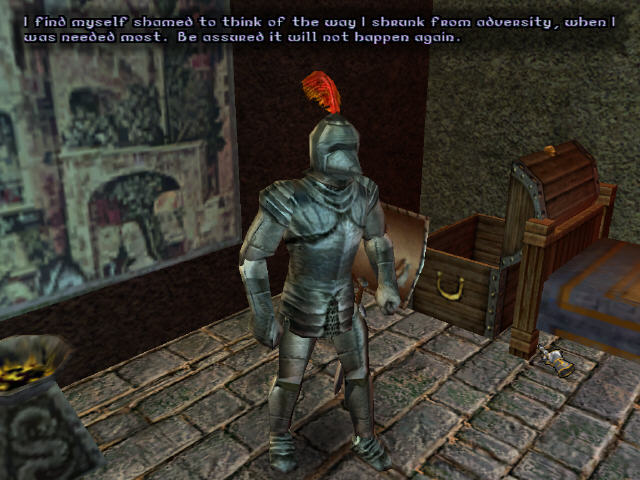
I do find one paladin who seems to have some sense of honour although he is full of self-pity for all that. He does tell me about Dupre’s ashes which have been brought back from Serpent Isle and are somewhere nearby.
There is quite a lot of countryside to explore around Trinsic but I stumble upon a likely looking building almost straight away.
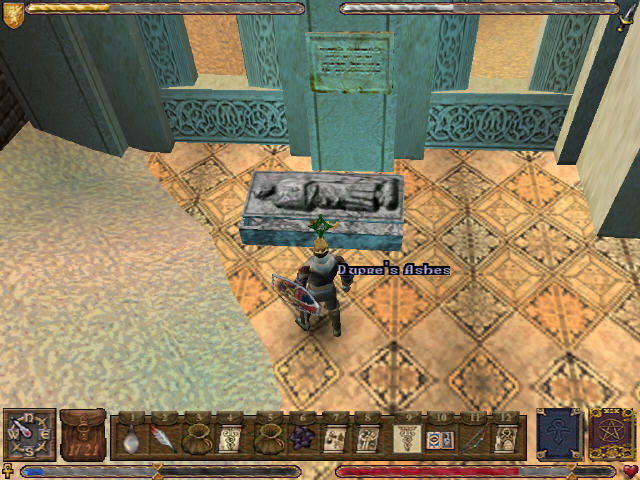
Sure enough Dupre’s ashes are in here so I grab them.
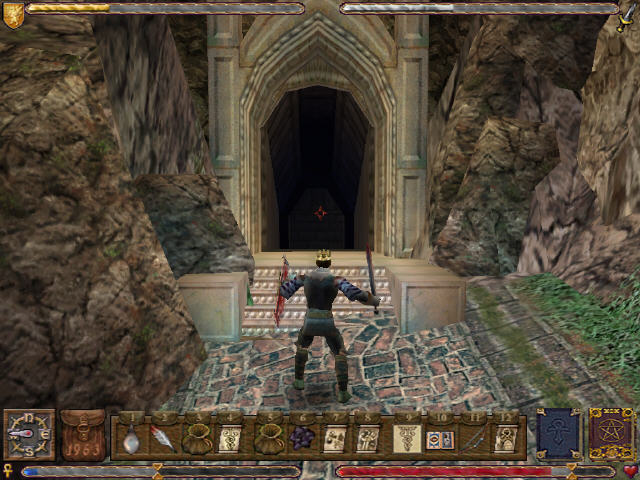
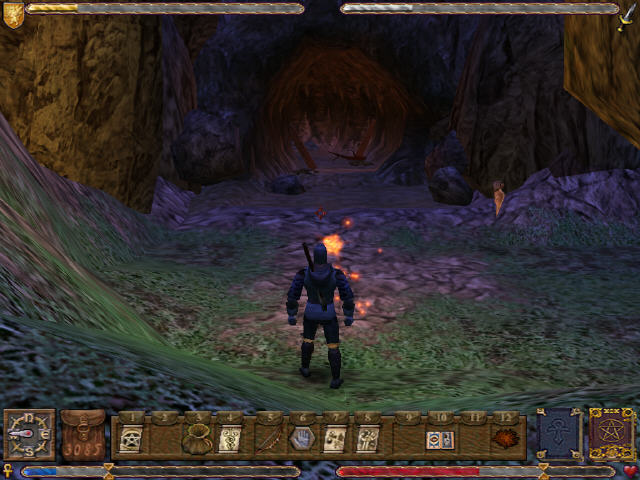
While I’m out here I find the entrance to the local dungeon. I know the score by now so I head on in.
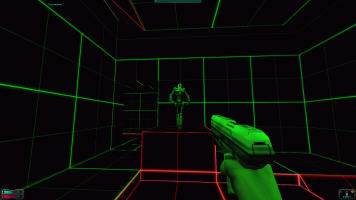
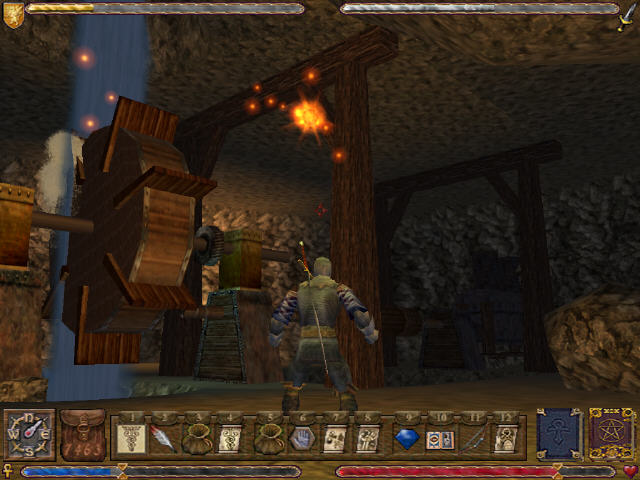
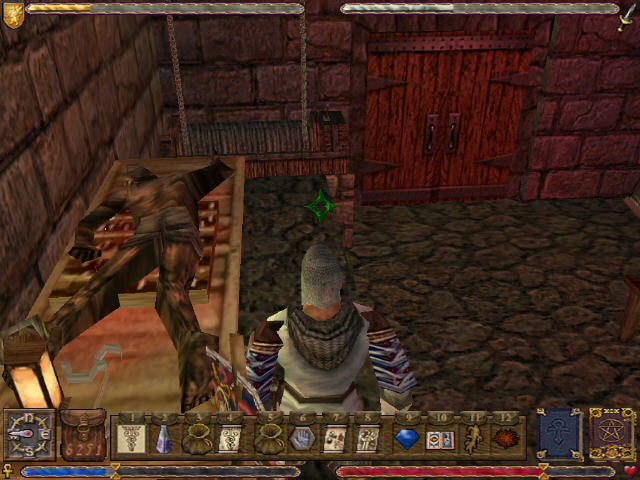
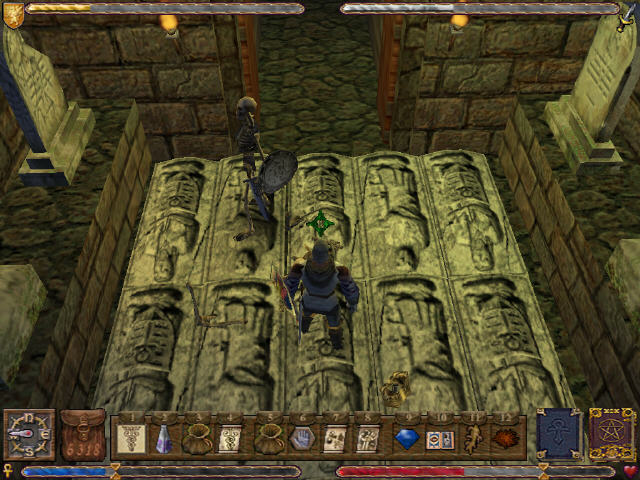
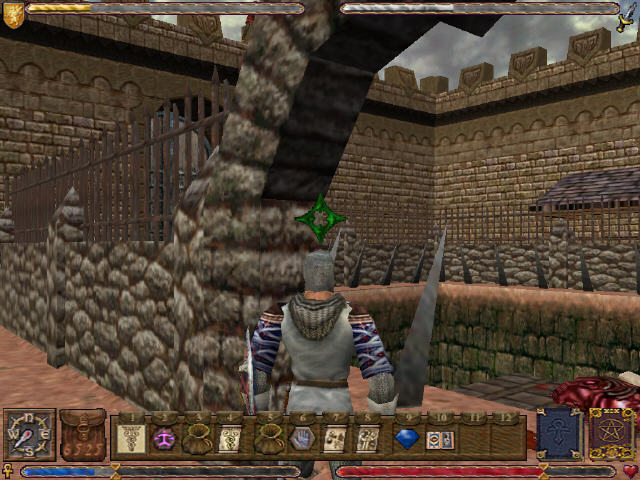
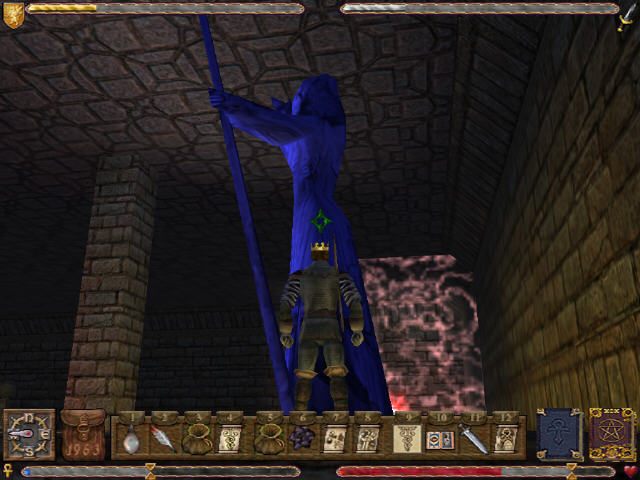
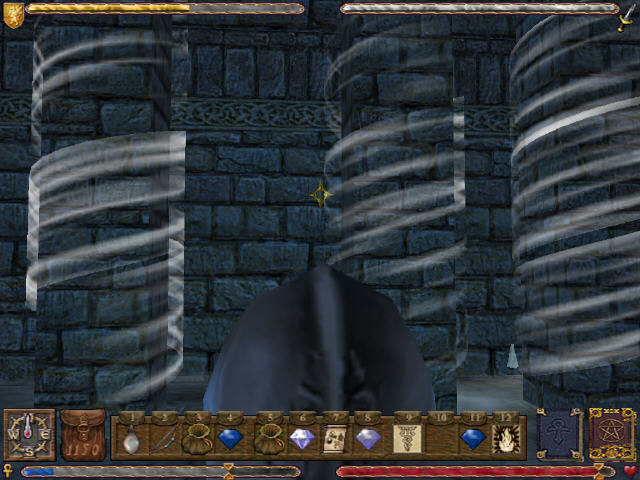
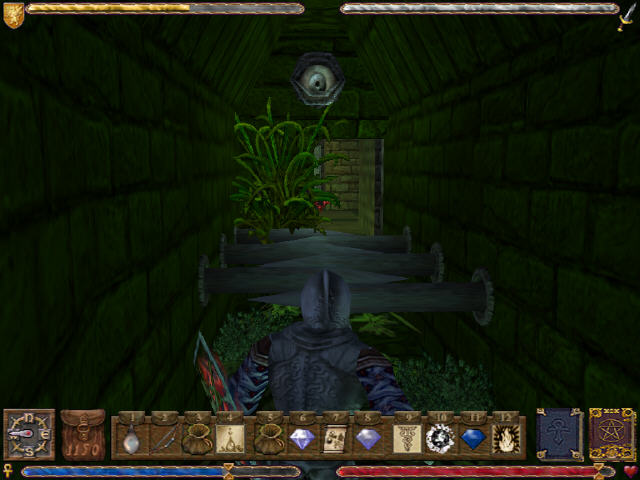
This is a strange dungeon in that the whole place is pretty much one room, but you don’t realise that at first as its split into two levels. It’s full of giant eyeballs that follow me across the room and generally make life difficult for me in one way or another. These ones here close a portcullis if they spot me but I can shoot the target up here a couple of times to rotate them away from the doors.
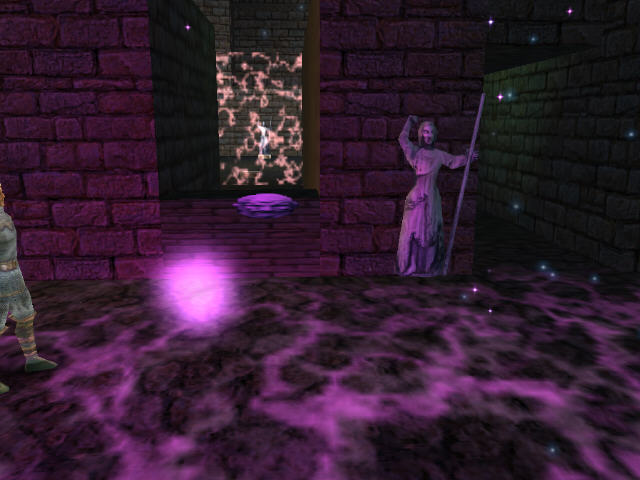
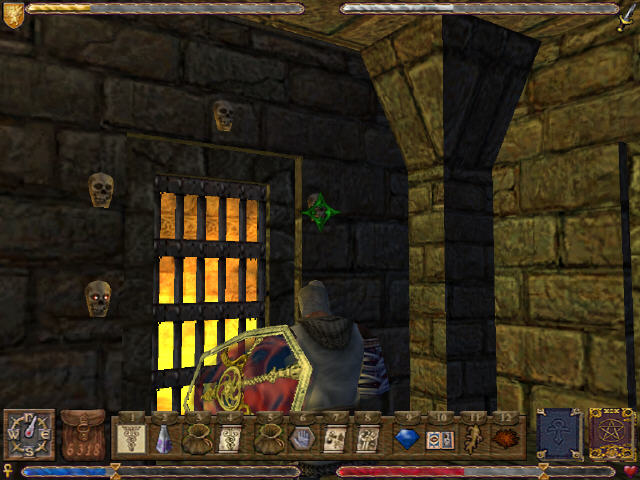
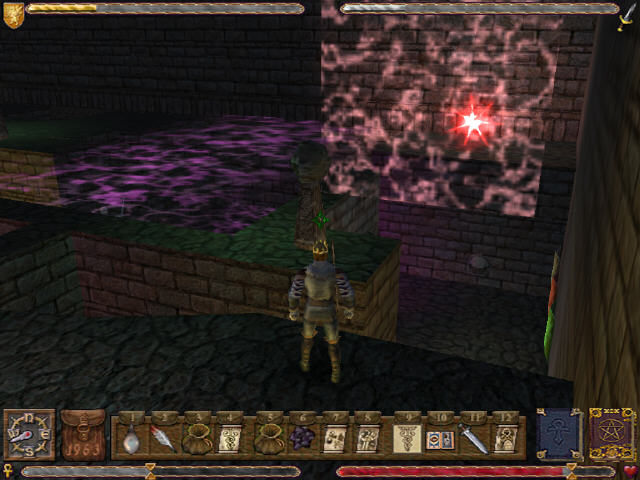
This place is one puzzle after another. The first puzzles involve getting energy balls to hit targets. This room for instance has a couple of blobs of light floating about which shoot fireballs and energy balls at me alternatively. I have to stand in front of the target and dodge so that the energy ball hits the target and opens up the wall.
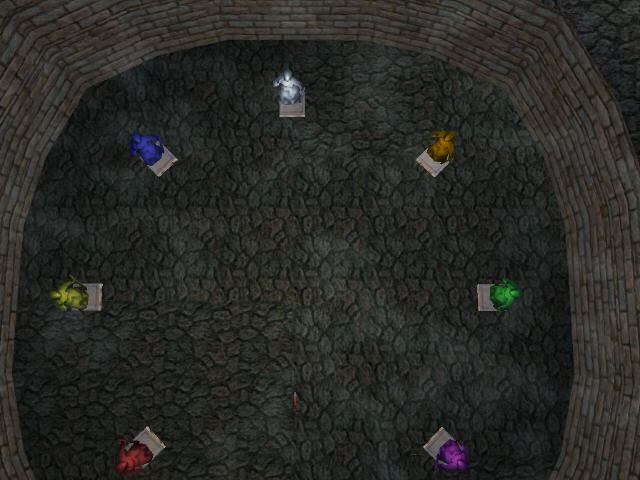
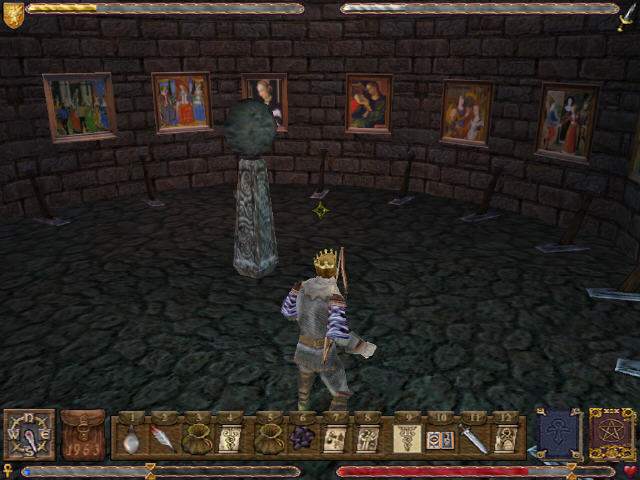
After a few of these puzzles I come across a room full of statues. Its not obvious but I have to touch each one while it is black.
I’m rewarded for my efforts by a globe that appears in the middle of the room.
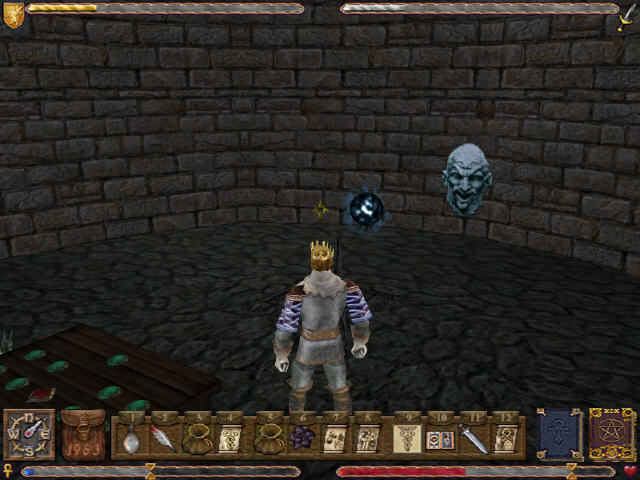
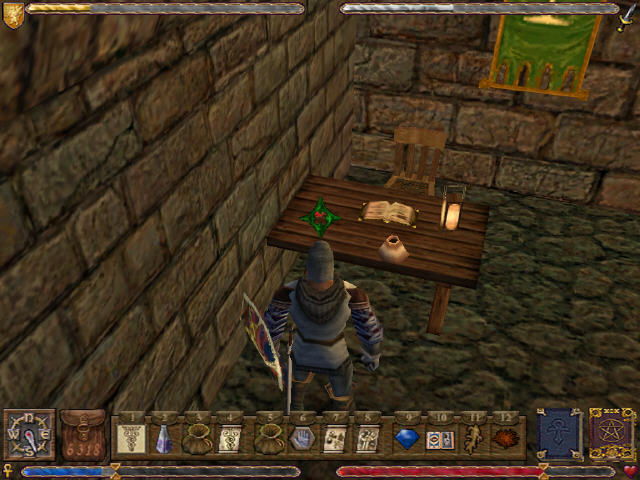
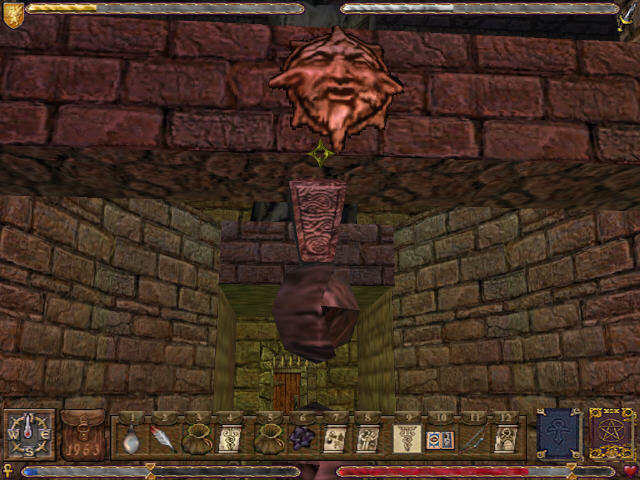
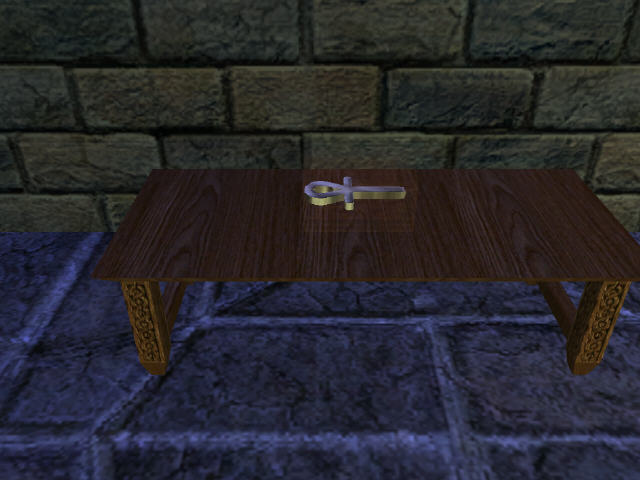
This room is another energy ball puzzle but this time I have to bounce an energy ball off face targets one after another. I can activate one target at a time using all the buttons on the table so its just a matter of learning the sequence.
In this circular room I have to run around the eyeball pulling all the levers without letting the eyeball see me. The eyeball rotates around so I need a couple of trips around the room to get them all.
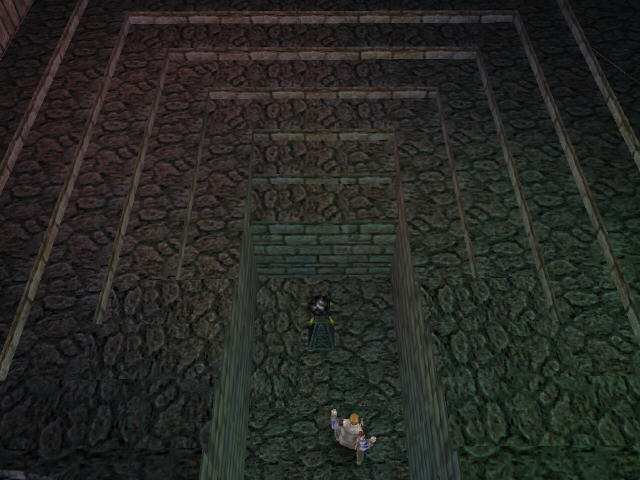
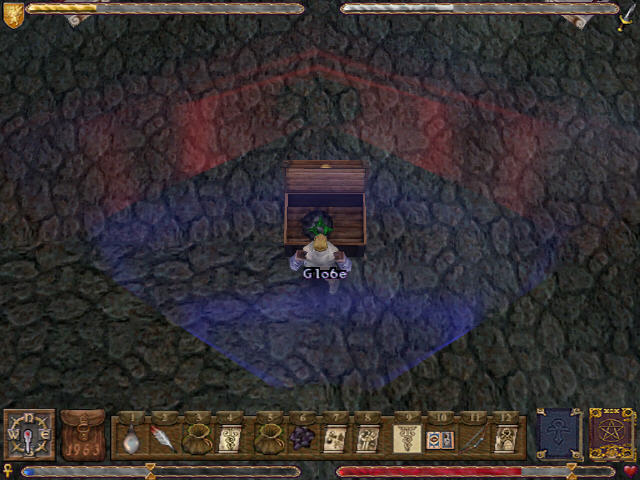
This gets me access to a claw holder where I place the globe I got earlier. This lowers the floor around me forming a giant stairway.
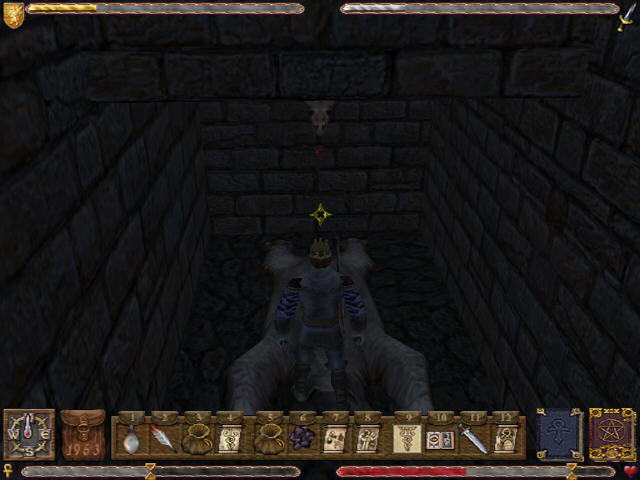
I now get access to the top part of the dungeon, the floor of which is effectively the walls of the rooms I’ve just been going through. For this stage of the dungeon I have to walk into three glowing areas.
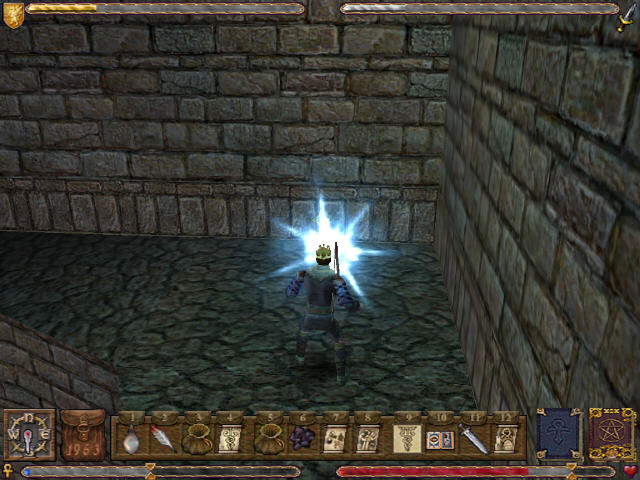
Walking into one of these changes my colour.
I then walk back to the giant statue up here and touch that. This changes the colour of the statue. I have to do this with two more colours now.
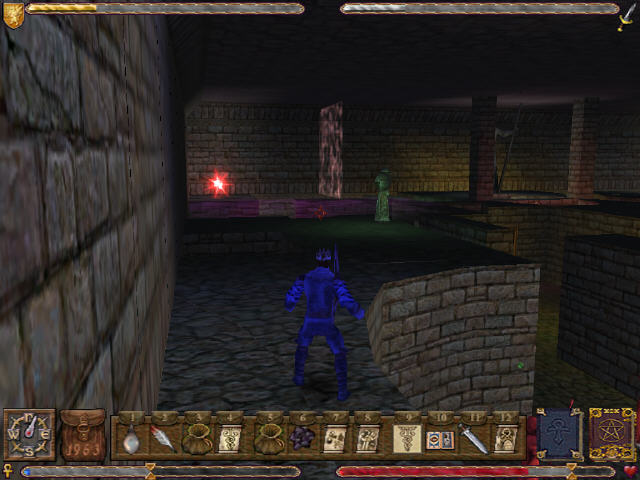
These next two are a bit harder to get to. The red light is behind a force field which I have to click a button below the giant eye to lower. The problem here is that all the eyeballs up here are shooting fireballs at me.
To get to the final colour I have to press a button that is in a small stairway, only accessible from the top level. This takes some finding but summons a lift that takes me over to the final light.
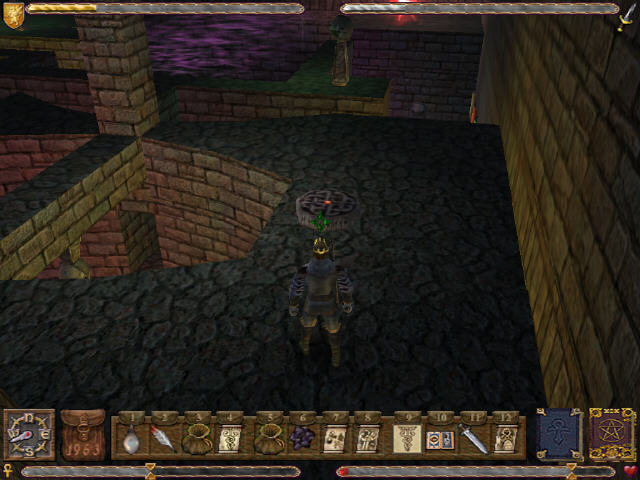
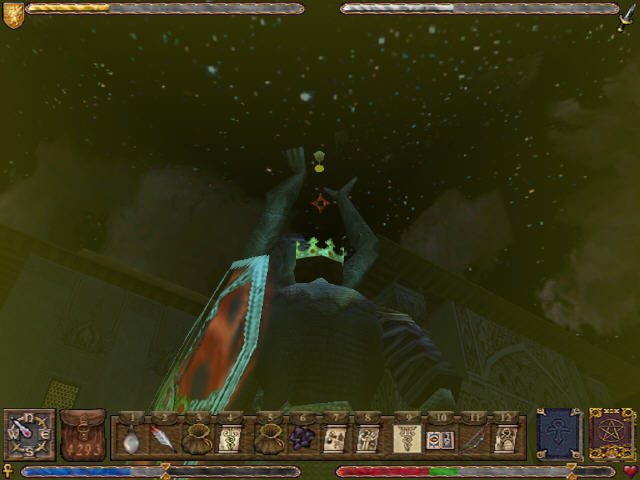
After using this the big statue vanishes revealing a hidden teleport underneath it.
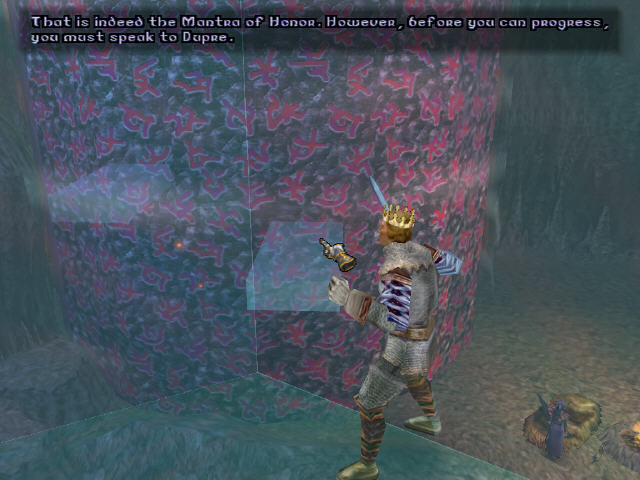
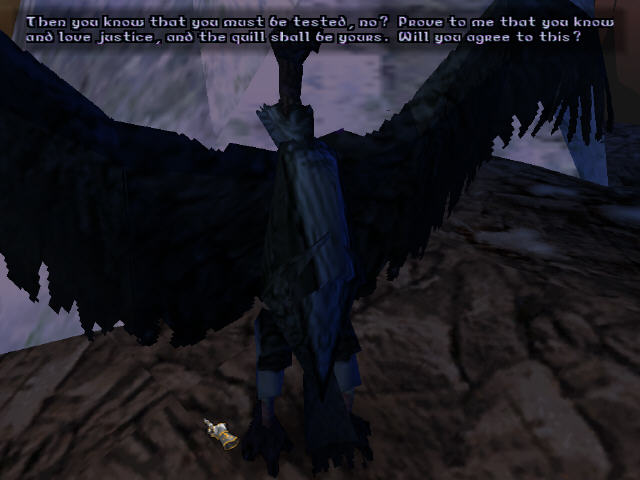
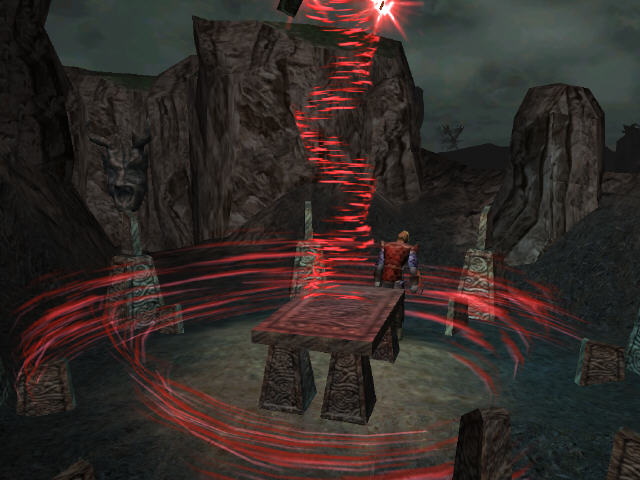
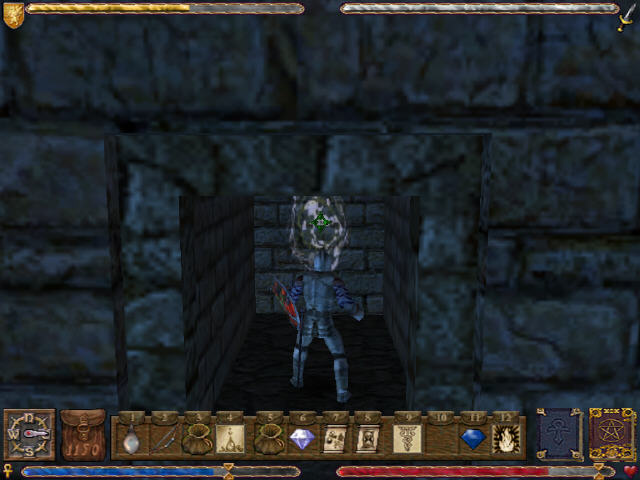
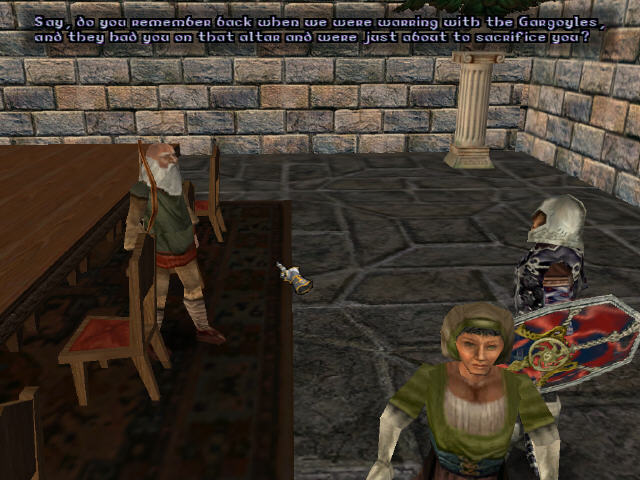
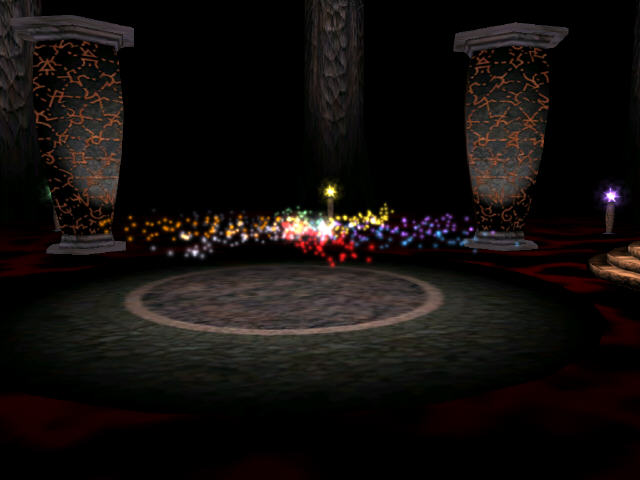
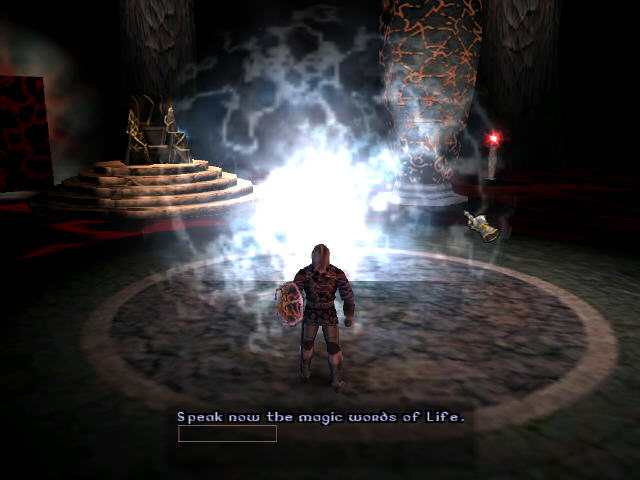
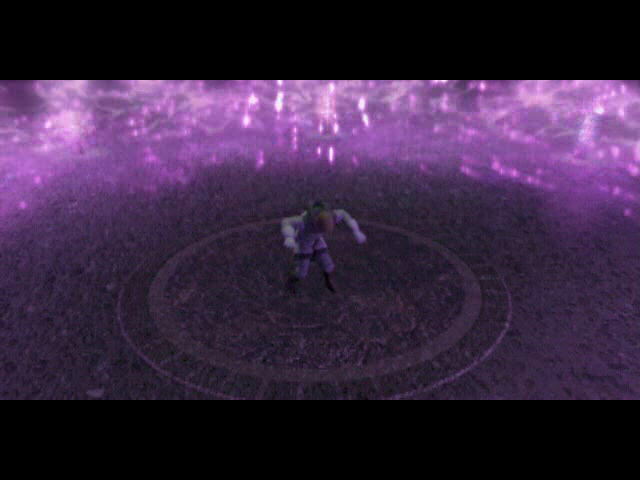
I arrive in a giant crystal. I’m asked to speak the mantra of honour. I’m not supposed to know this yet but I decide to say it anyway. The game isn’t fooled though and sends me back to speak to Dupre.
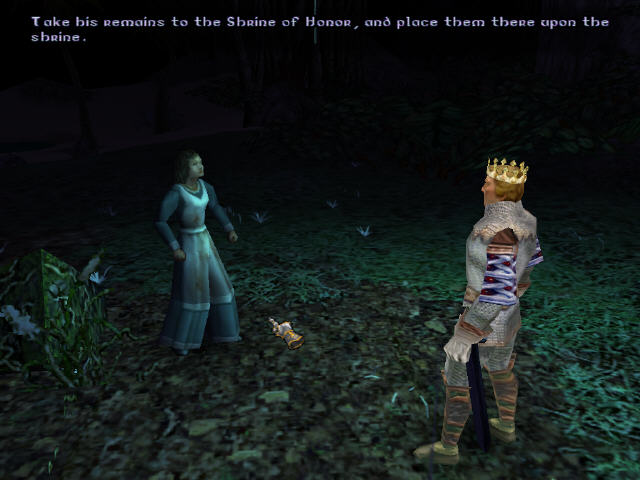
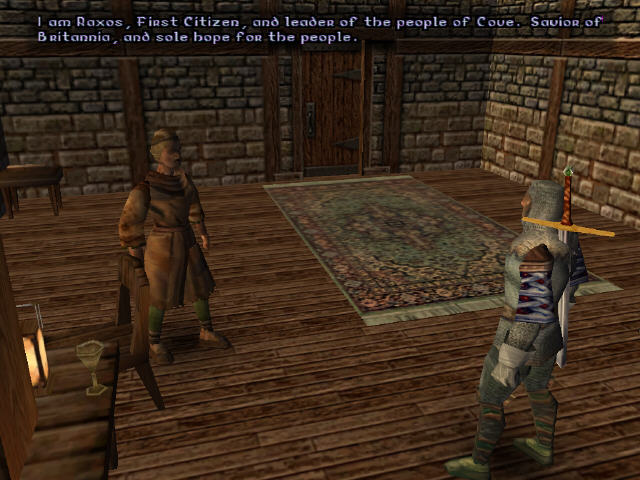
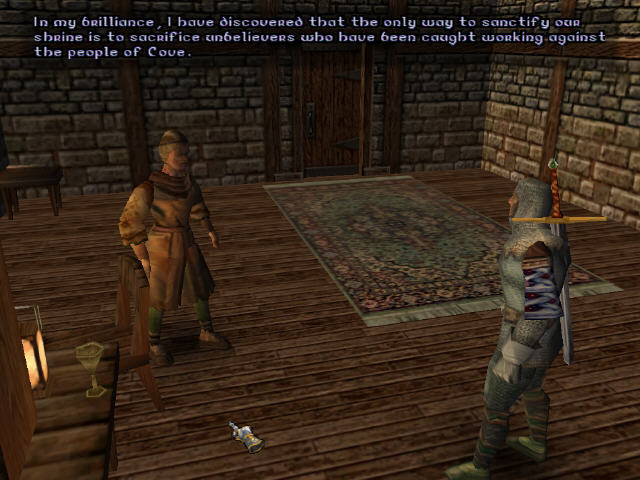
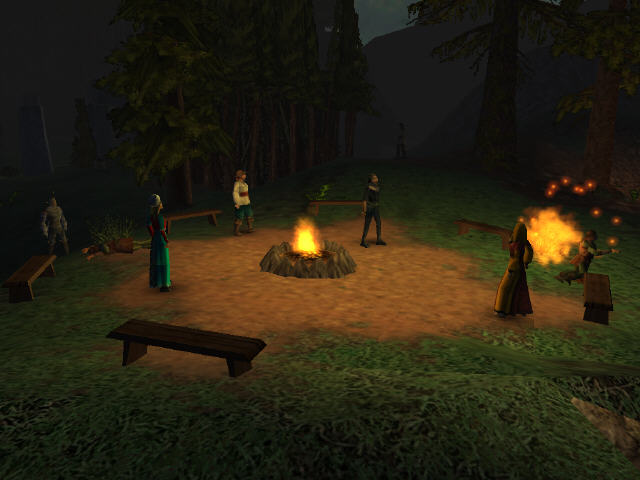
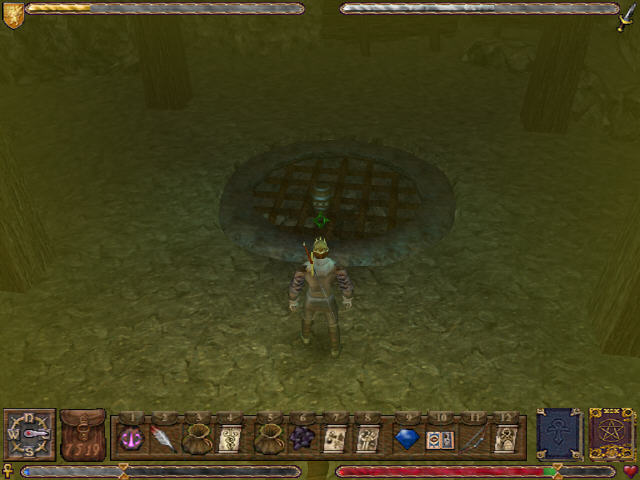
It’s time for some more exploring. I discover the shrine of honour in the middle of a load more goblins. The shrine keeper tells me that I should use Dupre’s ashes on the shrine.
Dupres ghost appears and tells me the mantra and sends me back to the crystal barrier again. I’ve just done this but do learn that the chalice of honour is behind this barrier.
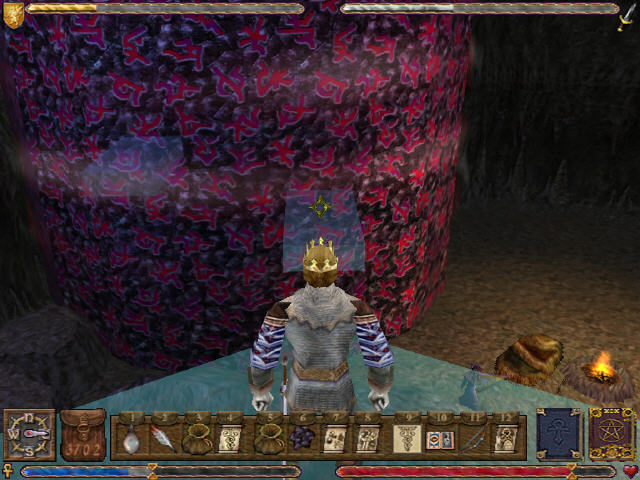
It’s a long trek back to where I was before. This time the walls of the barrier vanish when I speak the mantra.
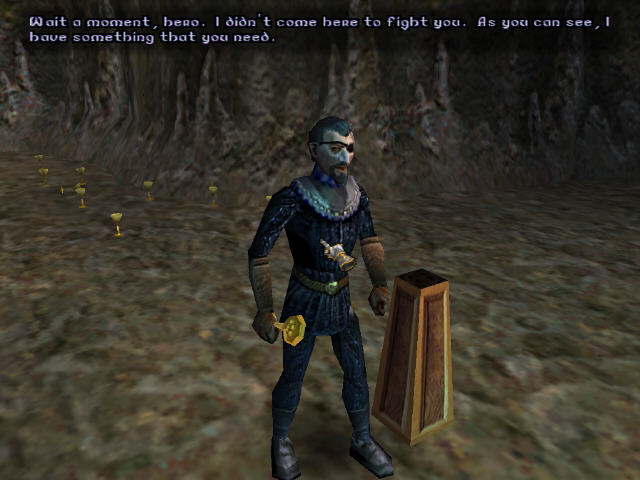
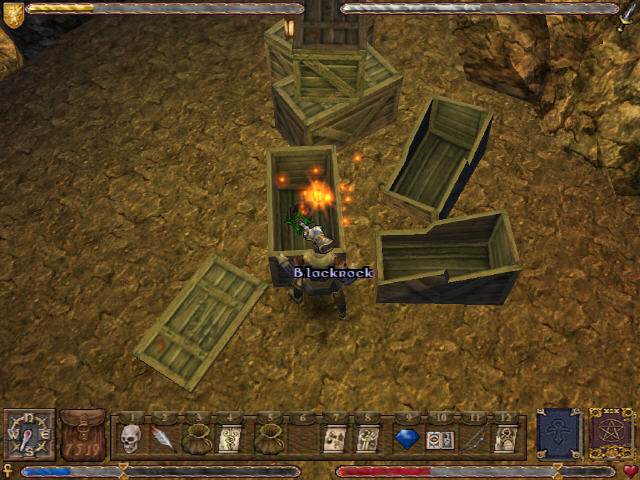
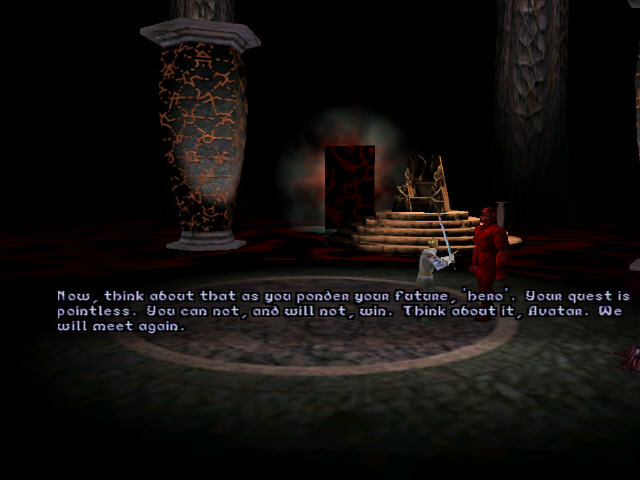
Before I head down to the column, there is a suspicious looking passage behind me which I head down and discover Blackthorn stealing the chalice.
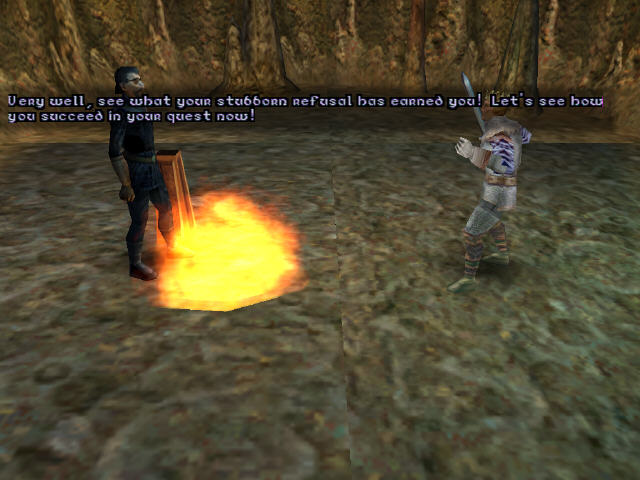
He wants me to hand over the lenses in return for the chalice. I wouldn’t trust him in a million years and refuse – in revenge he destroys the chalice before teleporting away.
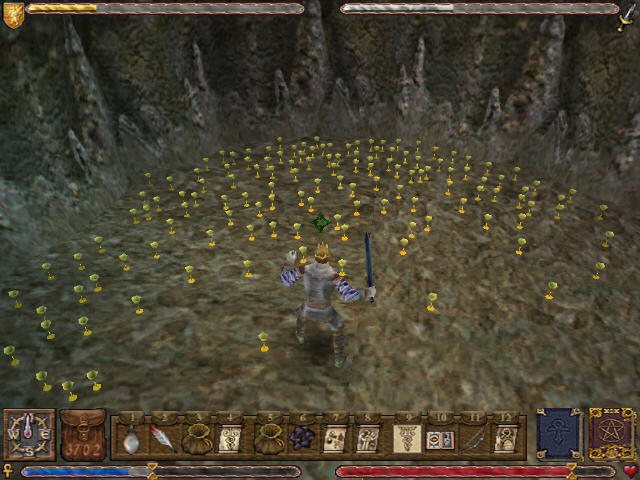
There are plenty of alternative chalices in here – I decide to just grab one of them instead.

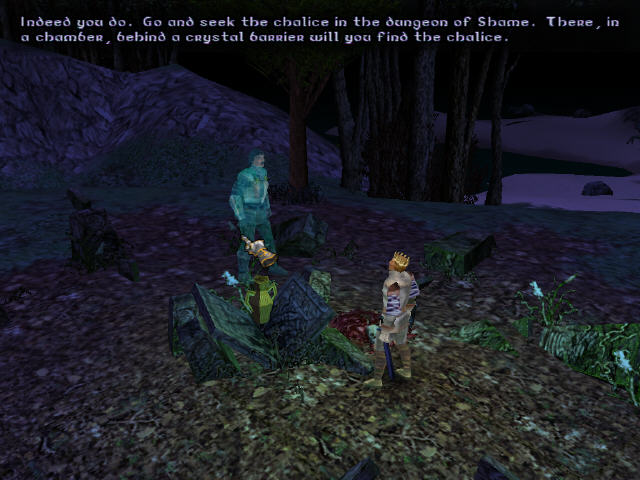
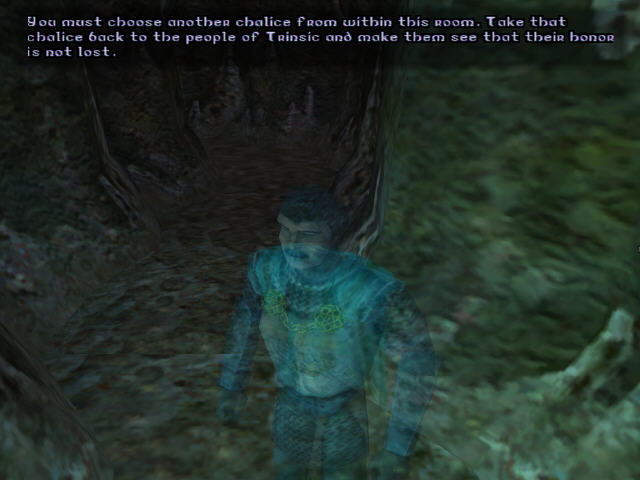
Dupre’s ghost appears again on the way out. He tells me that the chalice isn’t a physical object but a symbol of the honour of the people of Trinsic. He gives me instructions to take a chalice from here and to bring the people of Trinsic around to imbue it with the necessary virtue.
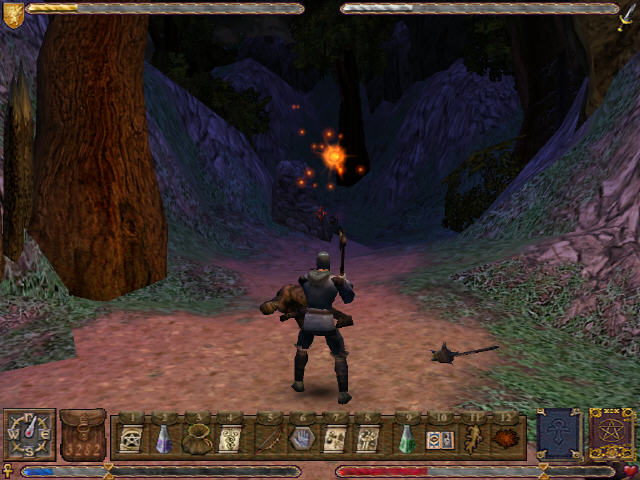
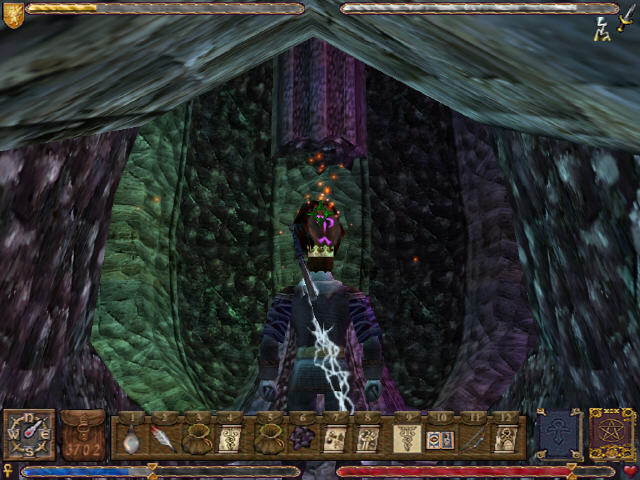
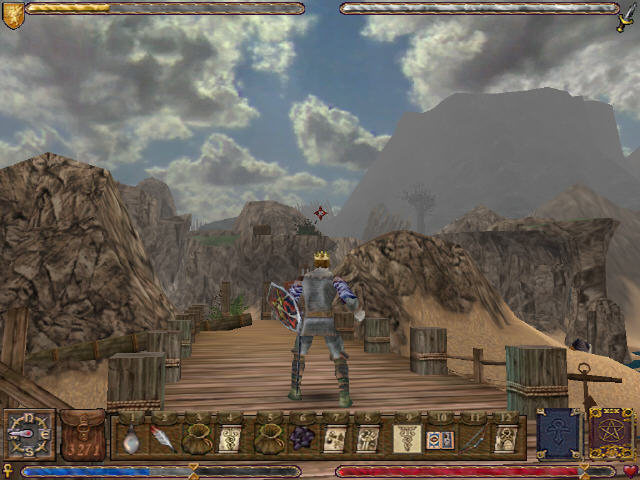
Before I can do that, I need to head down to the column and get the glyph. On the way I find a lightning sword. This looks like it should be really effective but is really quite disappointing and does less damage than my old sword.
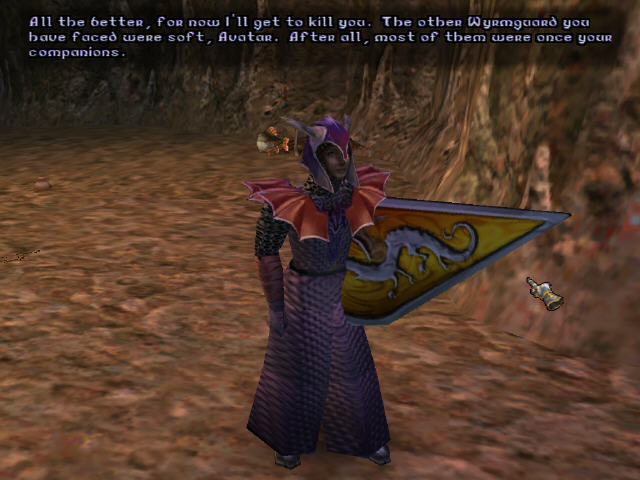
Another wyrmguard stands between me and the glyph. Since Dupre’s already dead its not one of my old companions this time around. They take a lot more strikes to kill than any of my companions did but this is probably due to the rubbish lightning sword that I’m still using.
Once they are down the column opens up and I fetch the glyph.
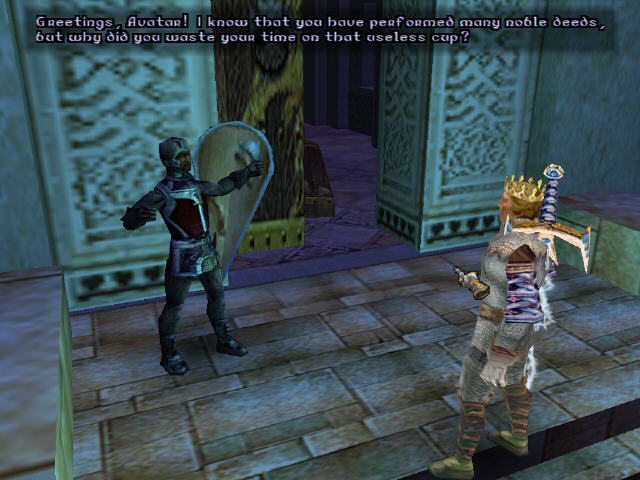
Back in Trinsic, the guard at the Bastion isn’t too impressed with my new chalice. He does tell me that I need to use the chalice at the feet of the statue here.
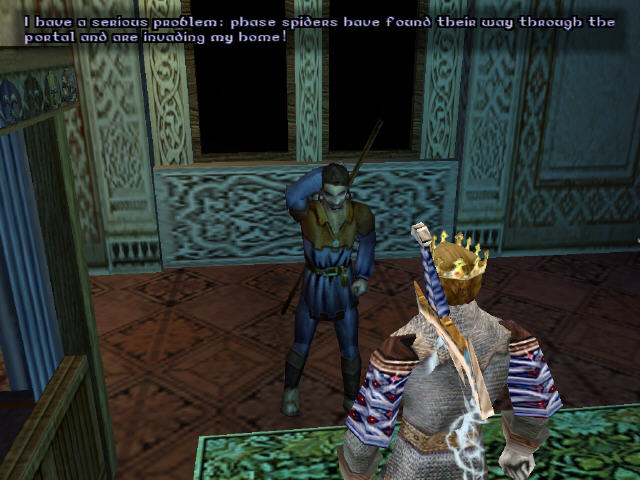
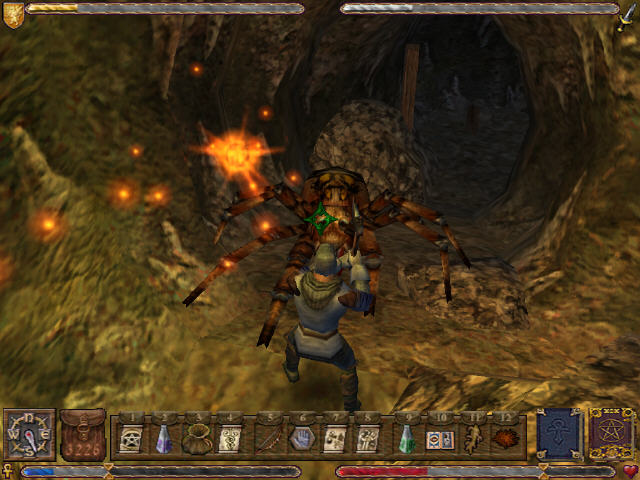
Before I do that I head off to meet the new resident in the inn. He has a problem with phase spiders attacking his house and needs a paladin to close off the portal letting them in.
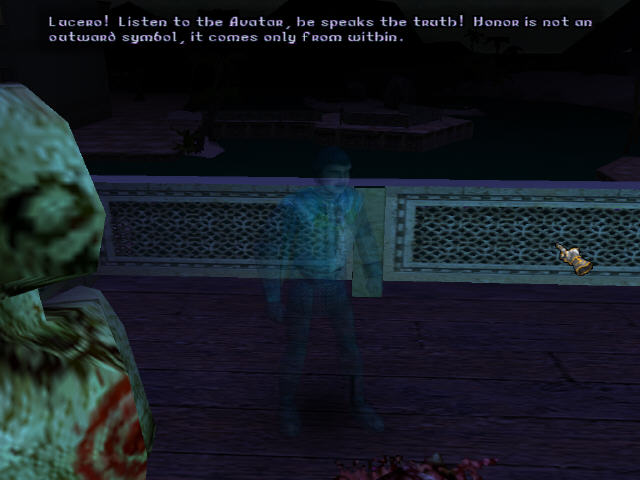
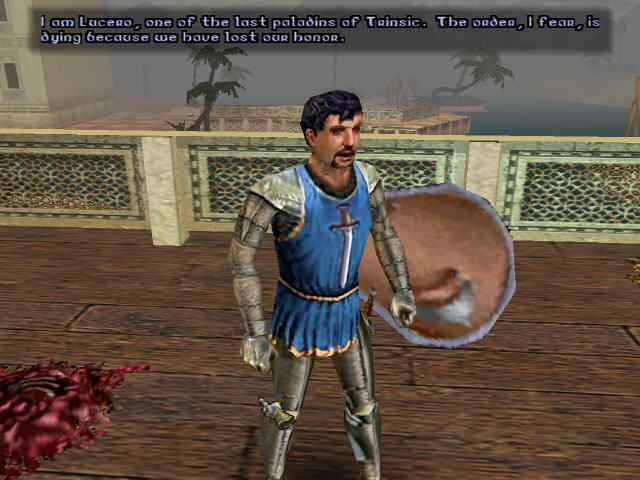
The only likely choice around here is Lucero and I try to talk him into helping me out. He isn’t having it until Dupre’s ghost shows up again and talks him into it.
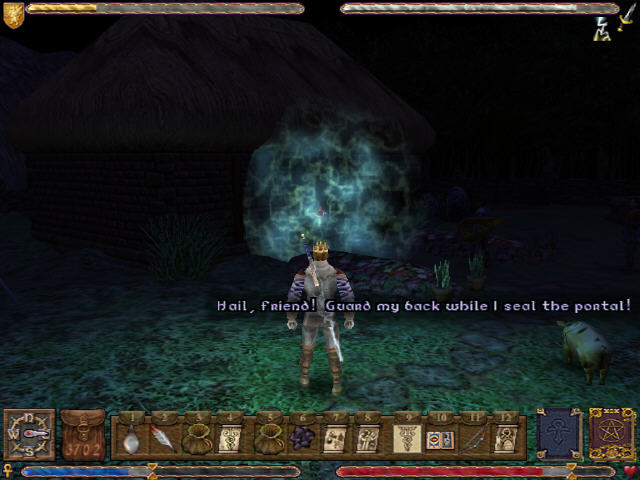
Spotting the right house isn’t a problem as I can hear the lightning and see the portal from a mile off. Lucero is already here when I arrive.
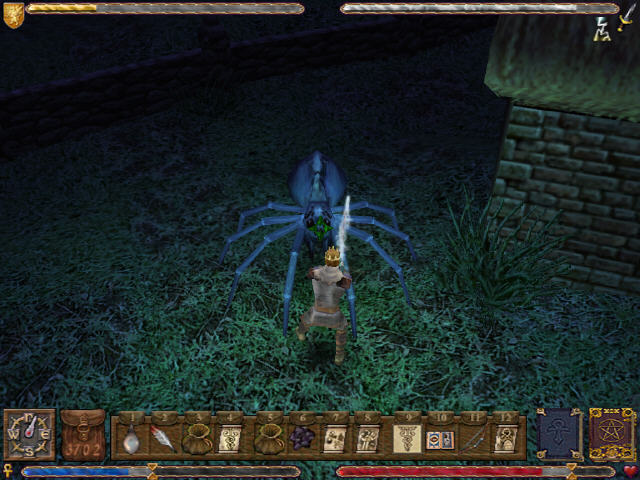
I just have to hold off the phase spiders while Lucero does the rest. These things are tough at least with my current weapon and they take a lot of hacking at to bring them down. They are pretty much the same as normal spiders except they have to ability to move at lightning speed and suddenly appear right on top of you.
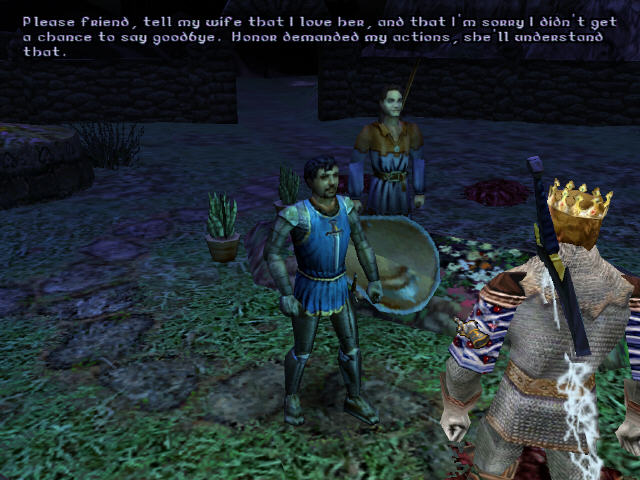
Lucero stands there telling me how he has been mortally wounded after the portal is closed. He has at least shown honour which is all I needed.
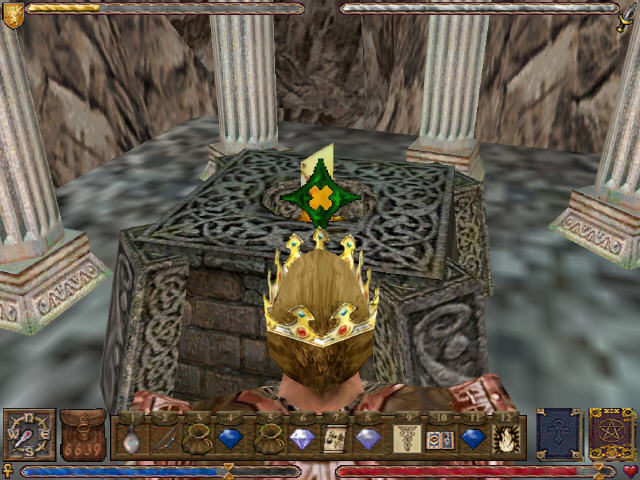
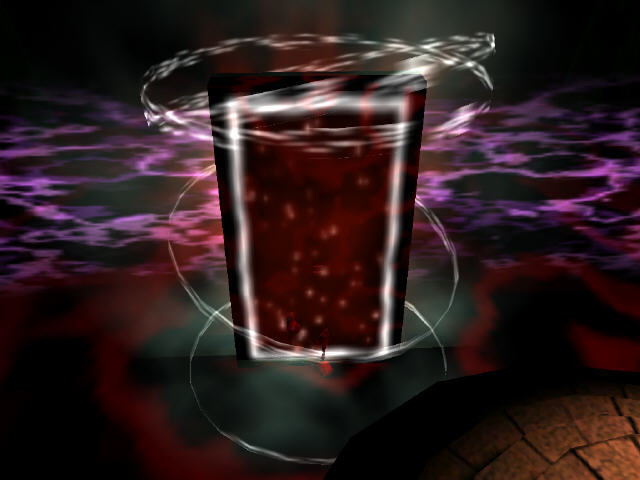
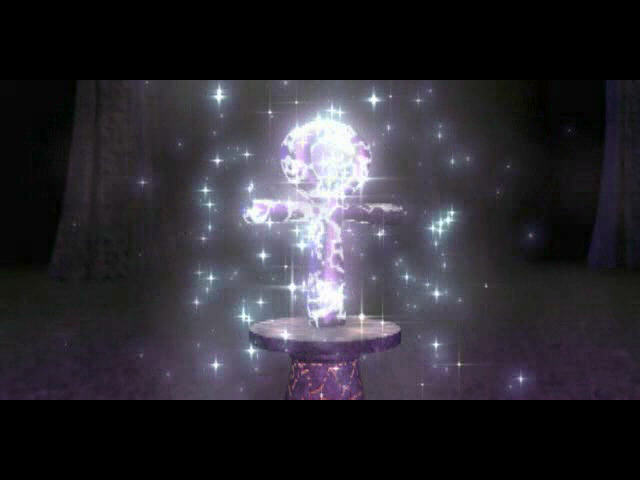
I take the chalice to the statue and place it at its feet. The chalice is sucked up into the statues hands and transformed into the sigil.
I’ve got everything I need to cleanse the shrine. Thats 6 out of the way.
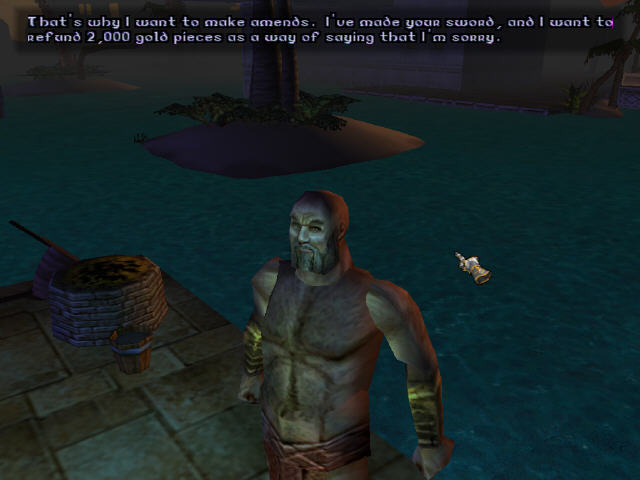
The ghosts are gone in Trinsic now and the shops have opened up. I head for the blacksmith and he apologises for his previous behaviour and hands me the sword + a 2000 refund. The blackrock sword is pretty much the games ultimate weapon and completely maxes out my attack bar at the top of the screen.
I don’t know what happened to Jhelom but next up is Valoria which is a new town for U9.

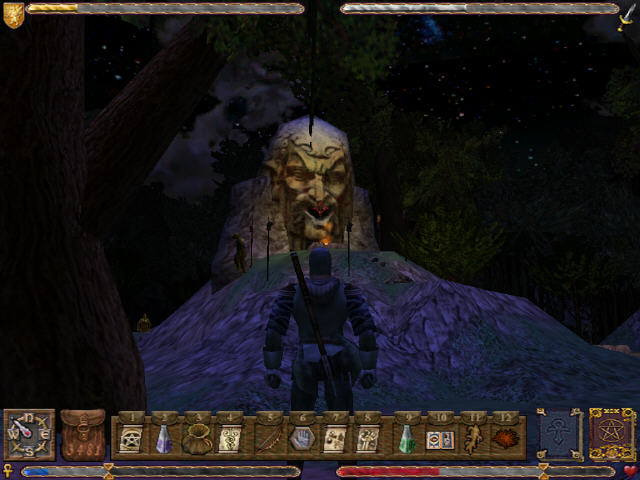
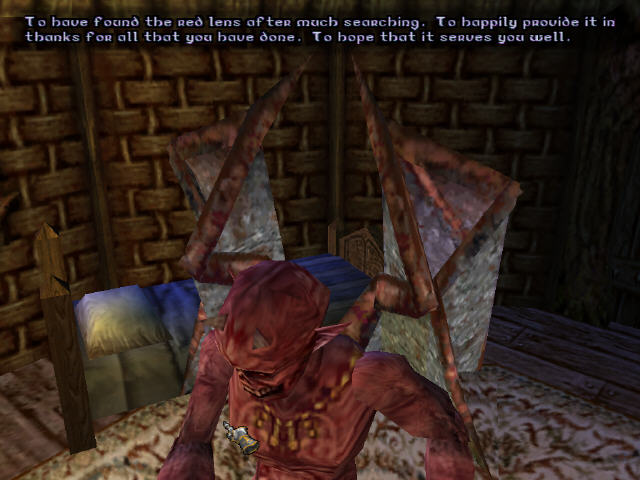
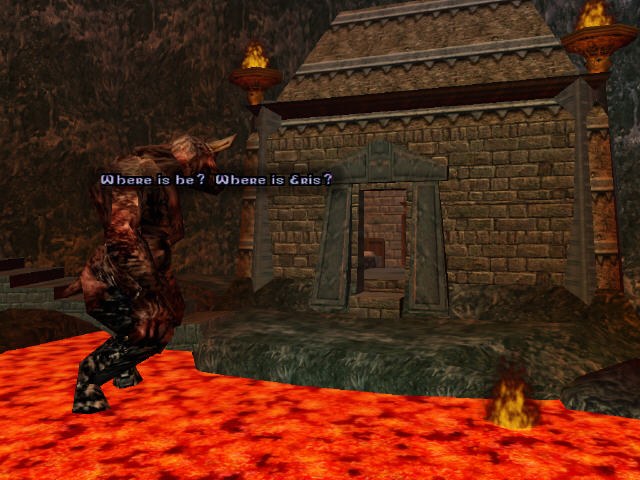
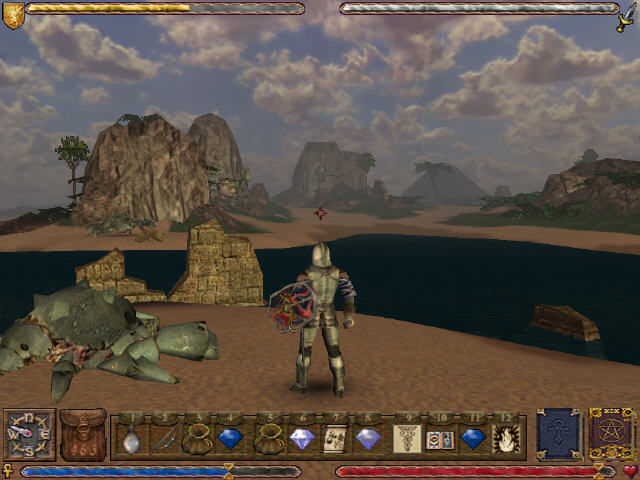
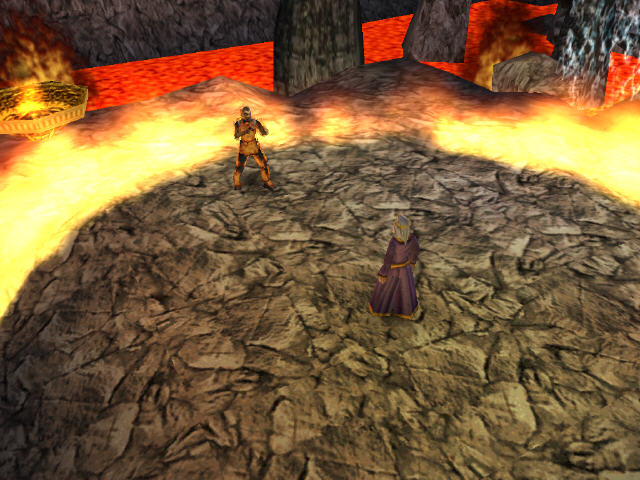
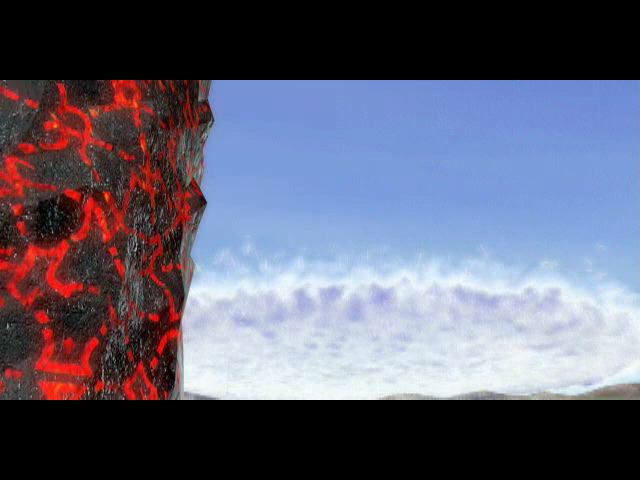
Valoria is a volcanic island which must have appeared since U7. I discover a dying knight as soon as I arrive who hands me a shield to give to his brother.
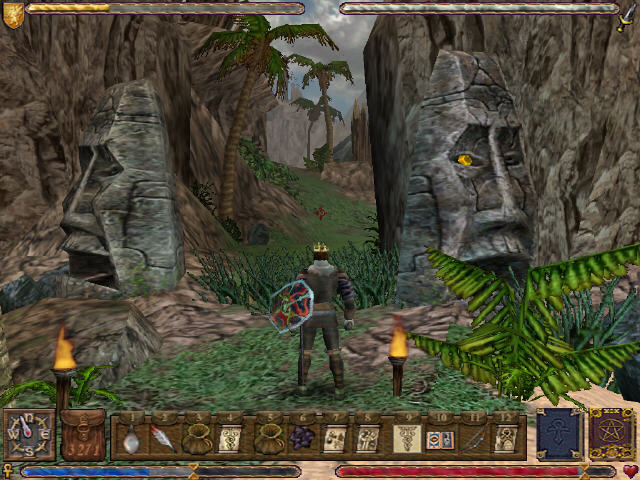
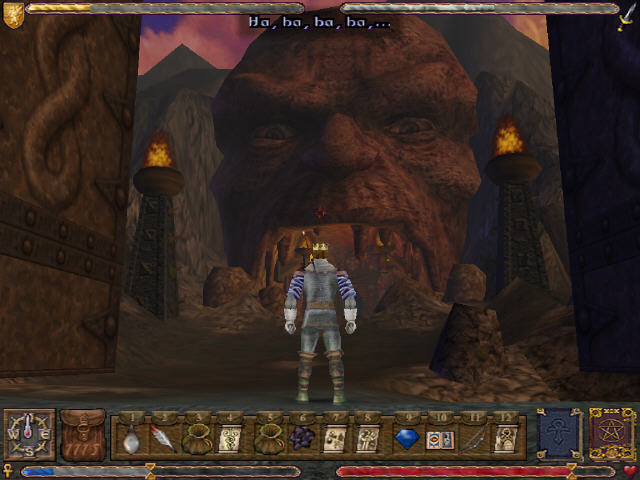
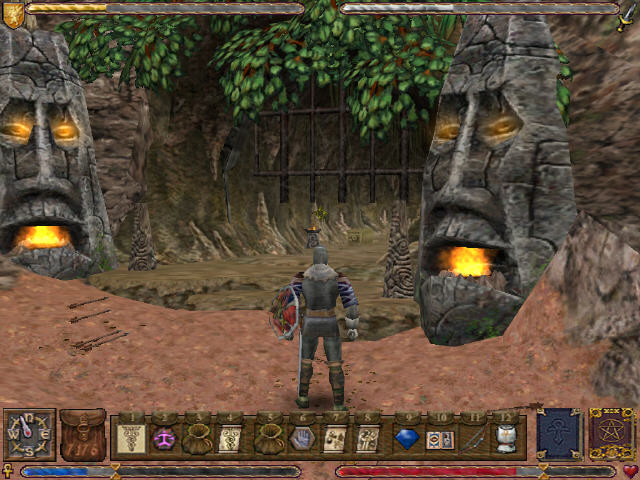
The entrance to Valoria is between two giant heads. Clicking on the heads lowers some spikes that guard the way in.
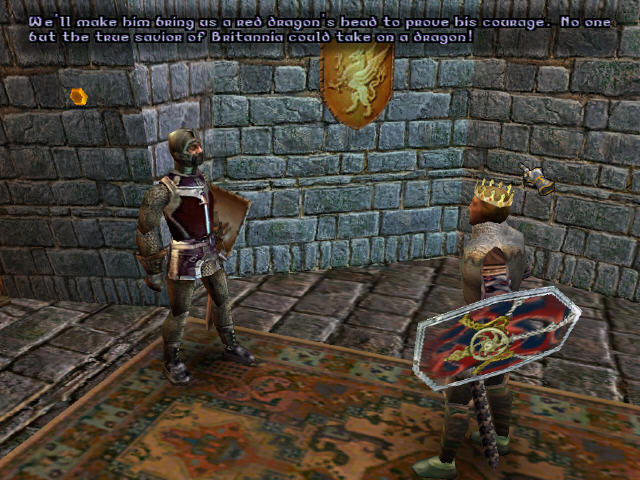
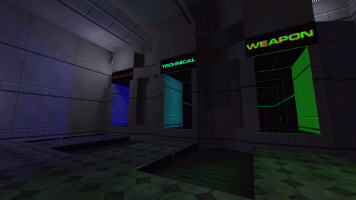
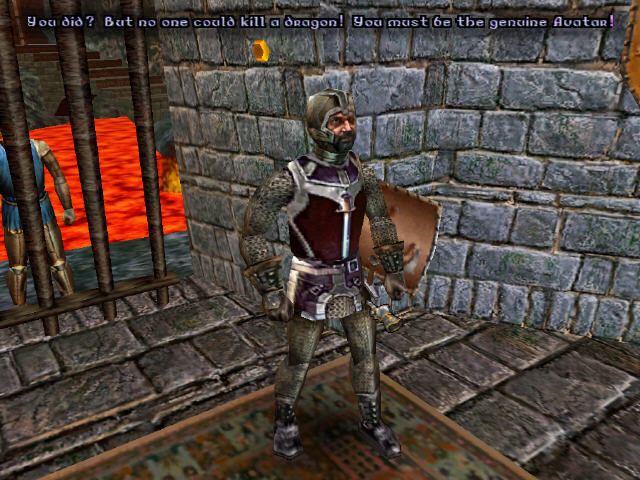
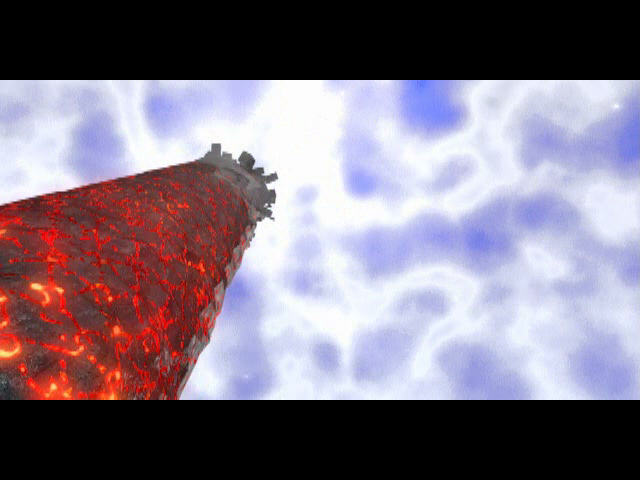
The town is actually inside the volcano itself, which is an act of courage if I ever saw one. The residents are scared of some demons that have moved into the area and won’t let me in as they need to guard the sigil of valour (a dagger). First I have to prove I’m the avatar by bringing a red dragons head. There happens to be a dragon in Destard – I’m told the entrance is frozen over with ice. I think I saw this ages back in my travels around Yew so I’ve got a good idea where to look.
There isn’t much else I can do around here so I head back to the ship after some exploring. Raven is being attacked by zombies which I take out on my way in.
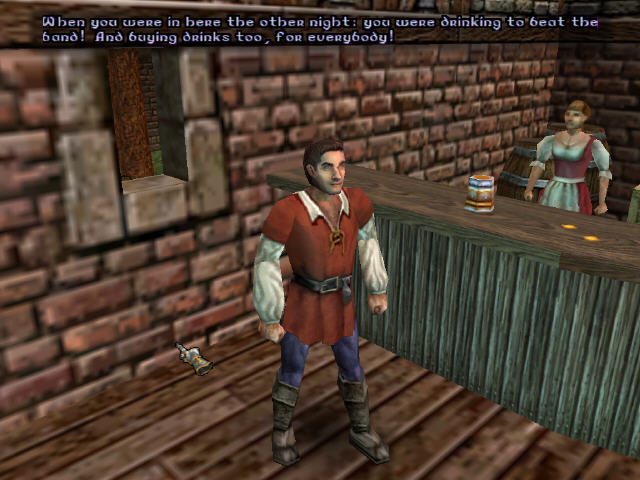
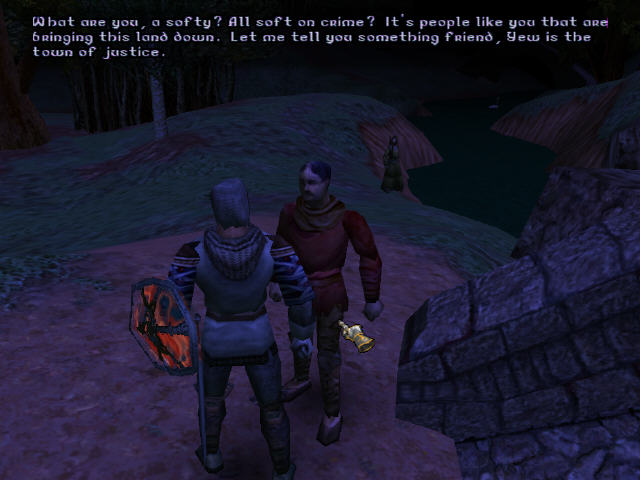
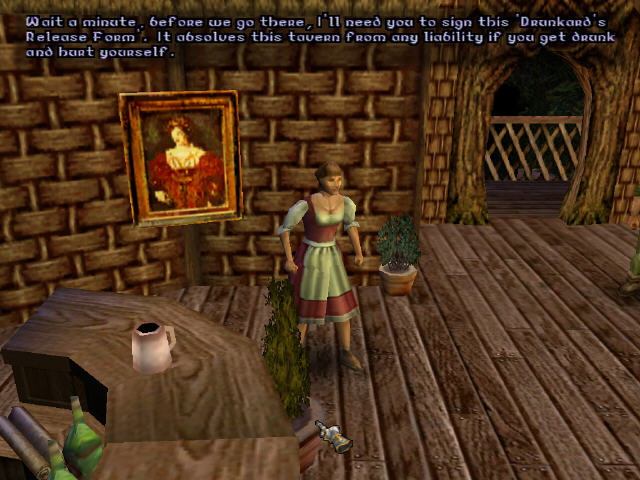
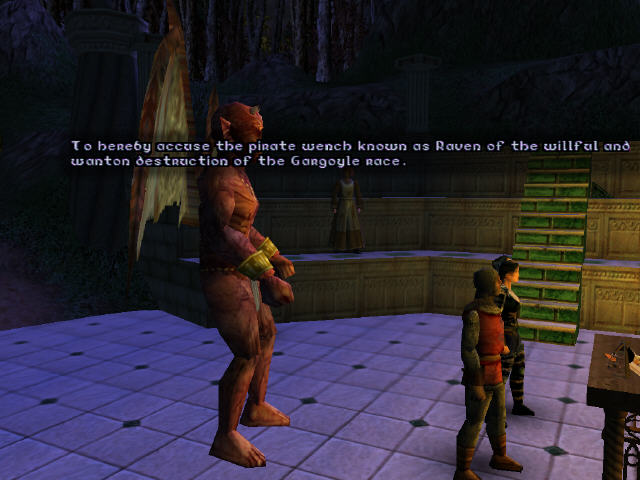
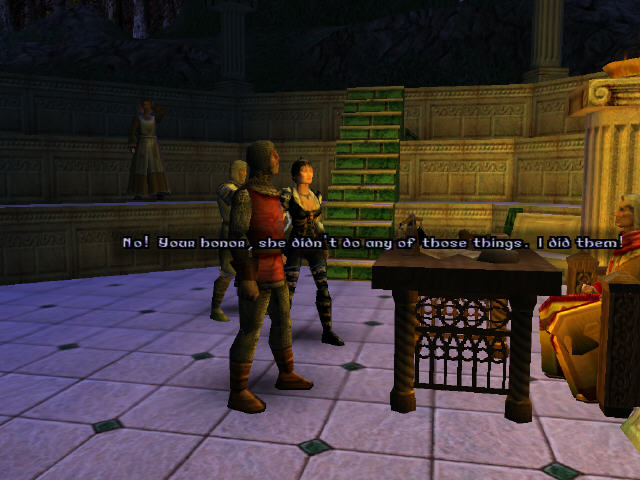
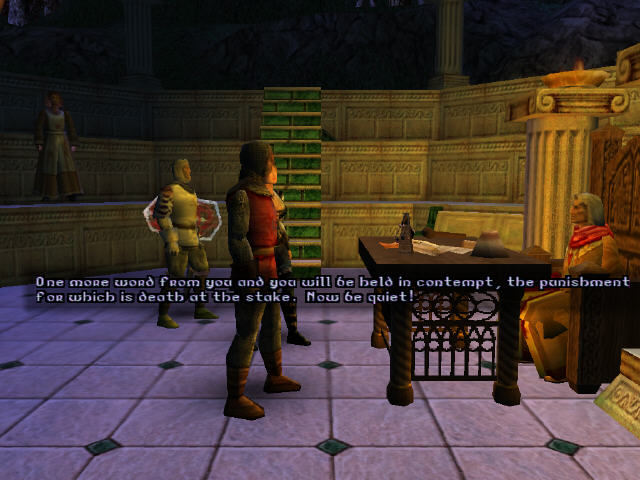
A few things have been going on in Britain in my absence. I’ve supposedly been in the bar getting drunk, buying drinks and not paying my bills. This has to be the work of my “biggest fan”.
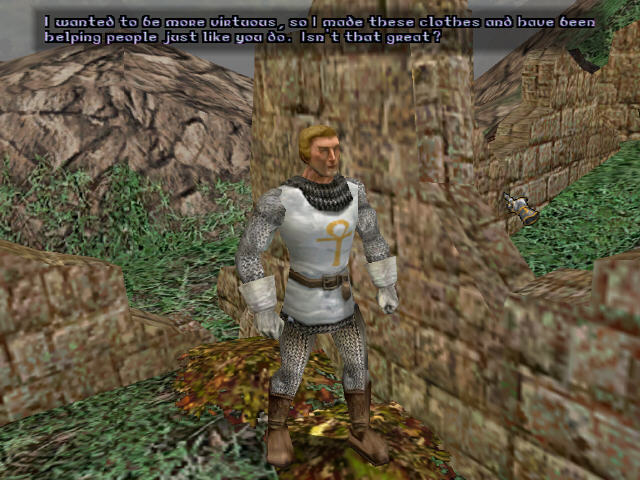
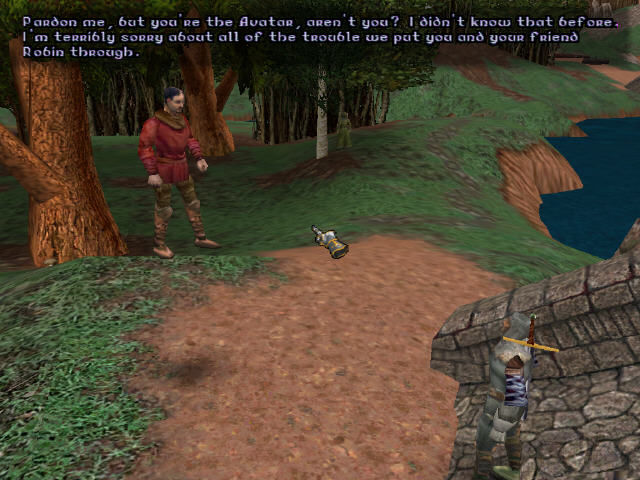
I find him skulking in a ruined building near the shrine. He was actually trying to promote the virtues with his actions and in a painful exchange of words that sounds like it belongs in Sesame Street, I lecture him on being his own person and not to hurt anyone by not thinking about the consequences of his actions.
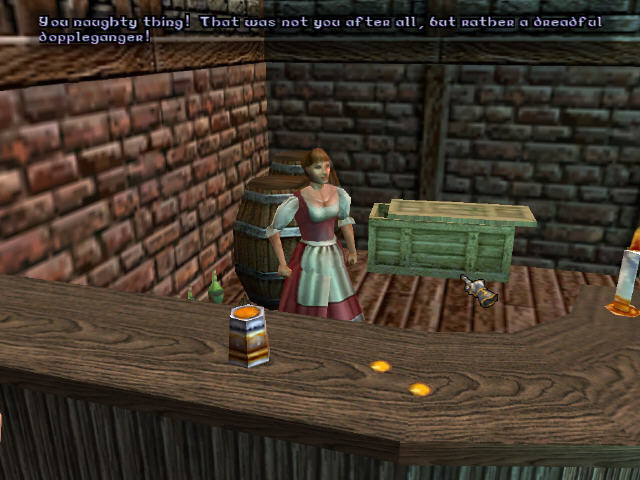
This restores my reputation back at the bar but doesn’t net me any rewards.
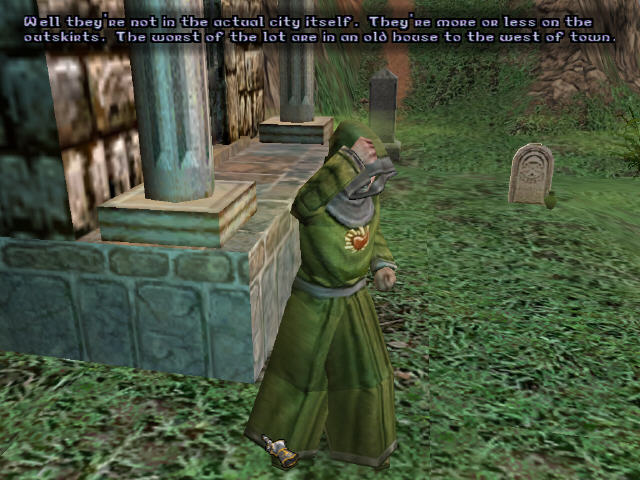
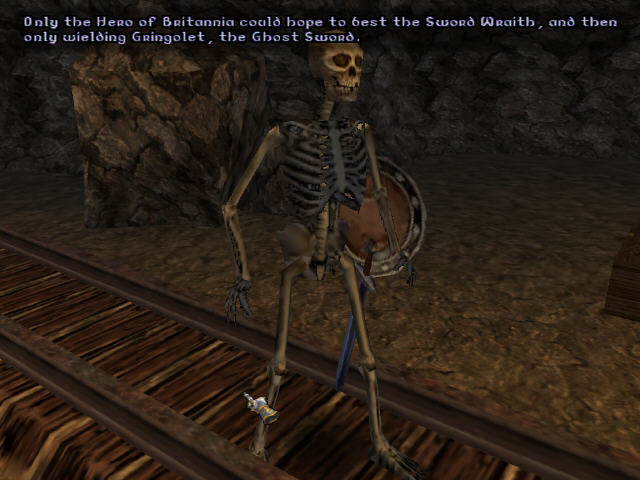
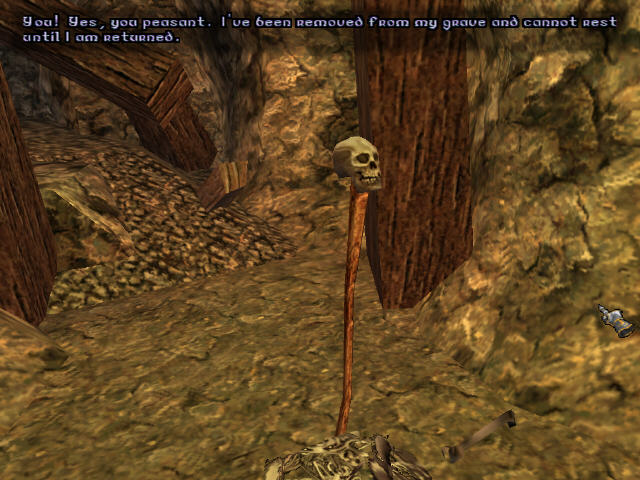
I get lumbered with another task. The undead are still escaping the graveyard, thanks to the keepers previous laxity and I have to go the house west of Britain to clear out some particularly nasty skeletons.
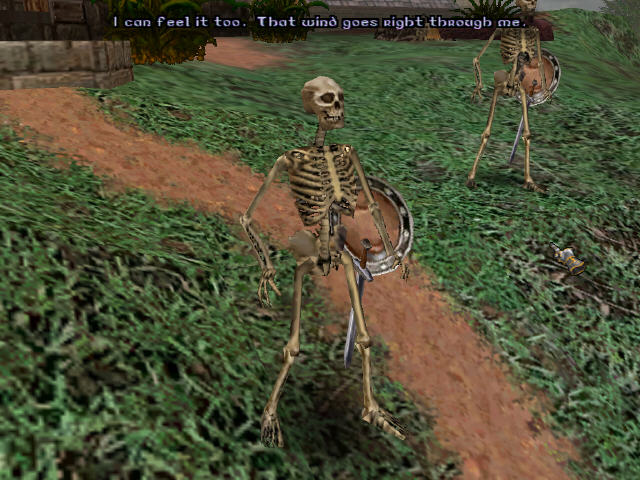
There are three of them to take out, including the leader who has a giant ruby for an eye.
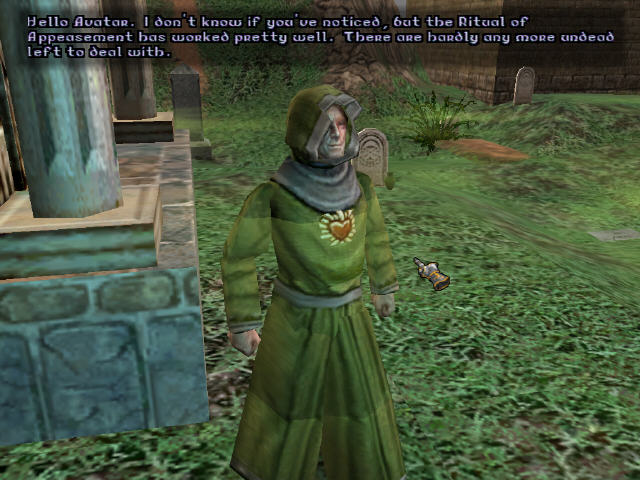
This seems to have done the trick and Britain is safe again from the walking dead for the meanwhile.
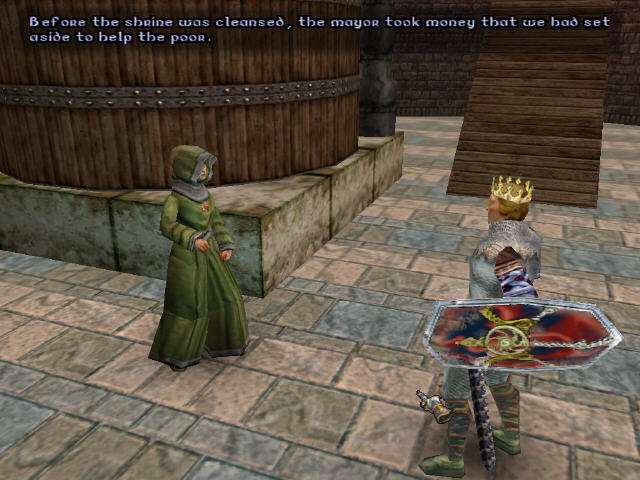
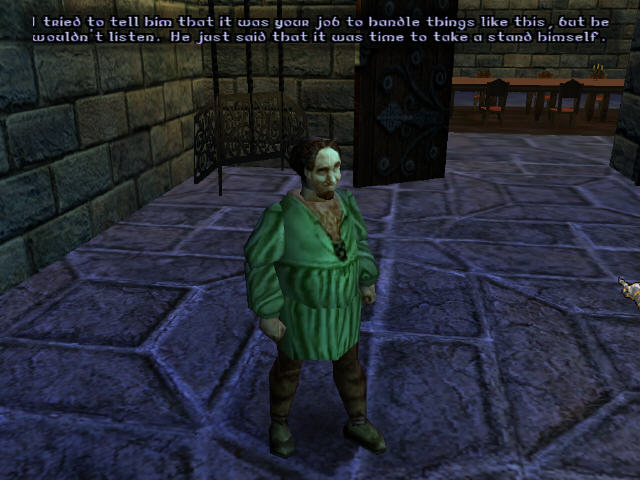
My work still isn’t done. At the cathedral, I discover that the mayor has not returned charity money that was taken before the column was fixed.
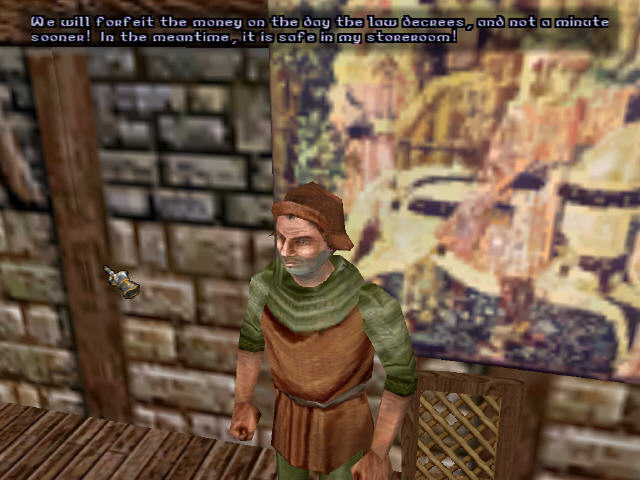
The mayor is letting his assistant handle this but Killigan is less than apologetic and refuses to hand over the money right now.
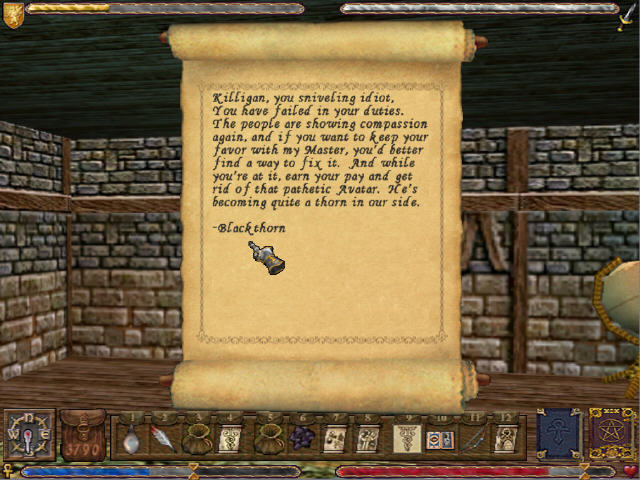
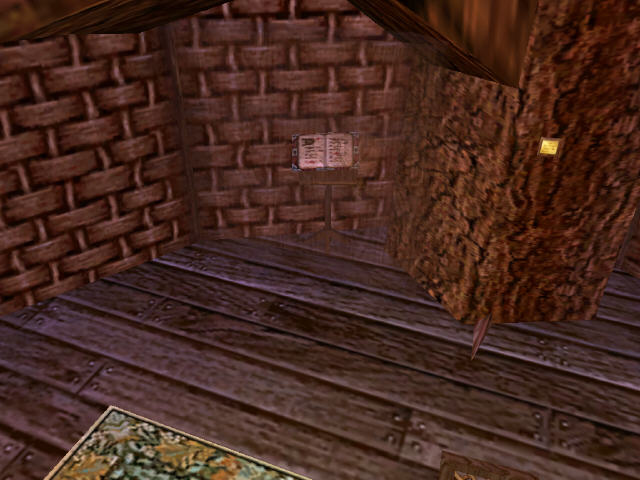
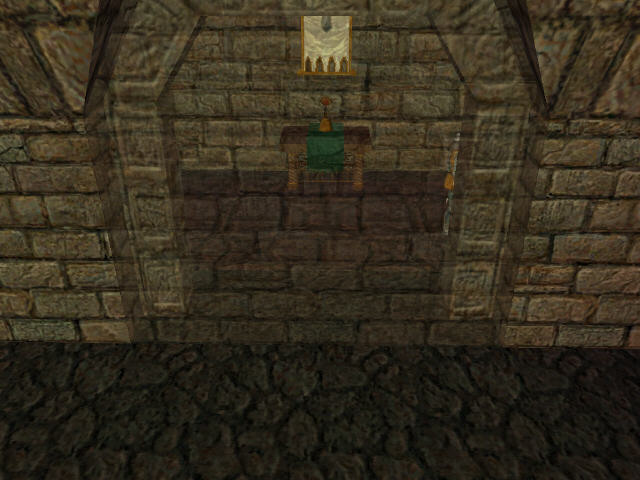
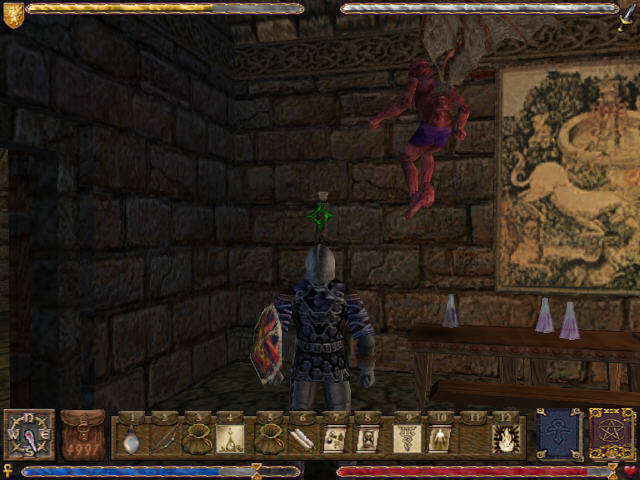
I therefore take it upon myself to find his storeroom and return the money myself. His storeroom is just behind a tapestry. I locate it by noticing that the room he hangs around in is much smaller than the outside wall of the house. In here is a scroll revealing that Killigan is working for the guardian. In order to see this scroll, I have to use the conveniently provided ethereal sight spell that is in here.
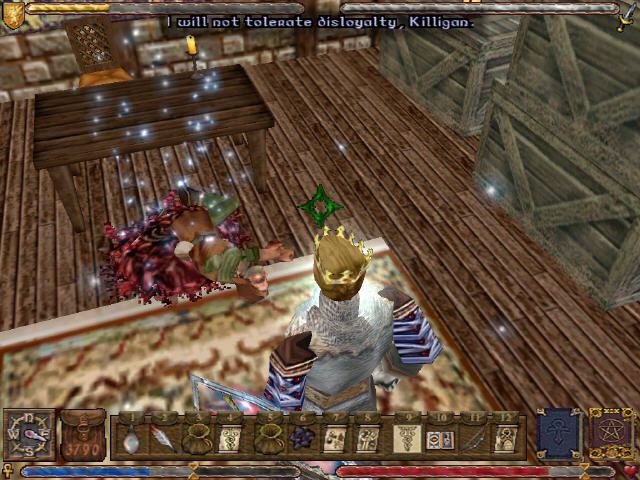
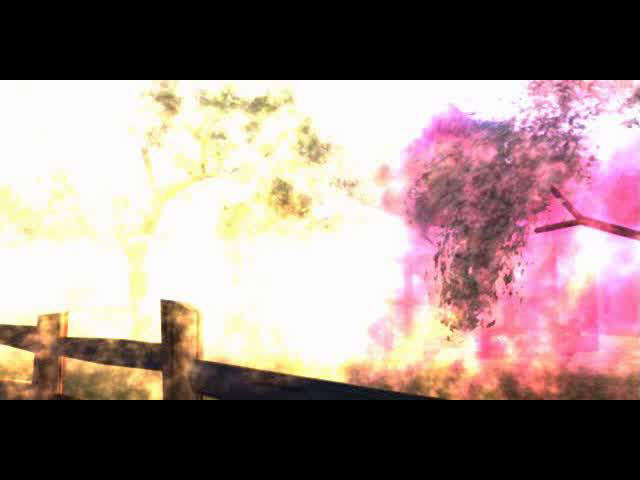
I go back to confront Killigan and he eventually confesses. The guardian doesn’t take well to this and incinerates him on the spot.
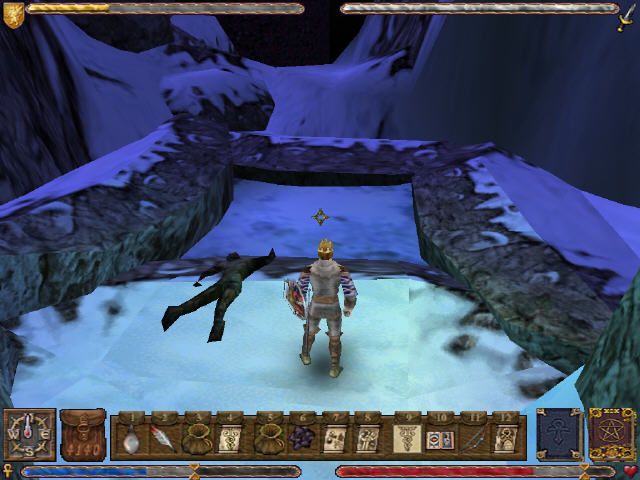
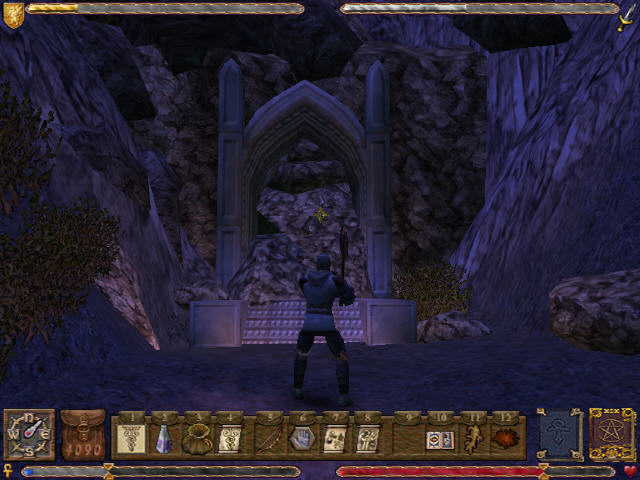
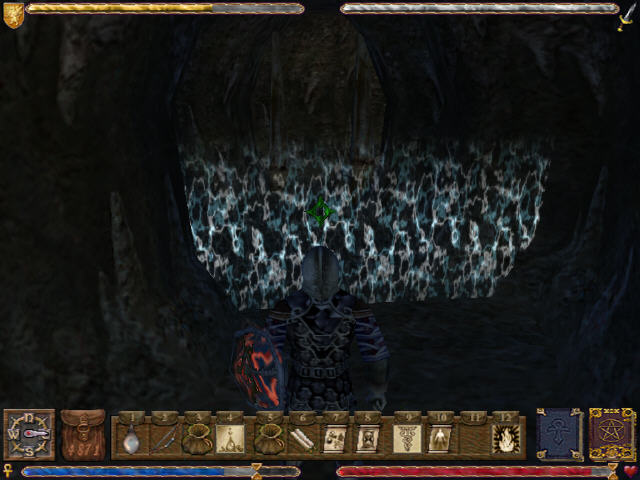
Having sorted out Britain’s problems, I now have a long walk to find the entrance to Destard. I know roughly where I’m going at least and find the suspicious looking bit of ice fairly quickly.
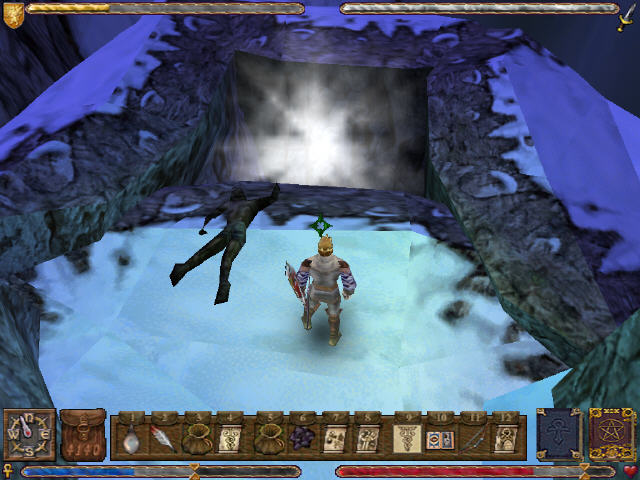
I melt my way through this with a few fireball spells, then jump in and drop into Destard.
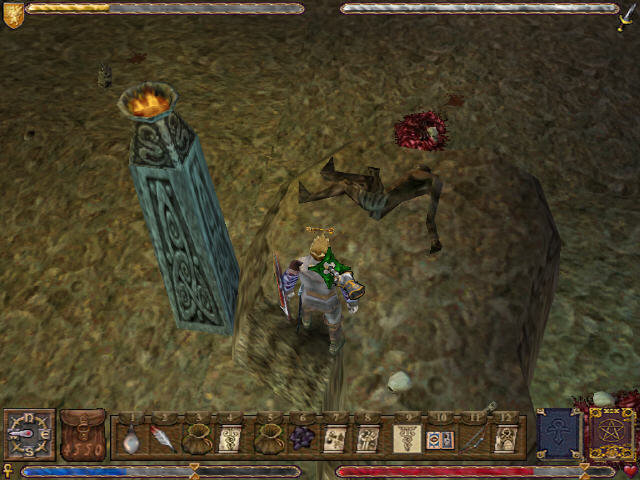
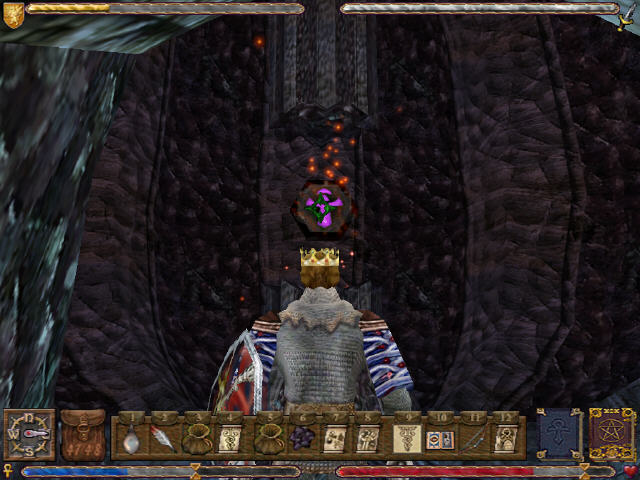
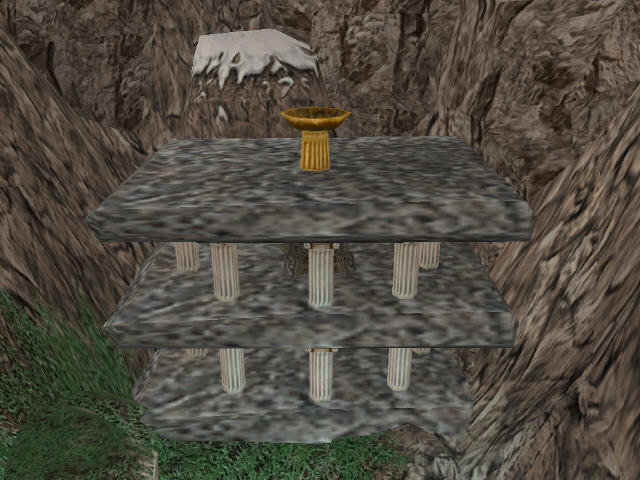
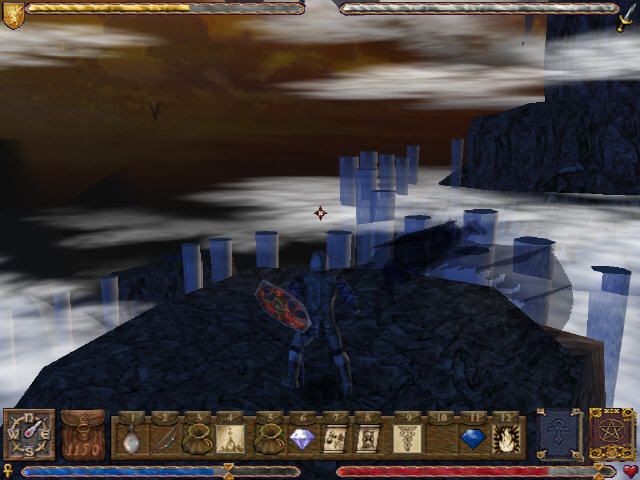
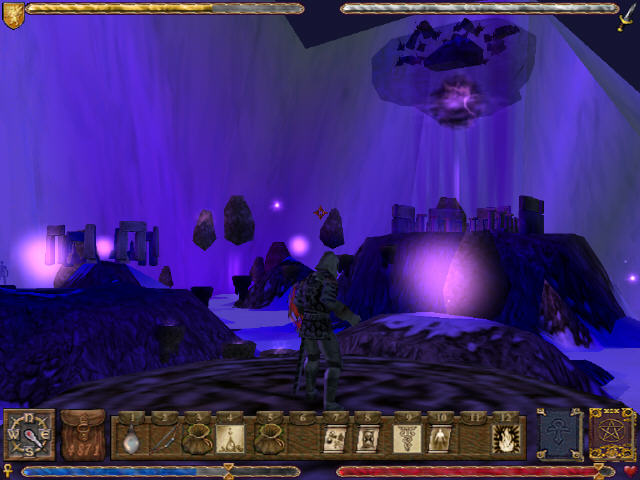
I walk straight into a giant floating eggshell surrounded by pillars. My task here is going to be to collect different coloured eggshells throughout the dungeon, then bring them back here.
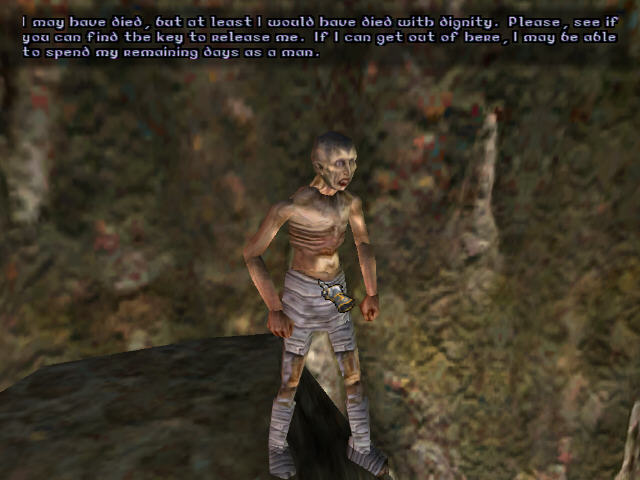
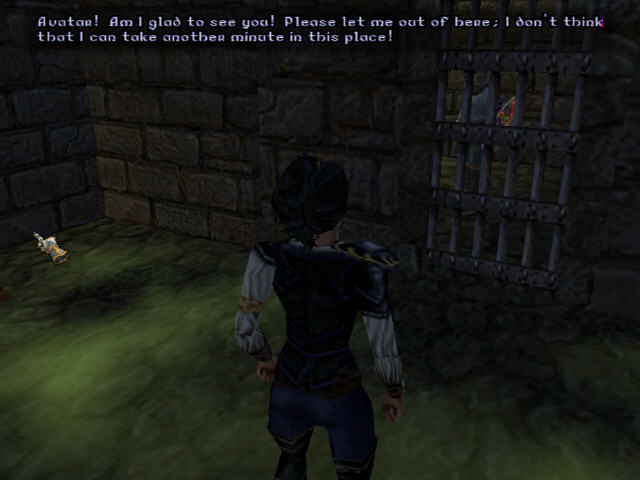
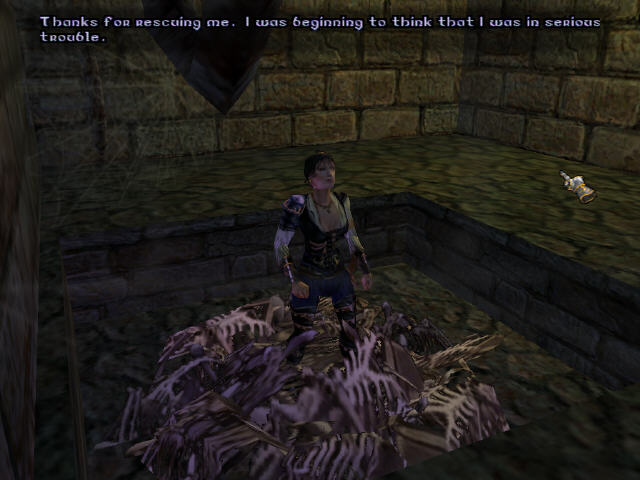
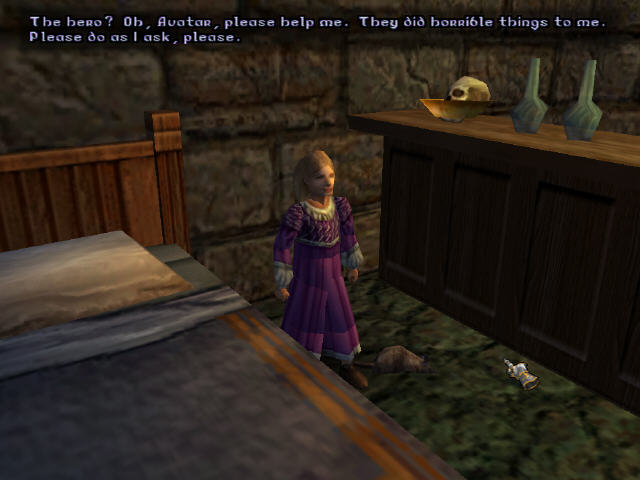
I find a man who has been left in a room full of rats to die. After clearing out the rats he asks me to find the key which is in here somewhere to free him. The acting for this guy is just painful and the worst in the game yet. If he had spoken to me first I think I’d have left him to the rats.
The key takes a bit of finding but its on a rock in the middle of the room.
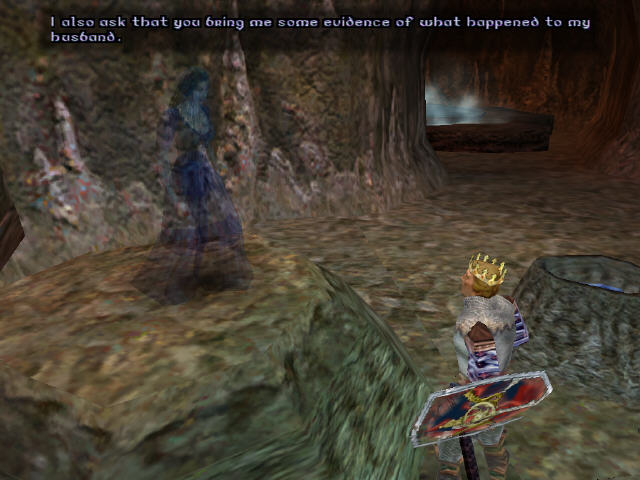
There is a ghost here who tells me a bit of the backstory about Destard. When the dragon first came here the town of Dawn was split in two between a faction that wanted to fight the dragon and another that wanted to worship it and thereby avoid any trouble. The man leading the second faction betrayed the first one and warned the dragon of the plans to kill it which might otherwise have succeeded. This sounds like the columns influence again. She wants me to bring her evidence of what happened to her husband so she can rest.
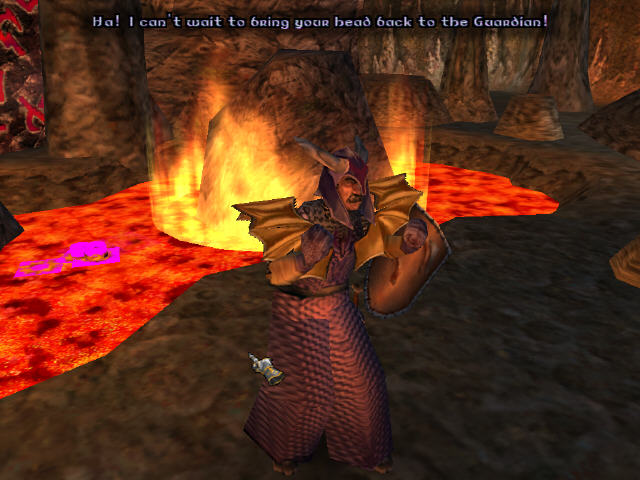
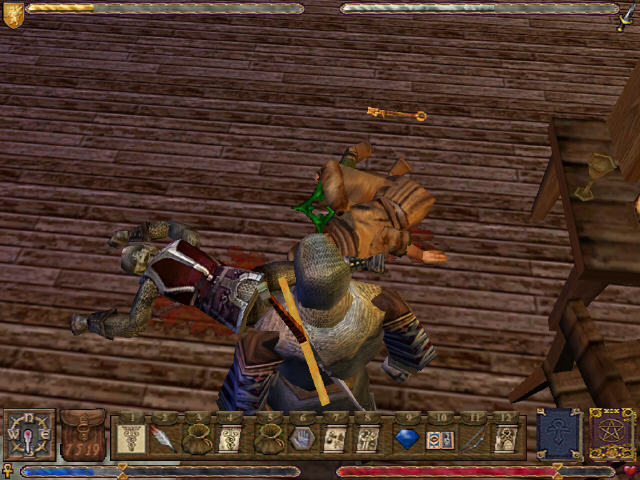
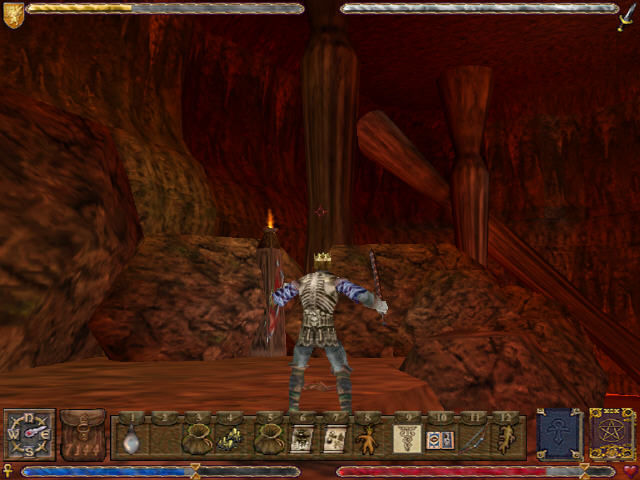
I find the column surprisingly easily in this dungeon. It’s guarded by the obligatory wyrmguard (presumably Geoffrey). I’m forced to hack my way through him.
This allows me to get the penultimate glpyh.
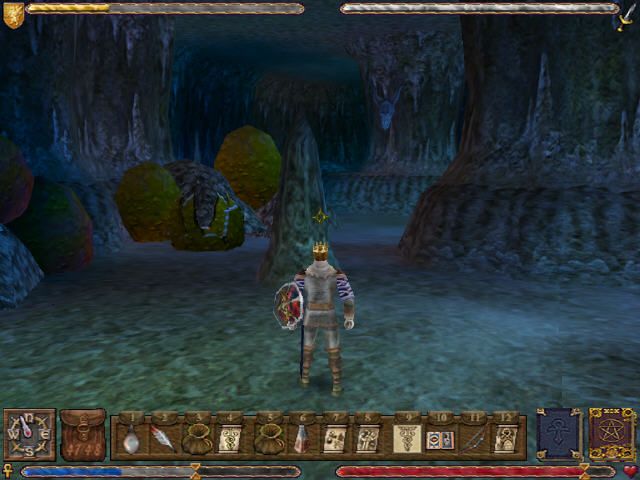
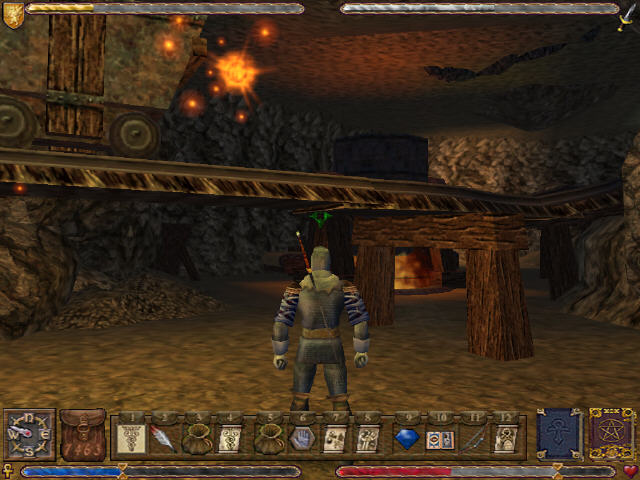
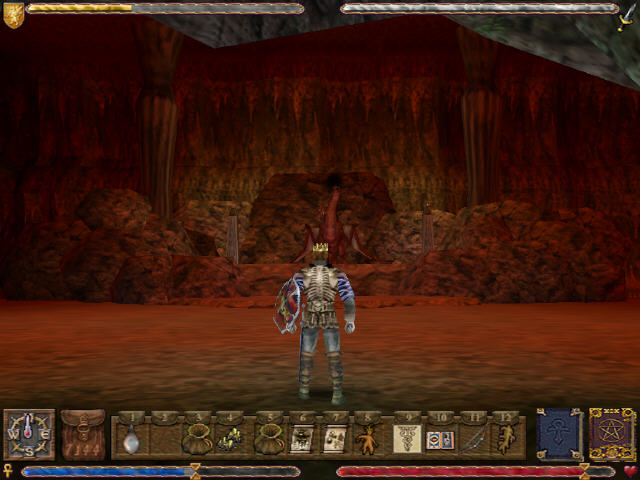
After having a fairly easy time of it in the last dungeon, Destard is much larger than those that have gone before and not entirely linear. I find a room full of giant eggs which looks a bit ominous especially given the very load snoring/breathing sound in the background.
I don’t see any sign of a dragon but do find my first eggshell piece.
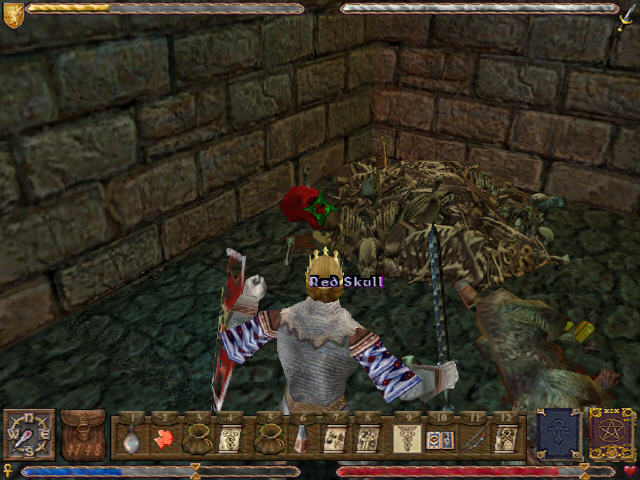
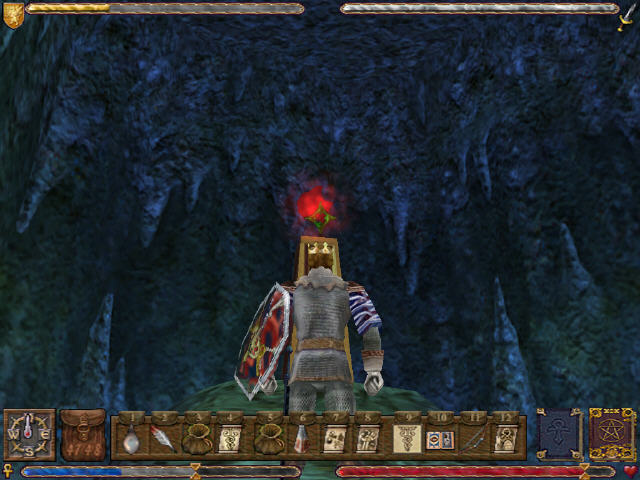
Aside from the eggshells, I’m also going to be collecting the bits needed for a demon summoning spell (although I don’t know this yet). The first of these is a red skull. This side quest turns out to be entirely optional and ultimately useless but I don’t know this at the time either.

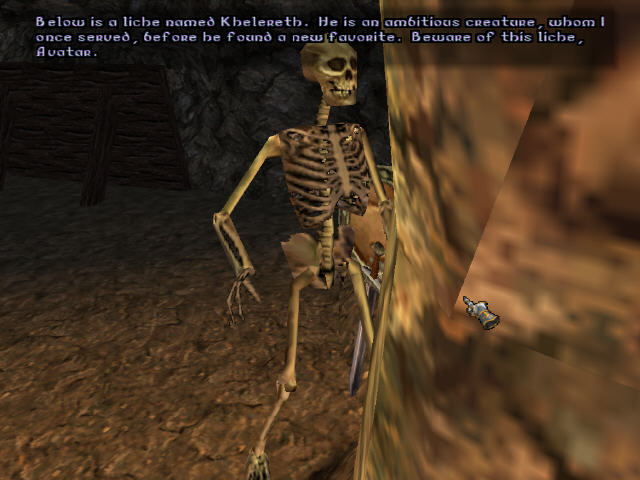
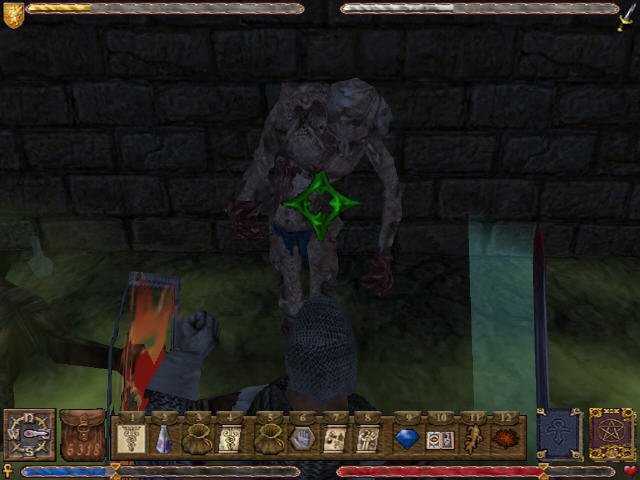
I work my way through a haunted area of the dungeon, complete with floating skulls, a liche and in the end a gigantic zombie that attacks me in its crypt. The blackrock sword makes short work of it and I get another eggshell piece for my trouble.
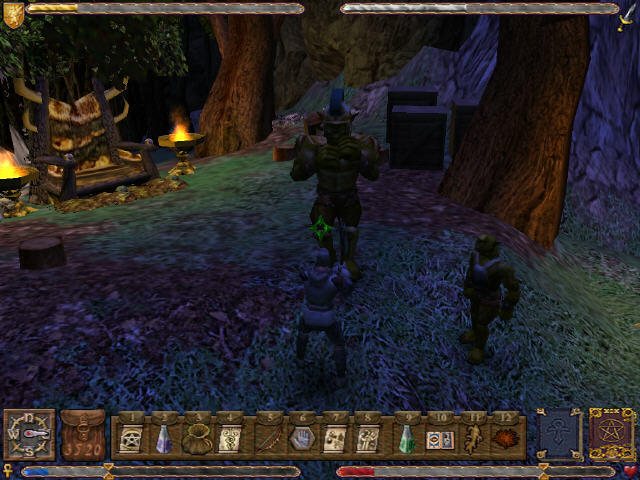
The second (and surviving) remnant of Dawn have a temple to the dragon down here. They don’t appreciate me being here much but don’t go so far as actually attacking me.
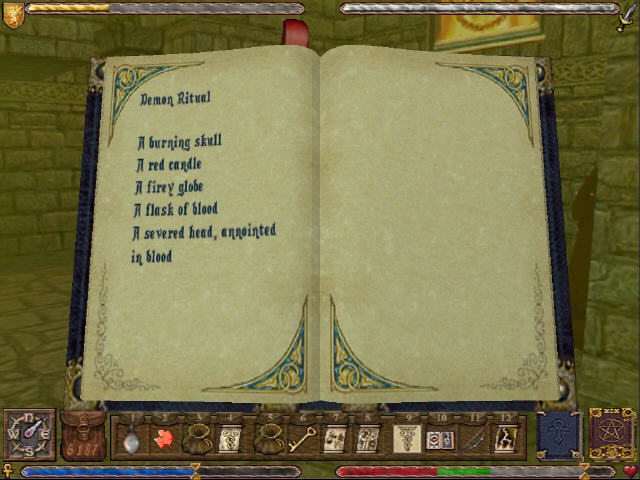
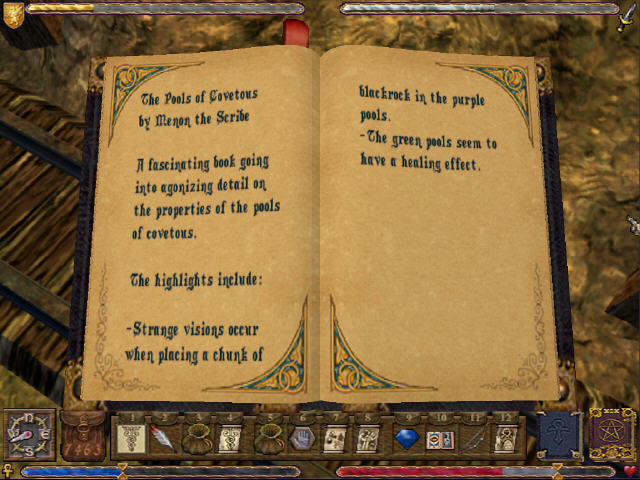
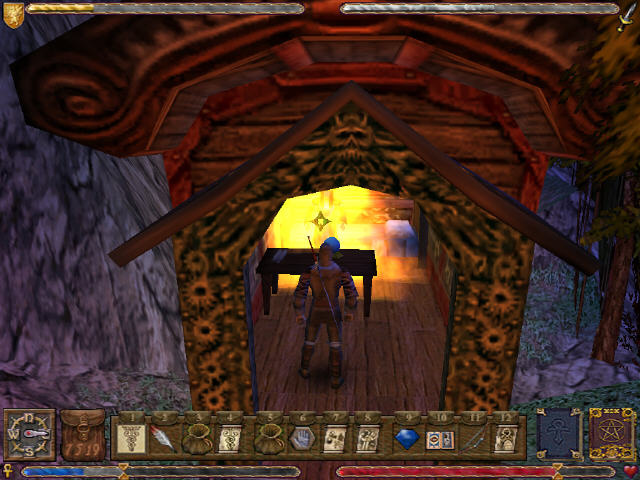
There is plenty of useful stuff around the temple, including a book describing the needed parts for the demon summoning spell as well as the area where I will be carrying out this summoning.
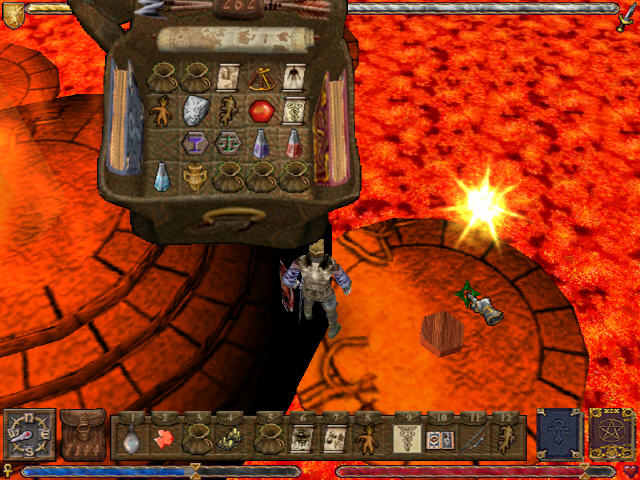
There is a binding circle and a stack of reagents and I take the chance to bind some of the spells I’ve been carrying around all game. I don’t really find that I need to use magic very often but it is an option for players who are more magically inclined than me.
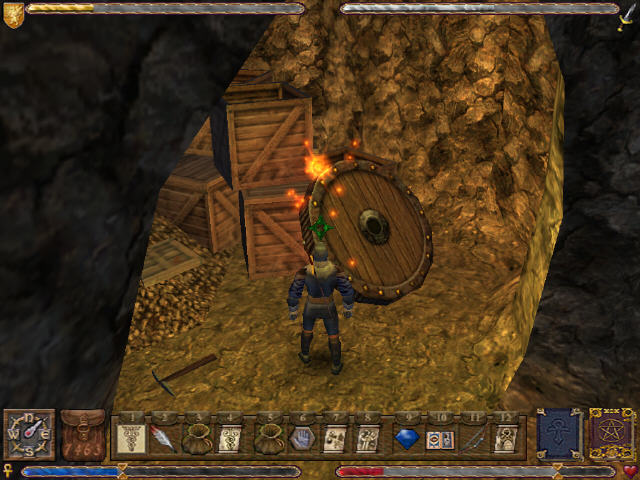
I find one of the demon summoning ingredients sneakily hidden in the temple. The vial of blood is hidden among loads of other vials and behind some equipment.

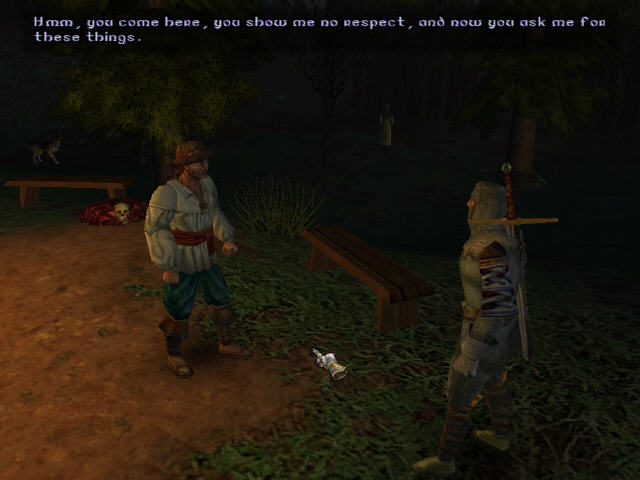
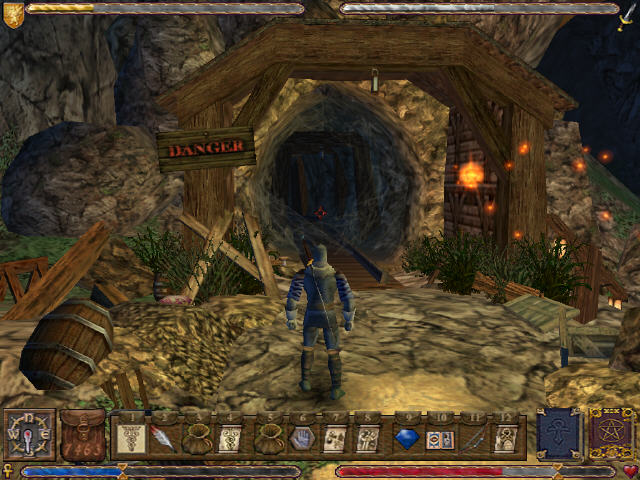
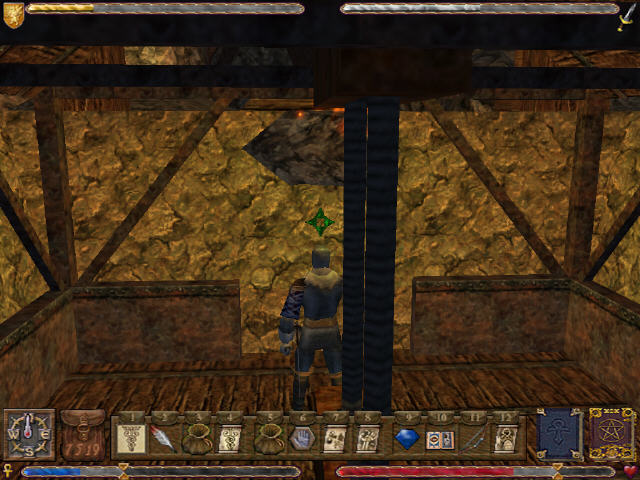
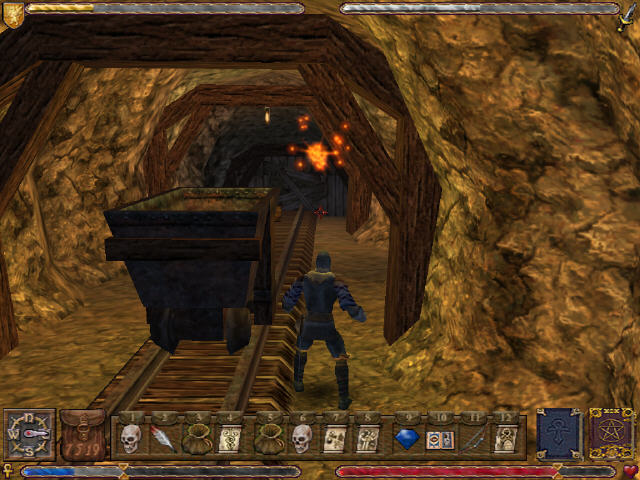
I still don’t have all the things I need and head off exploring another area of the dungeon. I find a small gem mine – the miners are forced to work here by the dragon and its cult.
In a nearby area I find another eggshell piece among a load of spiders.
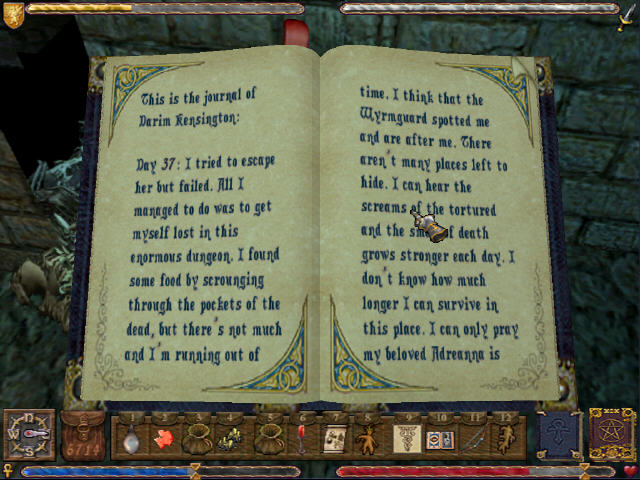
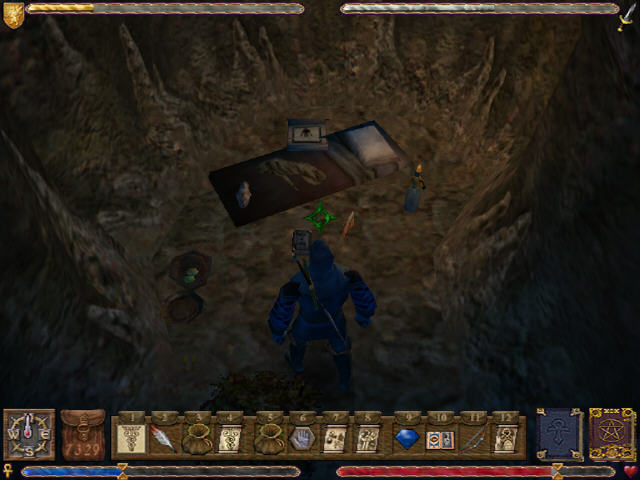
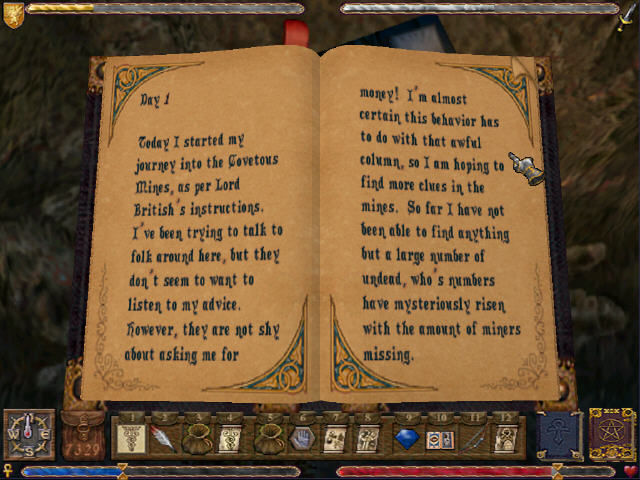
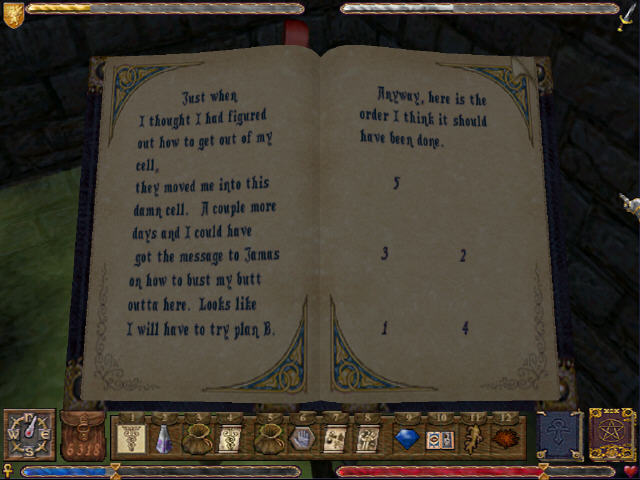
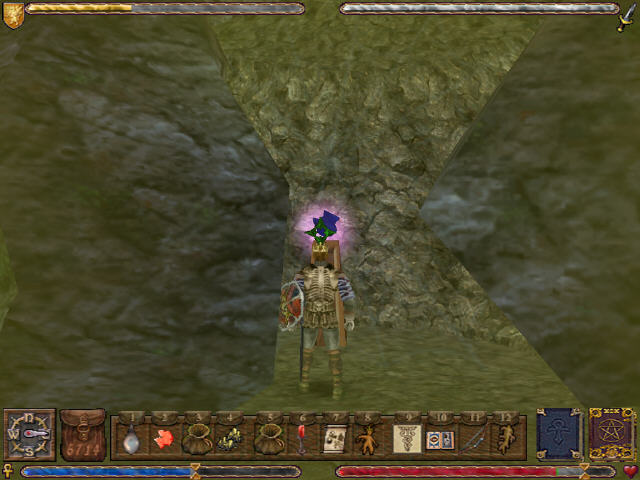
I go off exploring once more. I discover a journal in a room with a demon. This journal is made by the husband of the ghost I discovered earlier and shows he didn’t survive either.
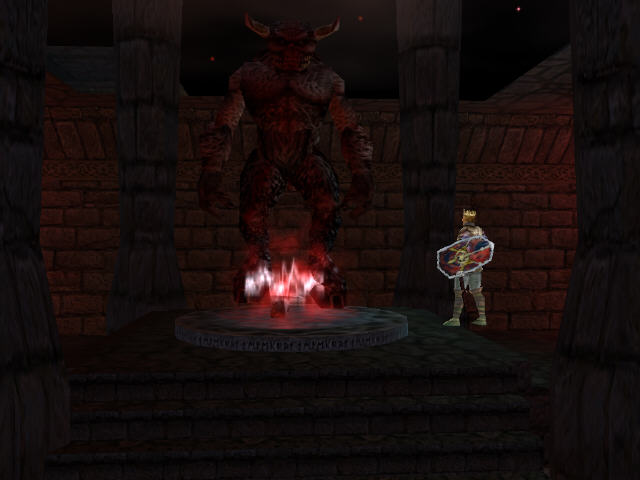
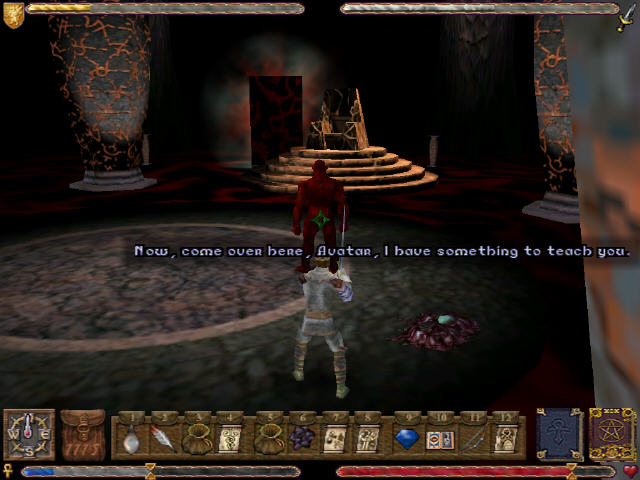
Having discovered all of the things I require for the demon summoning spell I go off to perform this next. This proves to be a dumb move as the moment I do this it attacks me.
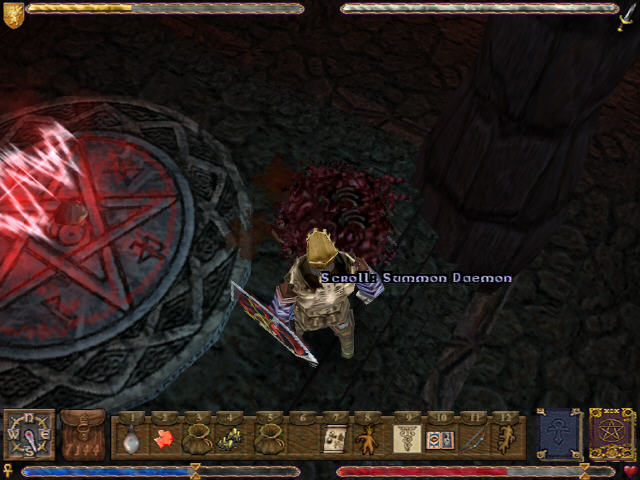
I am left with a summon daemon scroll in its remains which I can now bind into my spell book. I never actually use the spell though. The red candle I used as part of the ritual will be required later, if I knew this in advance it would have saved me a trip back to pick it up.
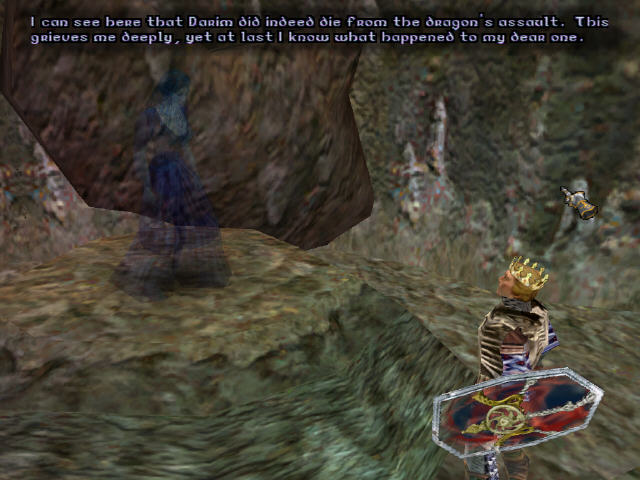
I find the final eggshell pieces and head back to the first level to use them all. On the way I hand over the journal to the ghost up here and get a karma boost for my efforts.
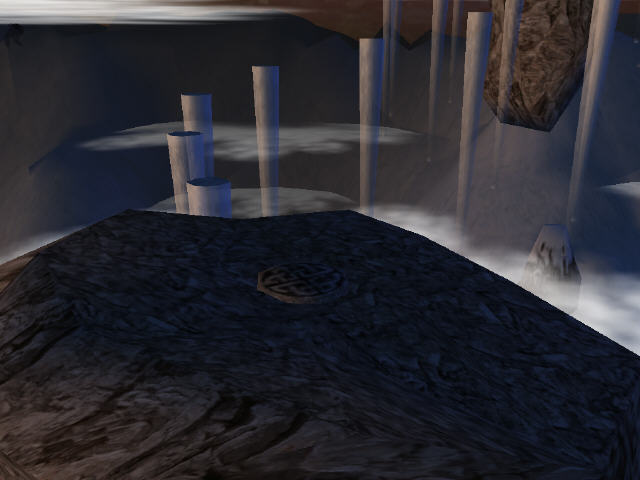
I have to match the colour of the eggshell to the colour on the top of each pillar.
Once done the forcefield straight in front of me drops allowing me to get to the dragon at last.

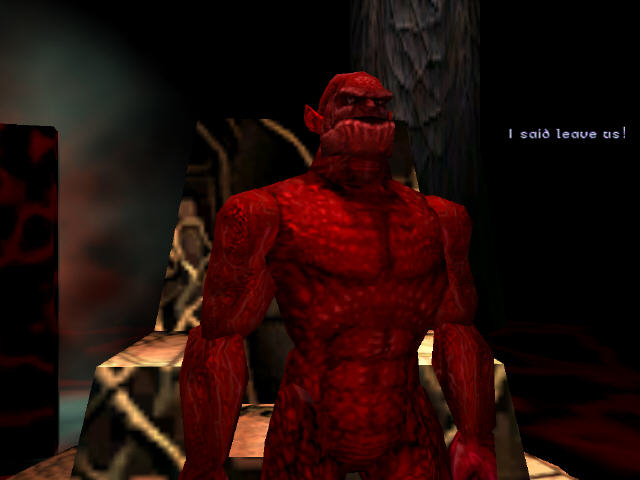
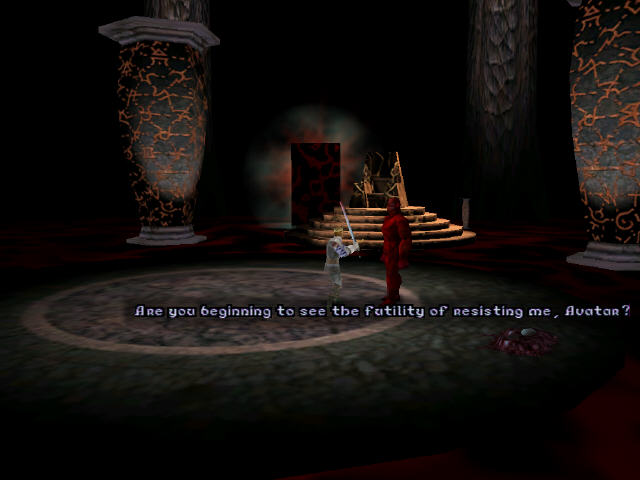
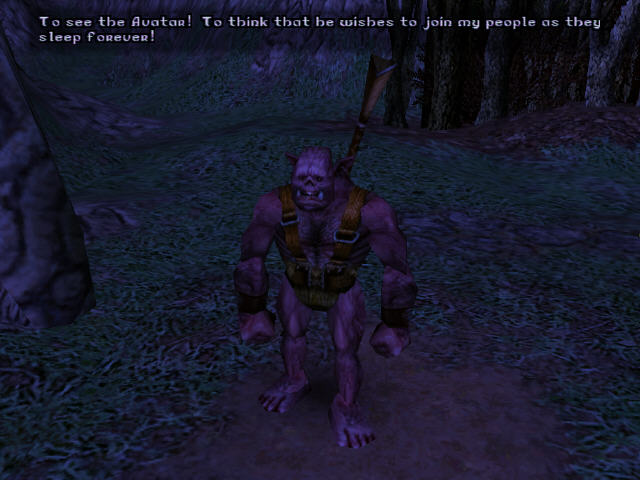
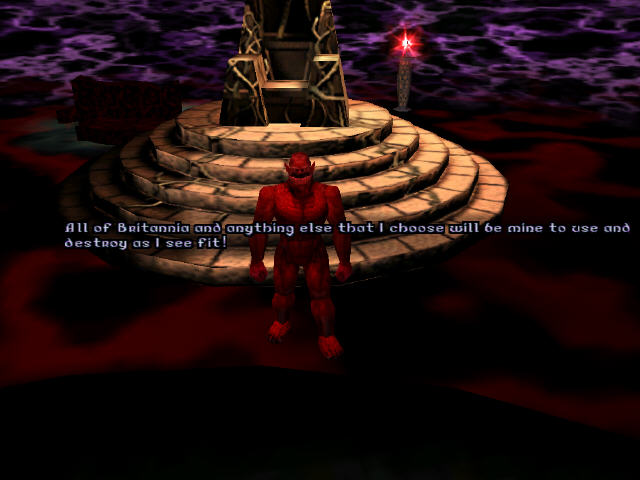
The dragon attempts to talk me into joining forces with it to destroy the guardian. This isn’t going to happen and we end up fighting.
My blackrock sword works to good effect and I dispatch the dragon with no trouble. It leaves behind a shrunken head which I can now carry back all the way to Valoria.
The way into the dungeon is still blocked. To get out I have to speak to a giant stone head and give it the word of power (inopia). This word is written (on its own) in a book in the dungeon. Its definitely one of the words of power from Ultima 5 but I can’t remember if its the matching one from that game.
I head back to Valoria and this time I get let through the front gate, although the guy on the far side still doesn’t want to let me in, fearing a trick of some sort.
Valoria is tiny. It has a grand total of 3 buildings. It isn’t going to take much exploring.
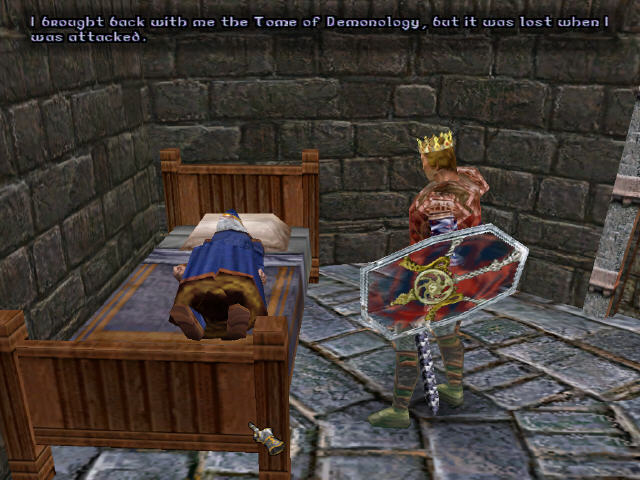
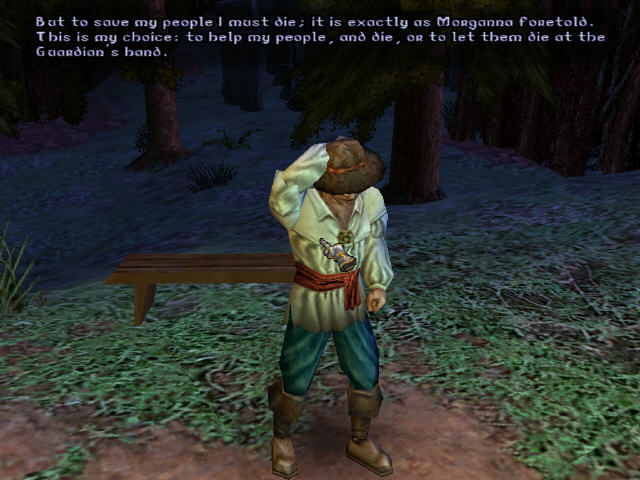
In the house of the local healer, I discover that her husband is gravely ill but she doesn’t have the courage to heal him herself in case something goes wrong. I talk her around and she manages to nurse him back to health. The guardian sees this and kills him off anyway as evidence of being able to undo my good deeds. He did manage to tell me about a tome of demonology that he dropped in a nearby glade.
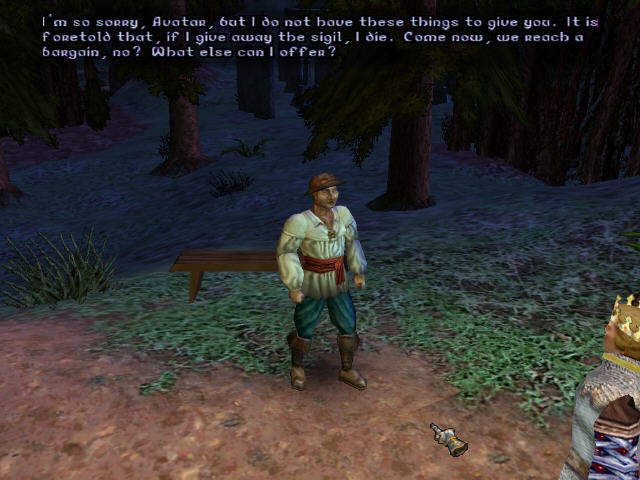
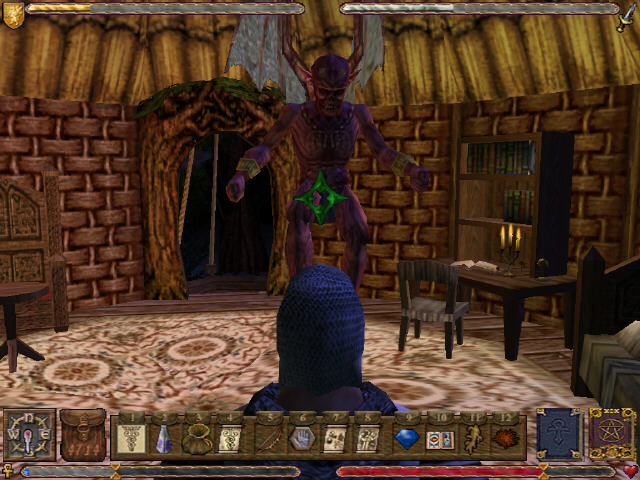
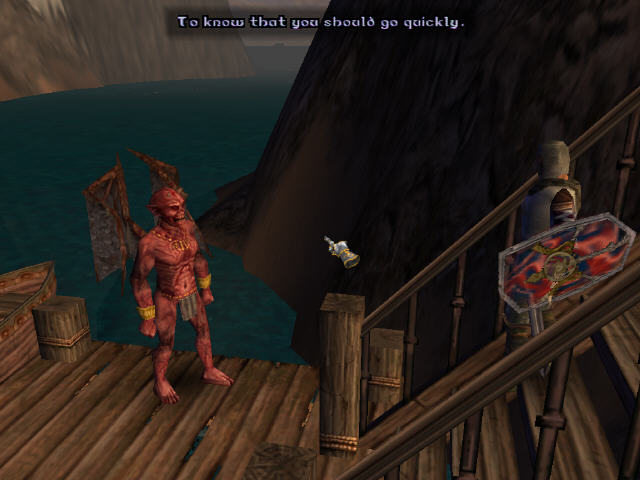
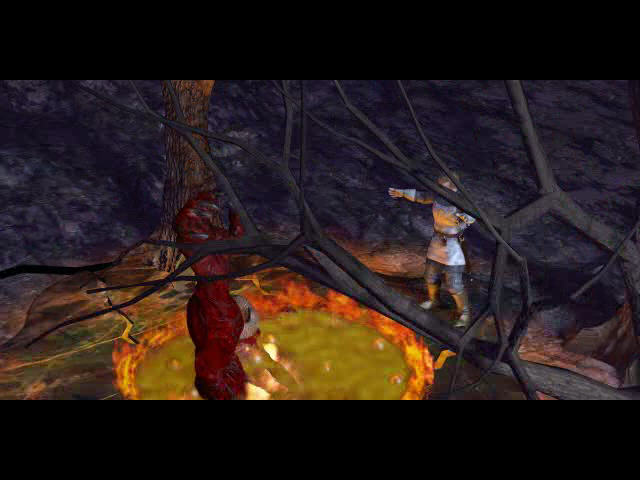
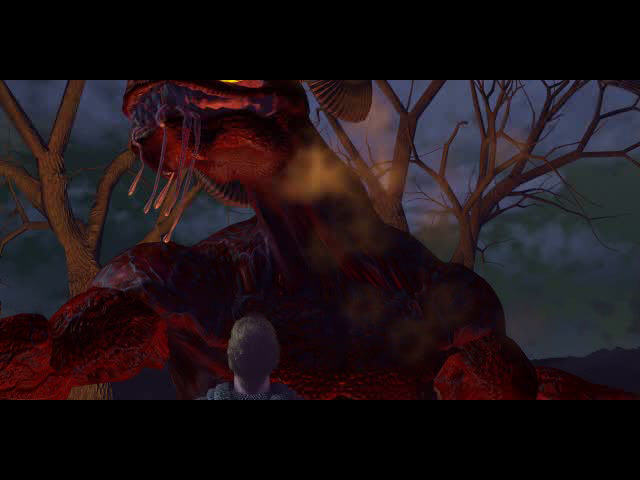
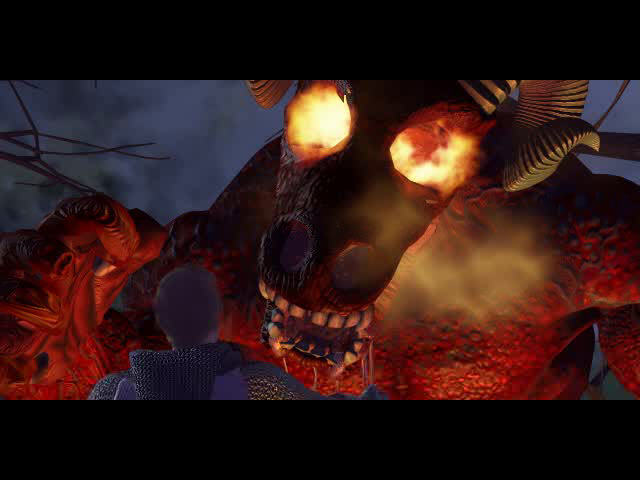
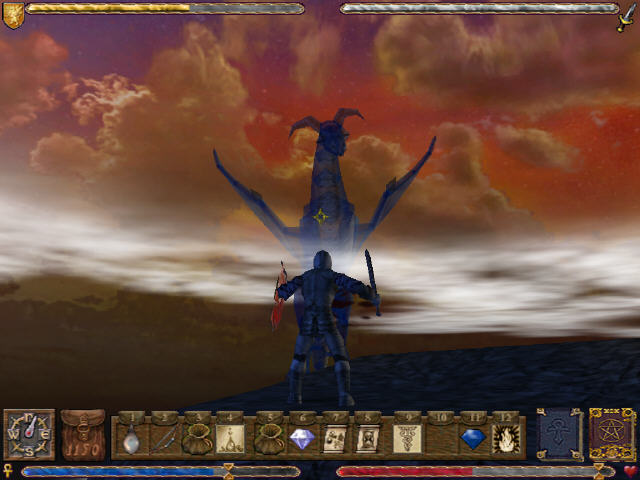
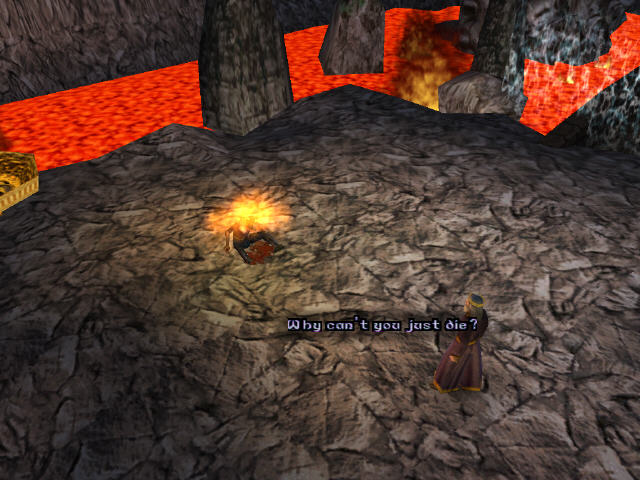
I don’t achieve too much in Valoria and head back out to look for the tome. On my way a giant demon appears. The demon has struck a deal with one of the few residents here and he comes out and hands over the dagger of valour. The demon predictably rewards him by killing him on the spot.
The glade with the misssing tome is quite hard to find to say the least. Its SE of Valoria but is only accessible by jumping over a load of rocks from the outer ring.
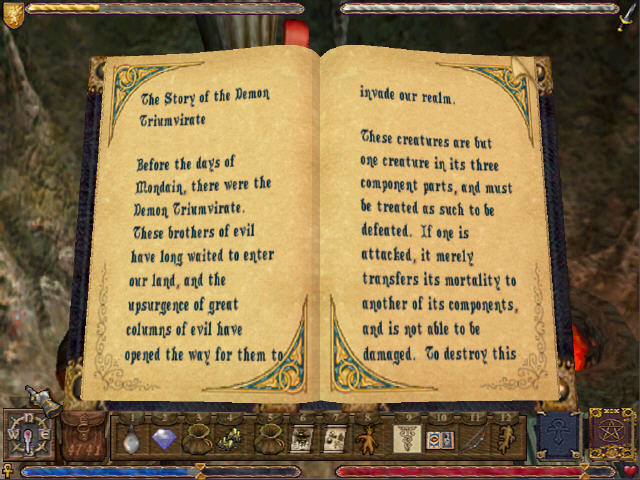
The book tells me that to destroy the demon triumvirate, all three demons must be killed simultaneously. That means I’m going to need help. There aren’t many choices of fighters in Valoria. The place wasn’t exactly a bustling metropolis before two of them died in my last visit. I work on the guy guarding the gate first. He doesn’t want to help but I return his brothers shield and his ghost appears and talks him into it.
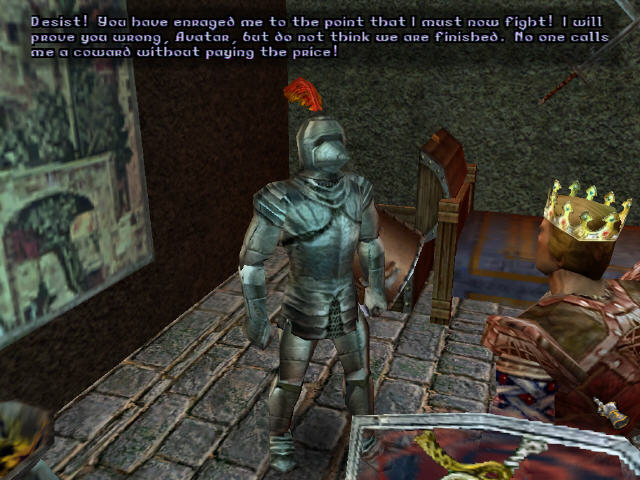
I work on Sir Artos next. By insulting him enough I manage to anger him into proving his valour by helping me. The dialog and acting are so ludicrous on both sides its impossible to take any of this seriously.
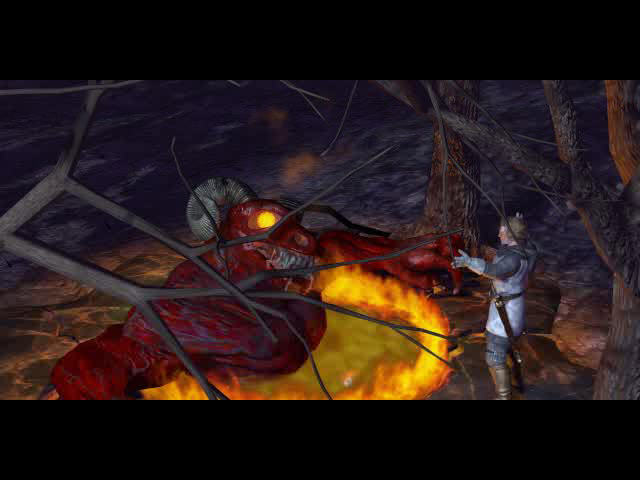
I get to fight the demon near the shrine. I get to see my two companions winning their battles after I kill my demon and I grab the dagger of valour off the corpse. I’ve now got everything I need to cleanse the shrine (although I don’t remember anyone giving me the mantra).
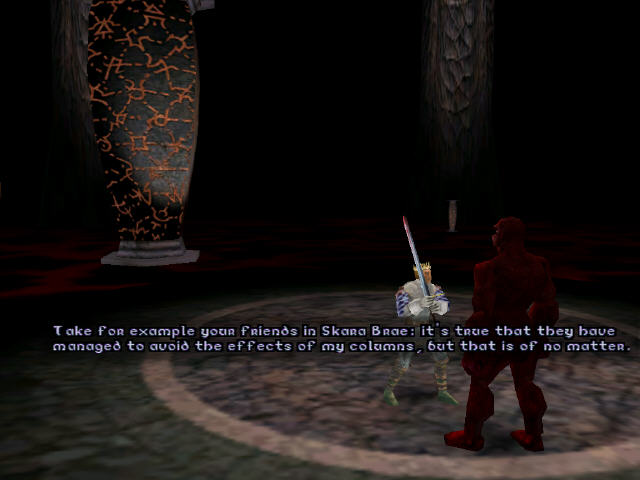
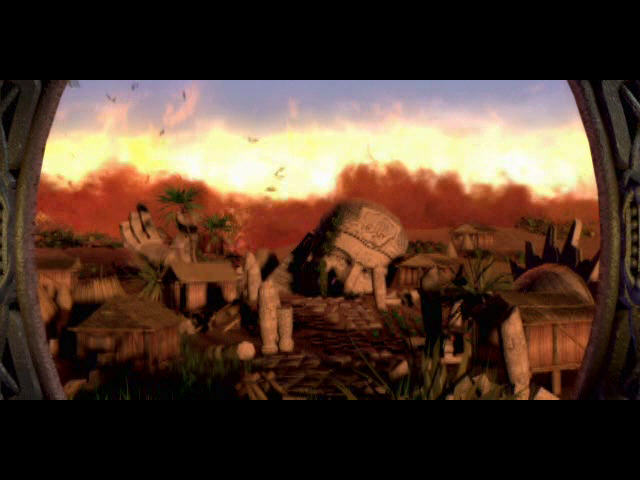
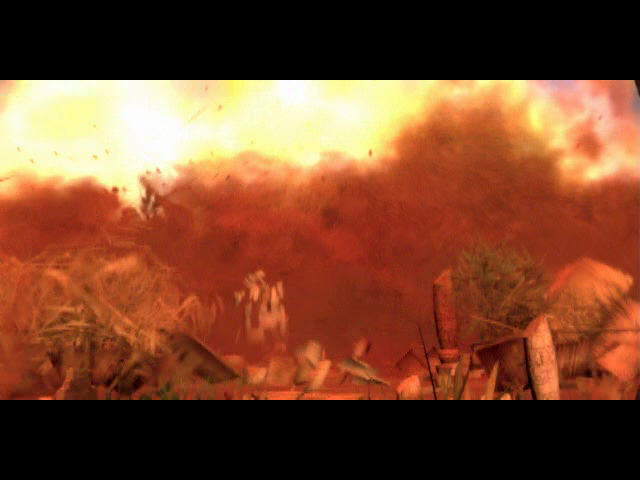
The knights of Valoria are apologetic about their former behaviour and another town is saved. That just leaves Skara Brae now but thanks to the guardians earlier proof of power there won’t be much left of it to rescue.
I’ll confess that the formula is getting a little stale by now but I do like that I had to persuade some of the towns people to help solve their own problems in the last few towns rather than just fixing the column and everything being ok again. I’m not entirely keen on the idea of the columns affecting virtue like this in all honesty and would prefer to think that people would just exercise free will. In U5 or U7 people were led away from the virtues with some subtlety and through choices of their own.
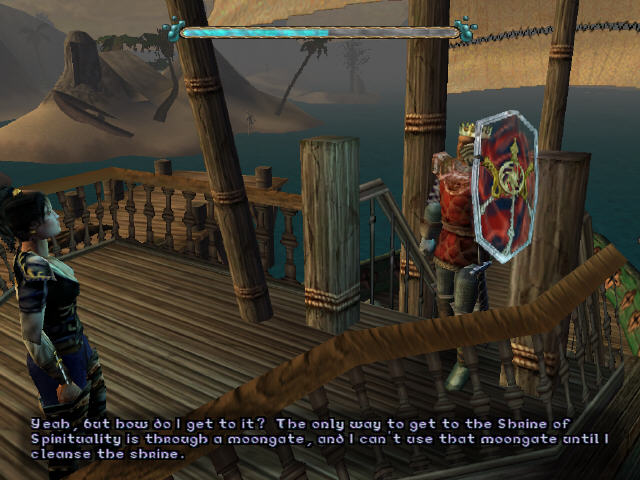
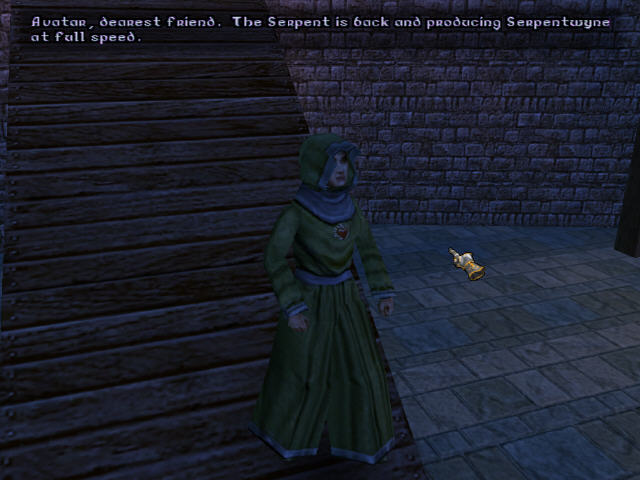
As any Ultima veteran knows you can only get to the shrine of spirituality through a moongate when the moons are full. However the moons orbit has stopped the moongates working. Raven tells me that LB is looking for me and suggests we see him next.
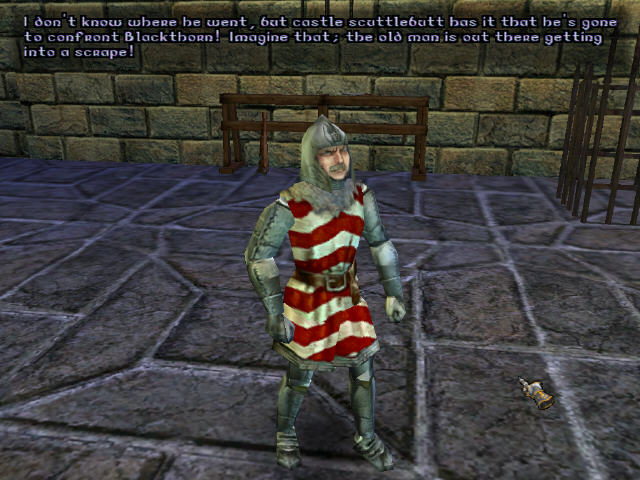
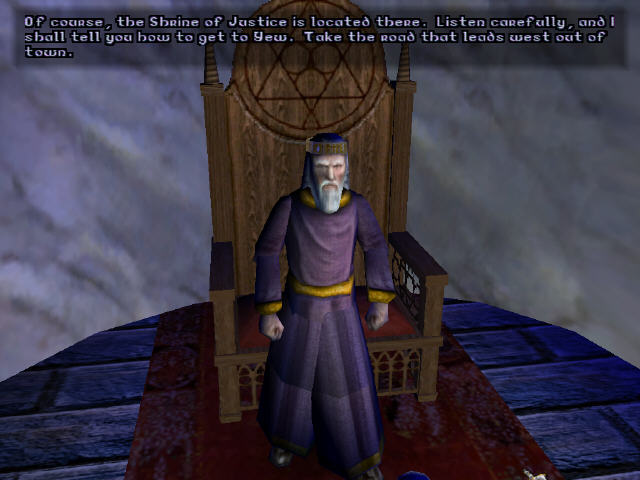
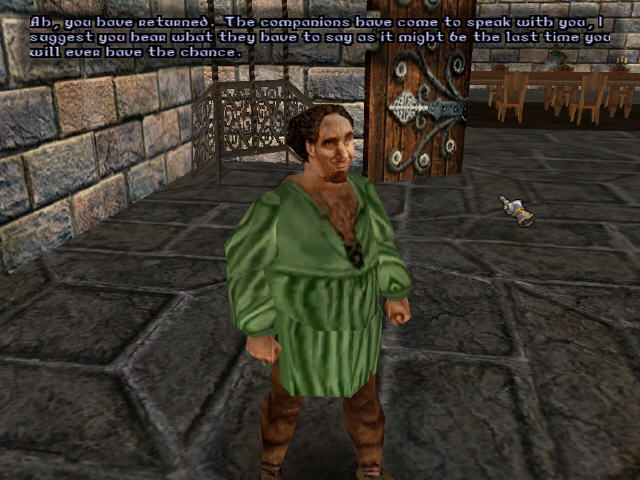
When I get to the castle, the first thing I plan to do is to learn my final sword move from the trainer here. I learnt the 3rd from a guy in Valoria. I’m too late though and he won’t train me from here on out. He does tell me that LB has gone to confront Blackthorn himself.
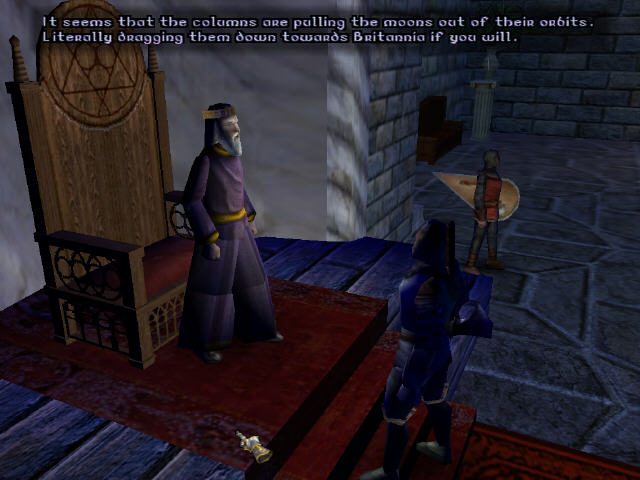
The seneshal gives me more details and tells me that Blackthorn and British and both at the abyss.
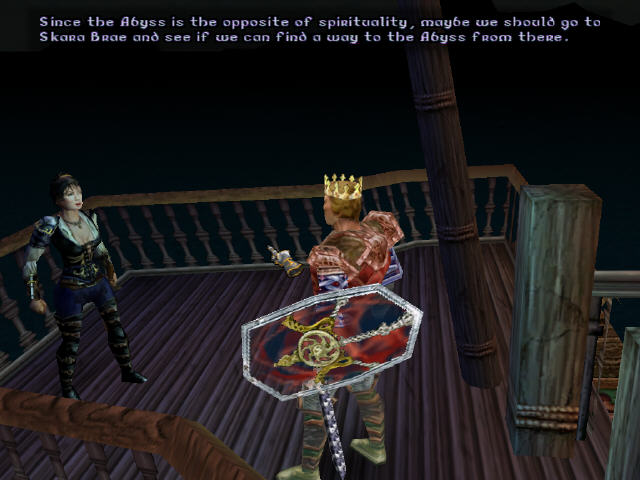
We don’t know how to get to the abyss apparently so Raven suggests we head for Skara Brae.
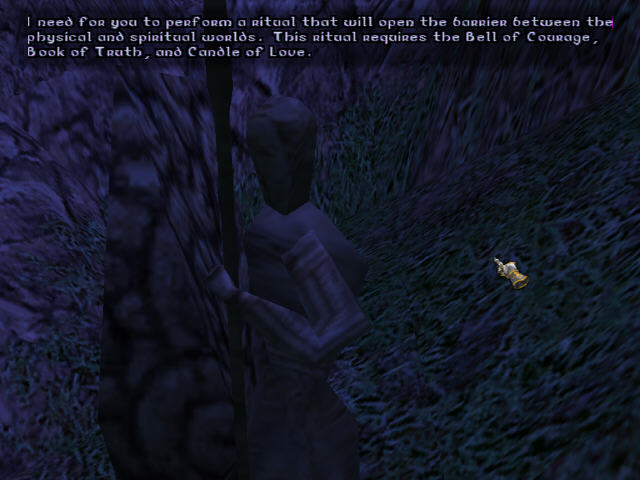
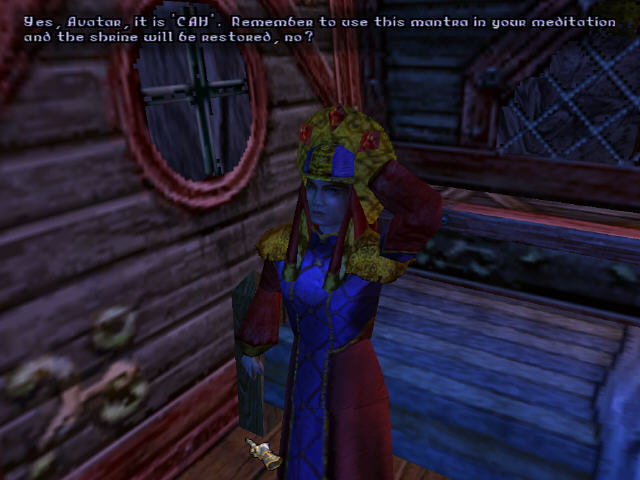
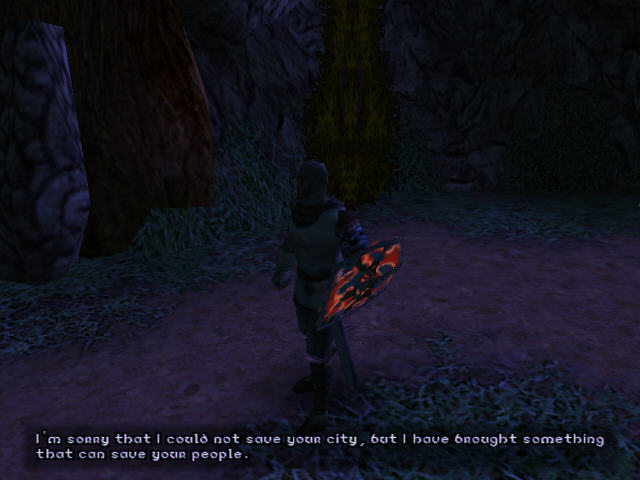
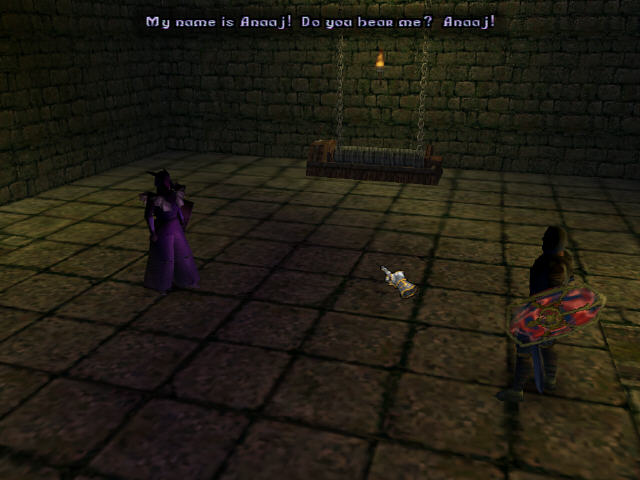
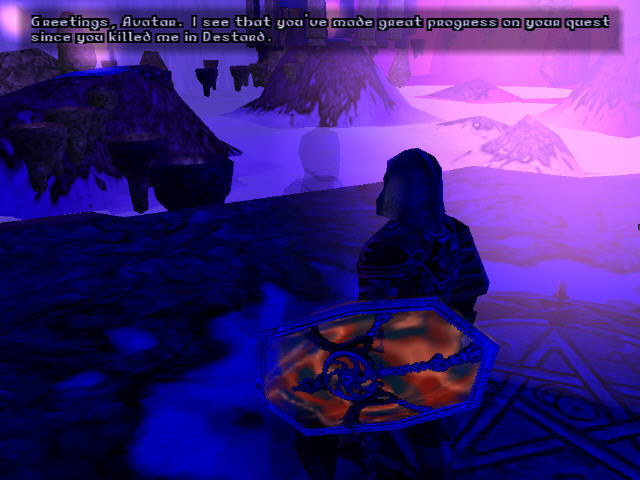
The guardian wasn’t kidding about destroying Skara Brae. A statue has survived and Shamino speaks to me for the first time since the early stages of the game. He tells me that he set off on a spiritual quest but was prevented from returning to his body by the guardian. He needs me to break the guardians spell using the bell, book and candle. He also tells me that his body is in the well of souls and I will need the ankh of spirituality to get in here. LB was reputed to have this.
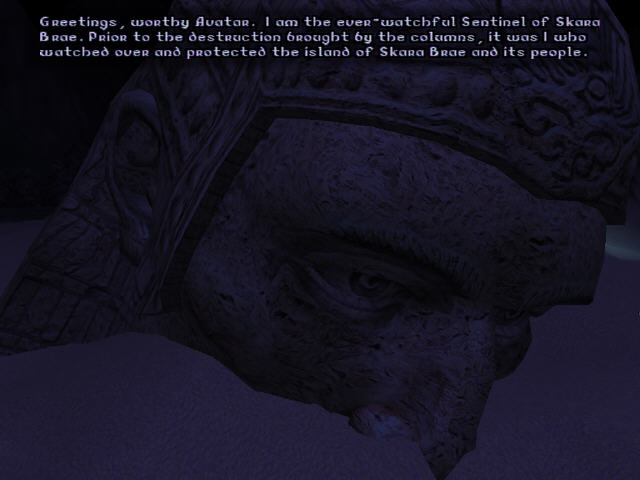
I meet yet another talking stone head which is all that is left of the sentinel of Skara Brae. It tells me the mantra of spirituality and also offers me a blessing if I stand in its hand.
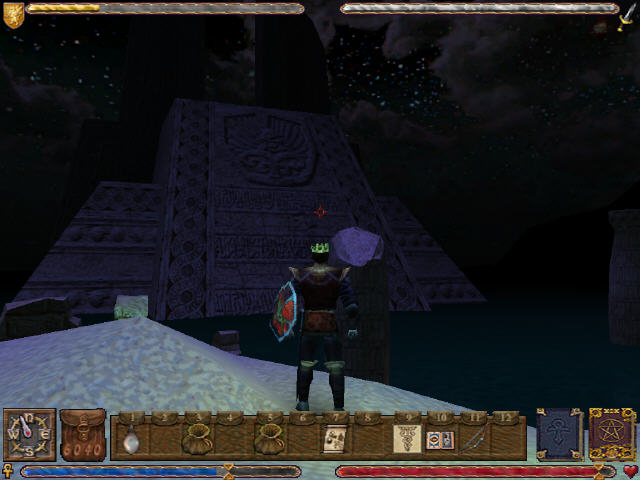
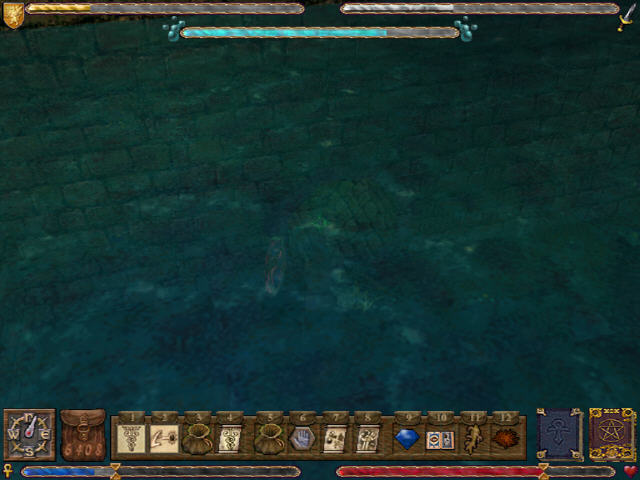
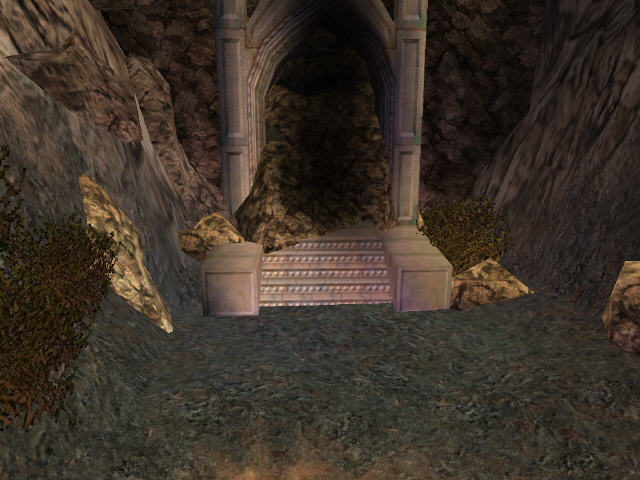
I can see the likely location of the well of souls poking out of the water at the far end of Skara Brae. I swim through an underwater entrance to get inside.
Shamino wasn’t kidding and I can’t get any further than this for now due to a forcefield blocking my way.
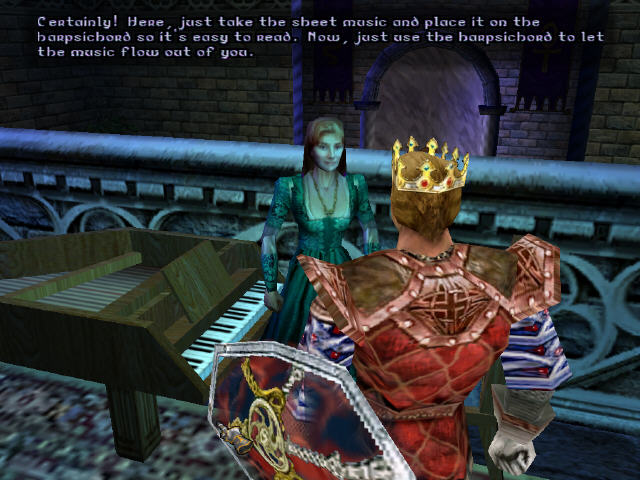
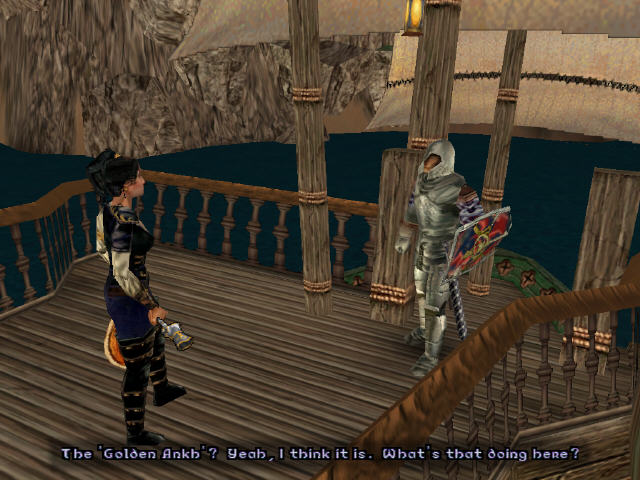
I head back to LB’s castle and talk to the woman on the harpsichord again and she gives me the sheet music for Stones.
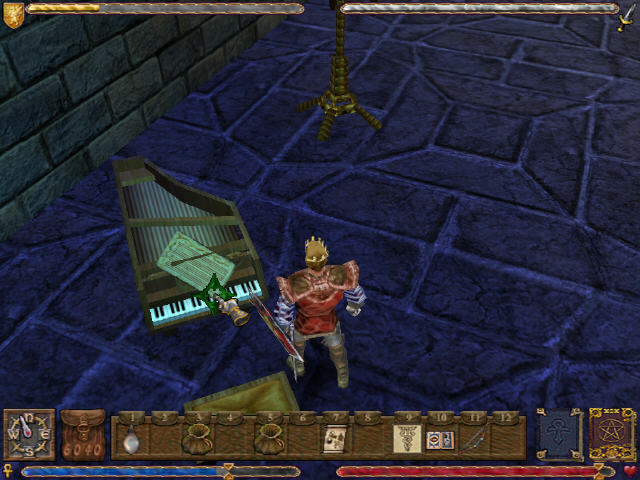
I have to place this on the harpsichord in LB’s room, then when I click on the keys I play Stones myself.
The sandalwood box evaporates to reveal the ankh. I’ve seen this puzzle before although in U5 you had to actually learn the notes and play them.
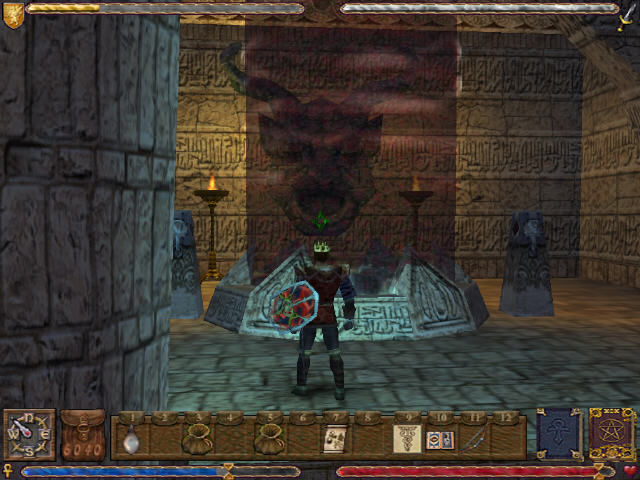
I now head back to the well of souls again. This time the forcefield fades away as soon as I get near.
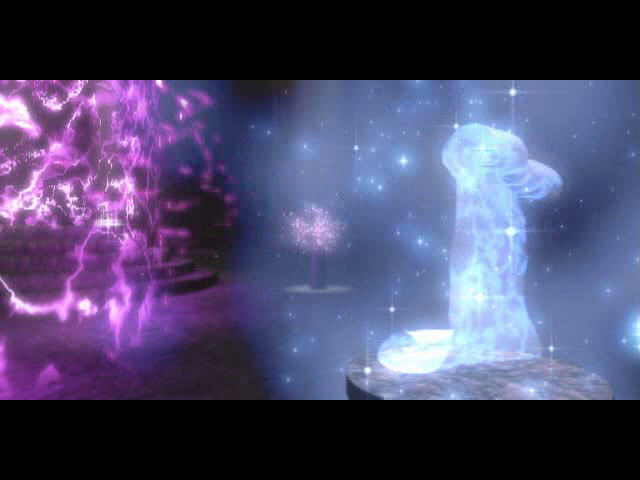
The well of souls is a great looking ghostly environment and really shows what the engine is capable of.
There are a few restless spirits around. These people act as guides to the three primary principles of virtue and if I help them give me a clue to the location of either the bell, book or candle. I just have to talk through the problems of the first one and he guides me to the book of truth. I already have the book from the Lycaeum so I don’t need the advice.
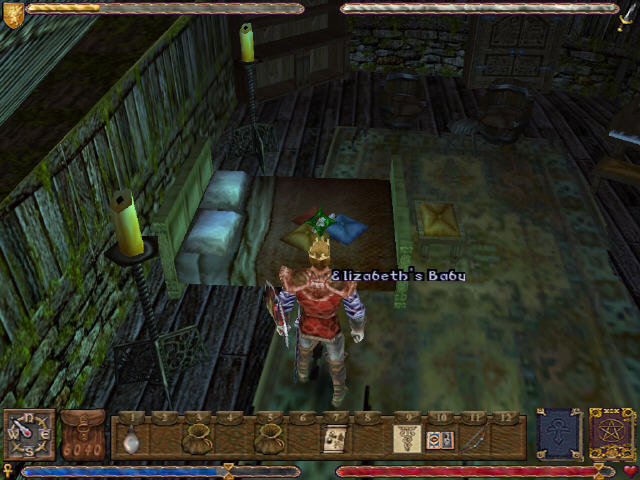
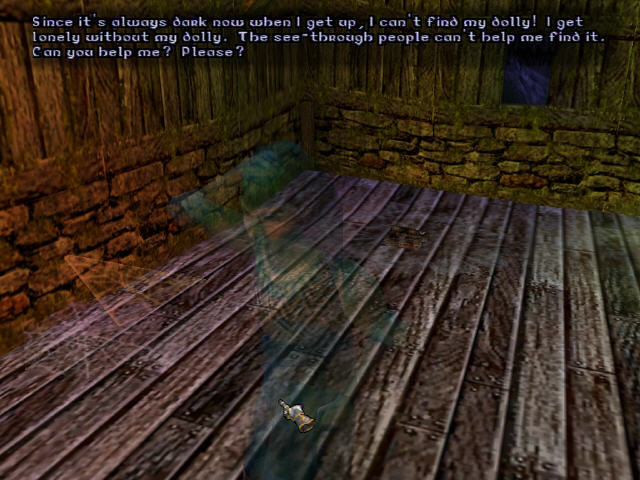
There is a wailing baby down here which I hunt out. It doesn’t look much like a baby and is the same model as the doll I found earlier but I pick it up and this quietens it for now.
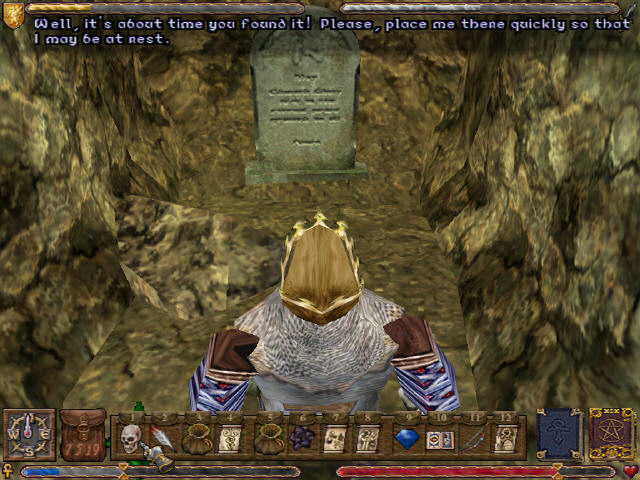
Shamino is inside the giant head behind a load of cobwebs. There is a book here detailing the ritual to free him but I will need the bell and candle first.
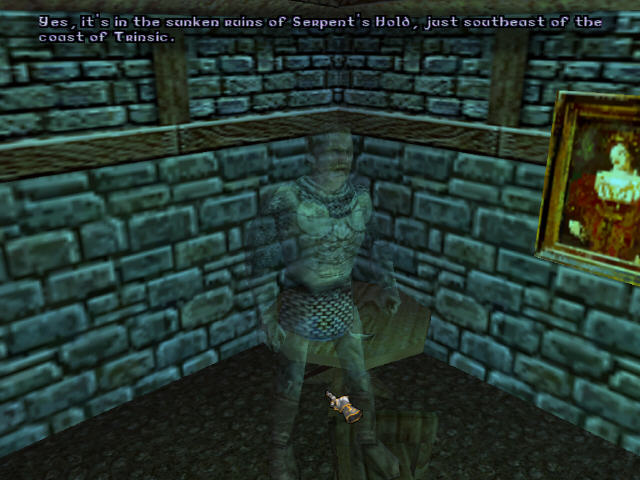
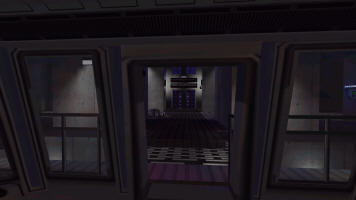
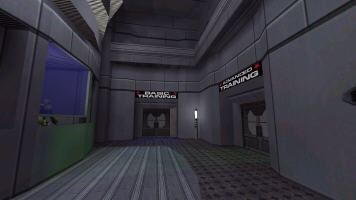
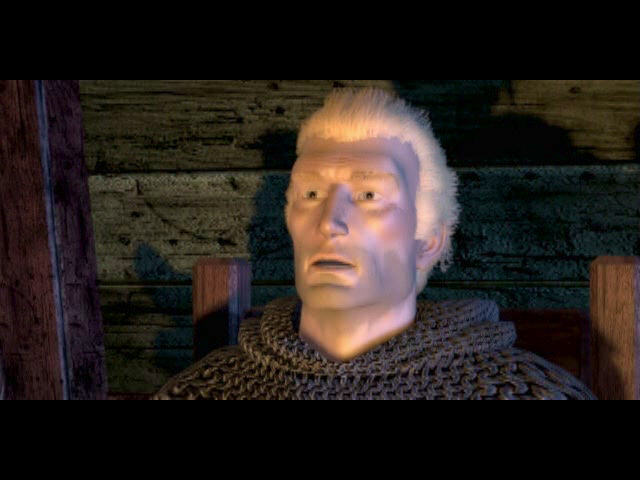
There is a ghostly tavern and I find an ex-fighter in it. He tells me how he didn’t want to be a fighter and ran off when he was sent for training. His lack of courage cost his village, however, when he was unable to defend it. I show him the error of his ways and he lets on about the bell of courage which is in the ruins of Serpents Hold.
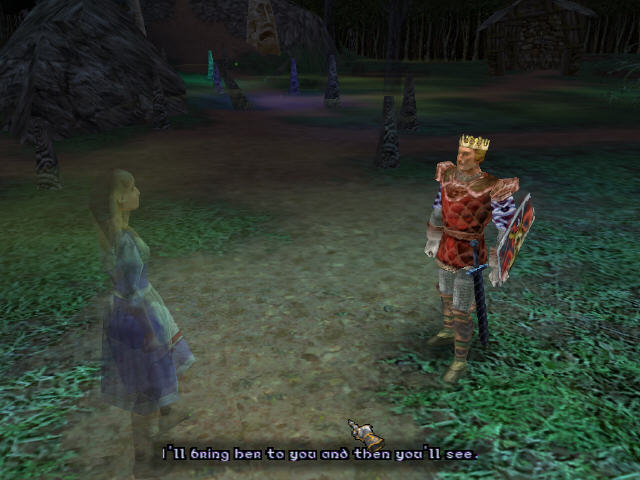
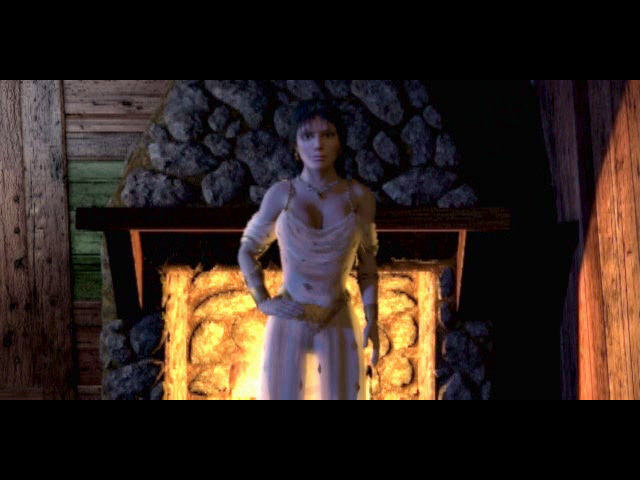
That just leaves the principle of love. I find the owner of the crying baby I found who in life let it die through lack of care and then committed suicide. We have a ludicrous conversation where she asks me “What is love?”…. This is half Star Trek, half Kings Quest and 100% nauseating. I show her what love is by handing her child back and she then proceeds to tell me about the candle of love. I’m less than shocked to find out that the candle of love is to be found in the ruins of Empath Abbey. She does at least give me a clue that this is somewhere near the floating glaciers.
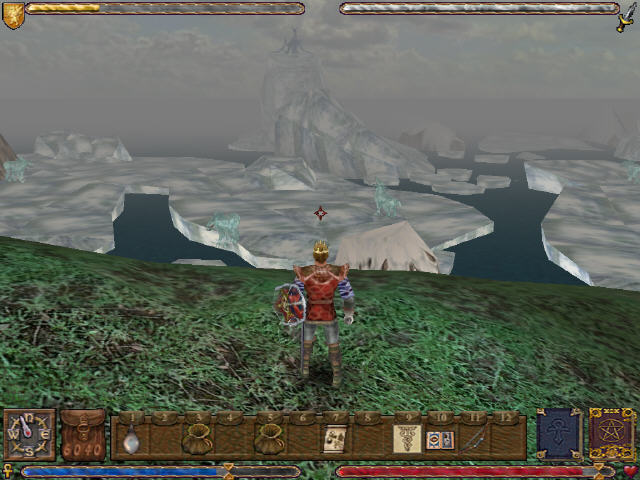
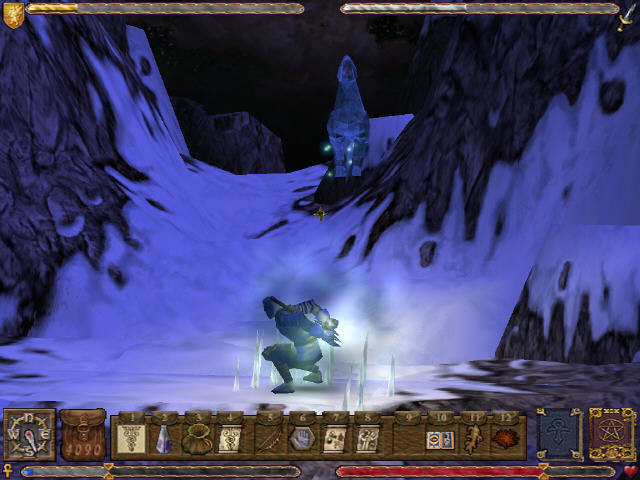
I remember seeing these in my travels around Yew. It’s a lot of running around to find them again but I know them when I see them.
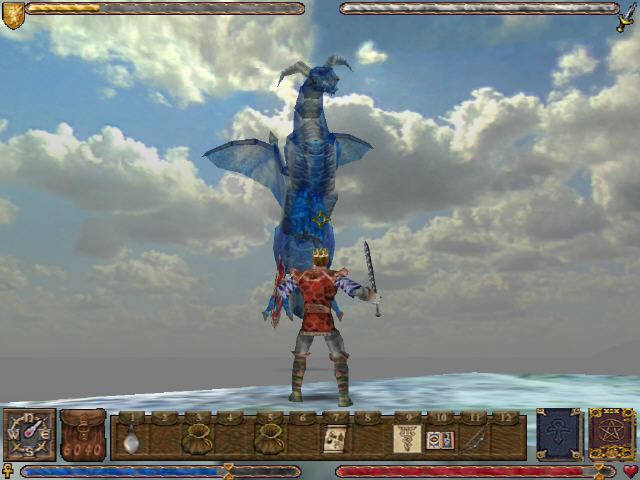
I climb out to the far end and kill off an ice dragon while I’m here. There isn’t much reward for this other than a big pile of gems. I’m collecting money so fast that these are an irrelevance.
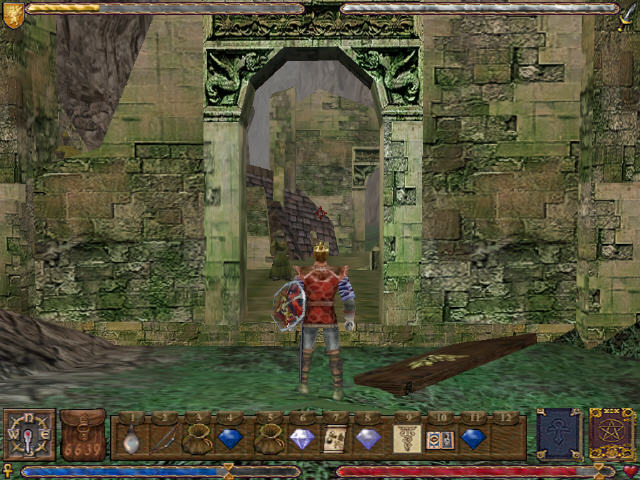
Once I’ve got this far I find the ruins of the abbey very quickly.
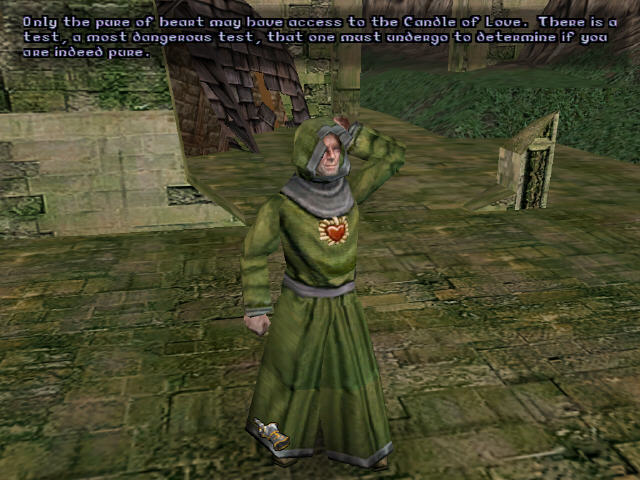
There is one monk still here who tells me that only the pure of heart can have access to the candle.
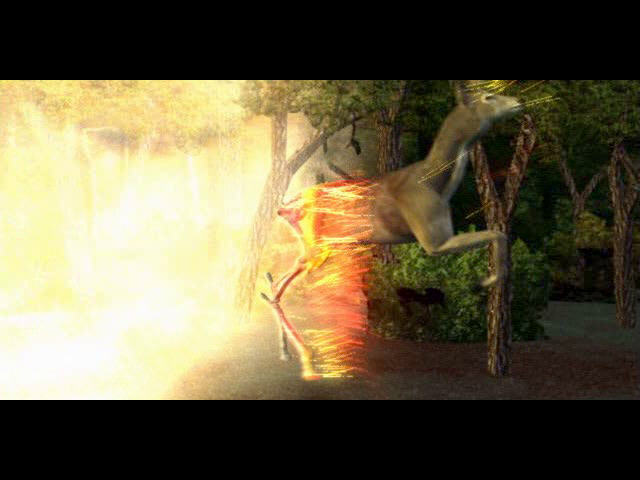
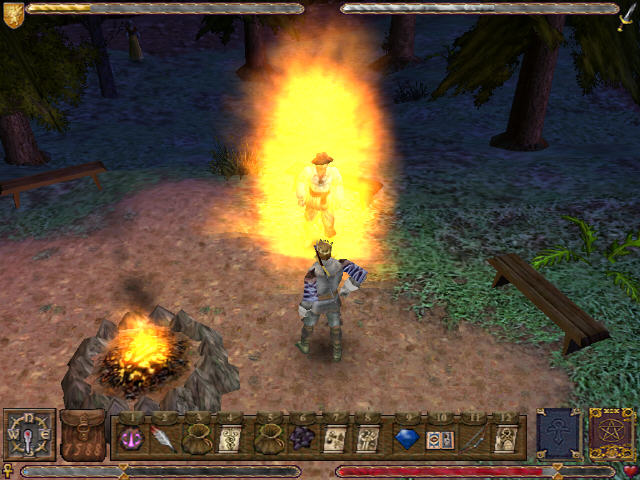
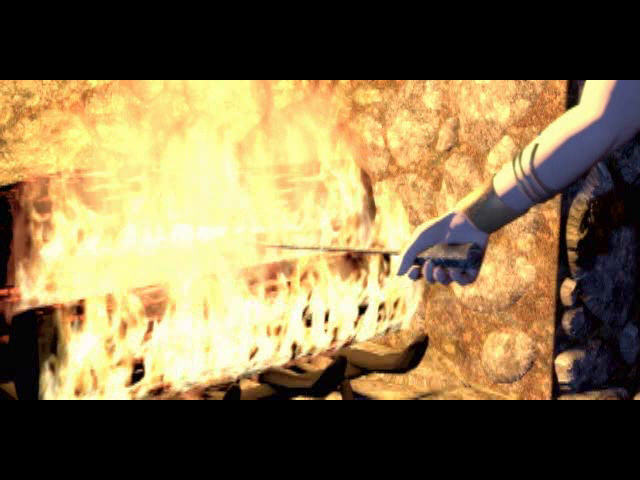
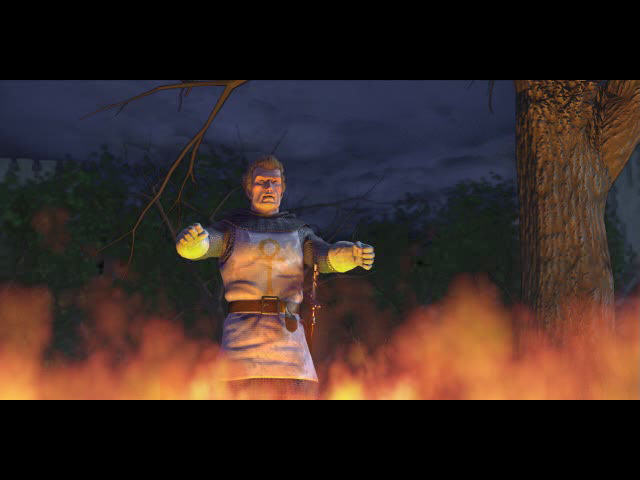
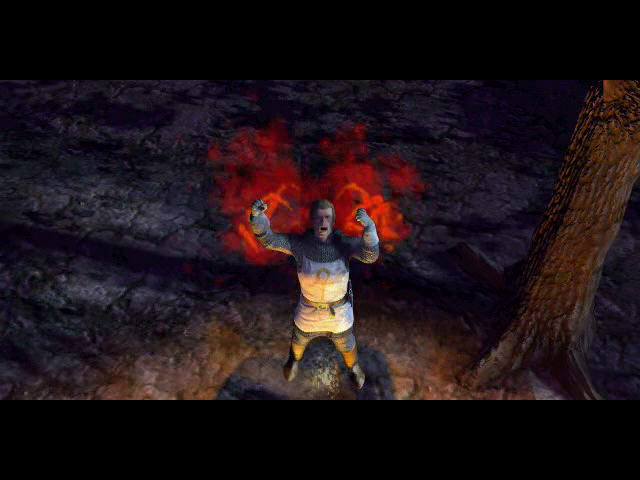
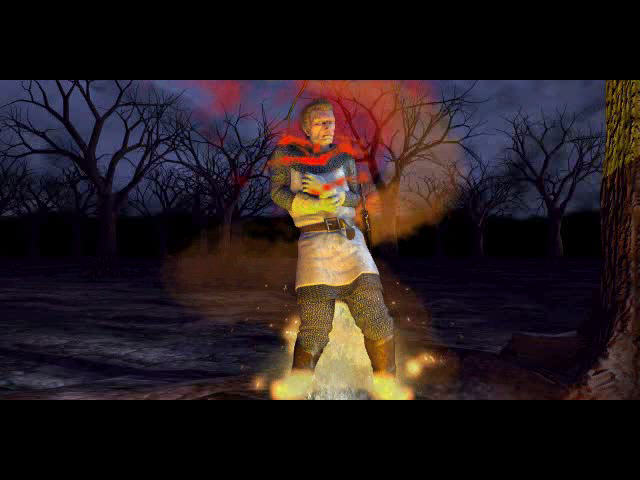
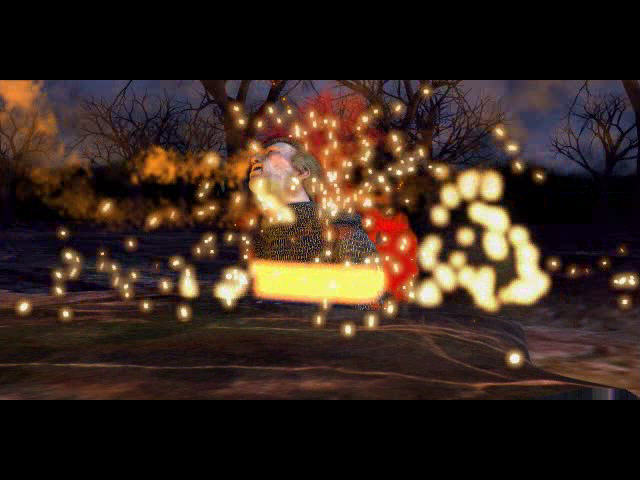
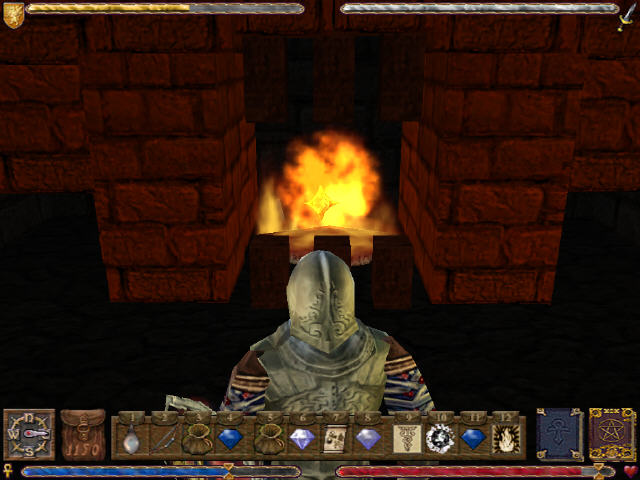
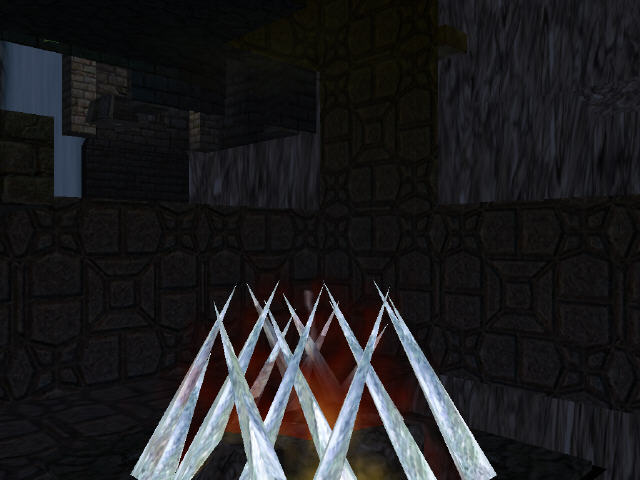
I have to go up the valley and light 3 braziers. This summons a big flame which I have to stand in and prove myself pure. Once done a series of platforms rises out of the hill behind me.
I clamber onto the middle platform and the candle rises out of a small hole in the middle.
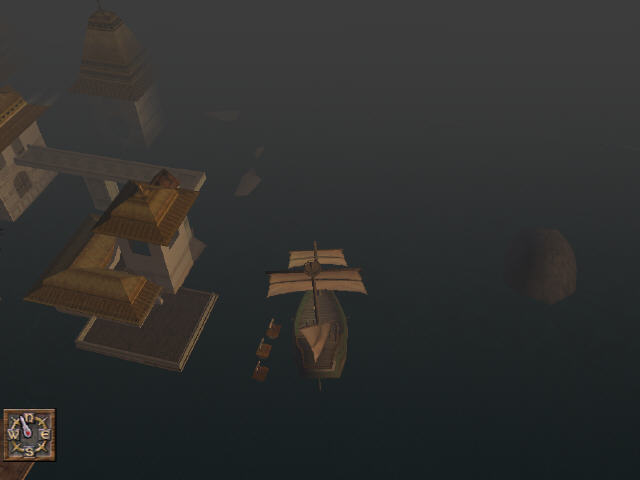
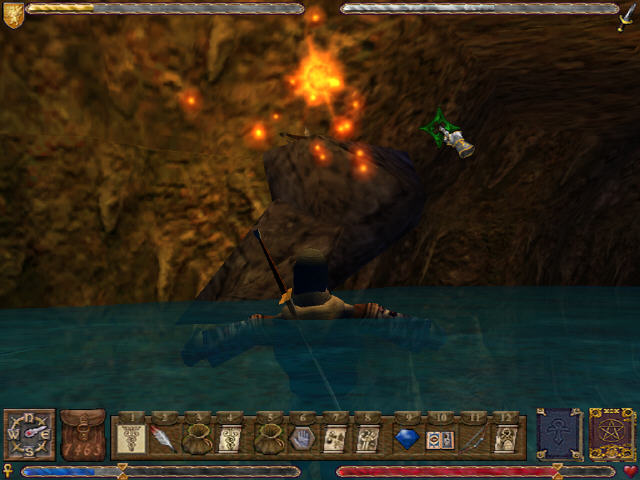
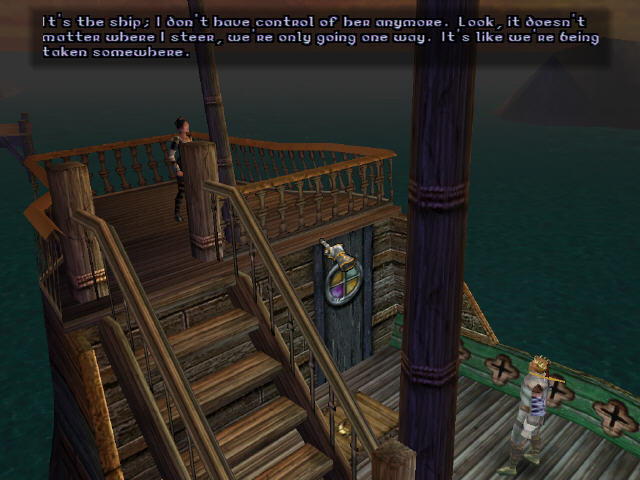
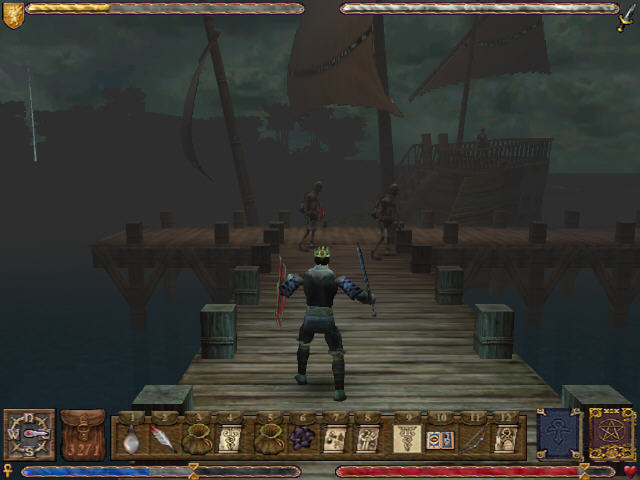
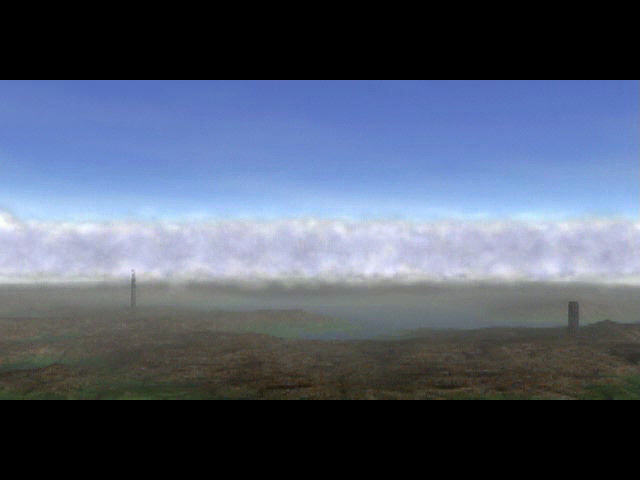
That just leaves the bell. Raven can’t sail me to Serpent Hold as she doesn’t know where it is. This is the only time in the game where I actually need to take control of the ship myself and sail SE of Trinsic. The engine isn’t quite up to coping with sailing as by the time its zoomed out I’m enshrouded in fog.
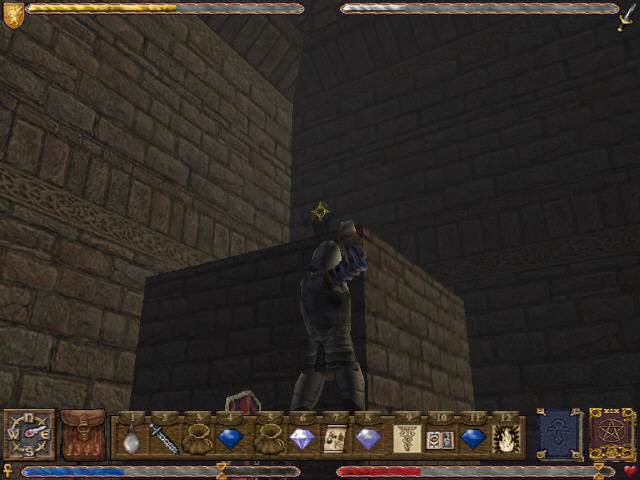
Finding the entrance to the hold is really, really tricky and it takes me a while. You need to look for a castle turret under the water and the entrance is through a rectangular hole inside it.

Even when you find it, this area is slightly bugged and I find myself suddenly drowning when swimming down it. I can just about survive (sometimes) by using the mana breath spell.
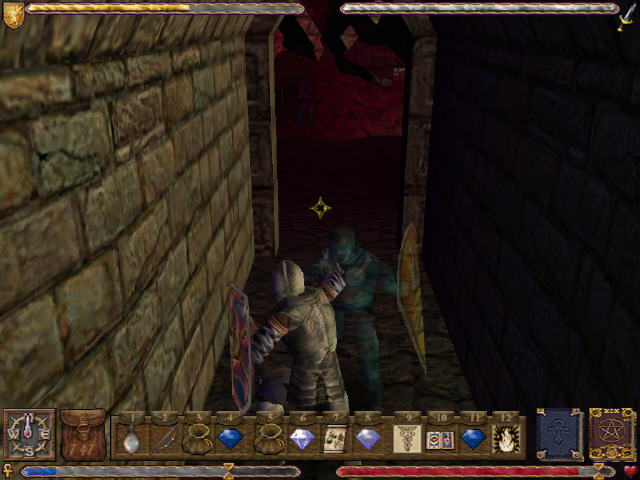
After swimming through a magical barrier, I’m in an air bubble again. It’s still not safe as this place is full of ghosts. I can’t seem to kill them off no matter how much I hack at them so I end up just having to run away.
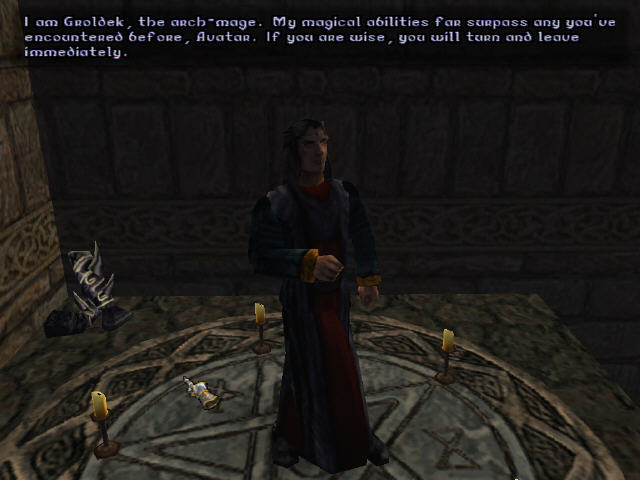
After finding the required key I open the door to a room with an archmage. I close the door behind me and block the hordes of ghosts out then turn to dealing with the mage.
Despite his bragging he isn’t all that hard. The only tricky bit is that he is on top of a platform I can’t get to so I have to take him out from a distance with fireballs and arrows.
As soon as he dies the wall outside fades away.
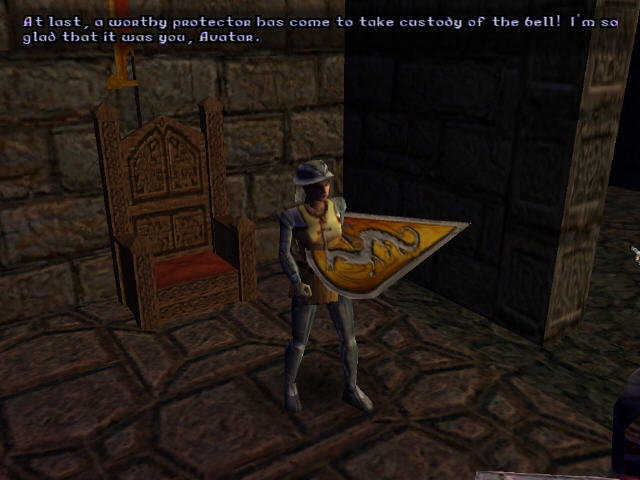
A warrior is in the new area guarding the bell. She tells how the security system closed the wall when the bell was threatened and how she stayed here as she was not strong enough to take on the arch mage herself.
I take the bell. Getting these items has been a long quest even when I already had the book. I now go all the way back to the well of souls and perform the ritual to release Shamino.
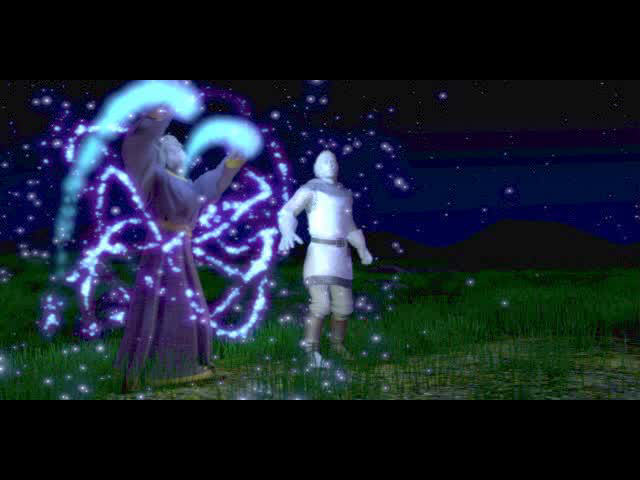
The ritual works and Shamino is returned to his body.
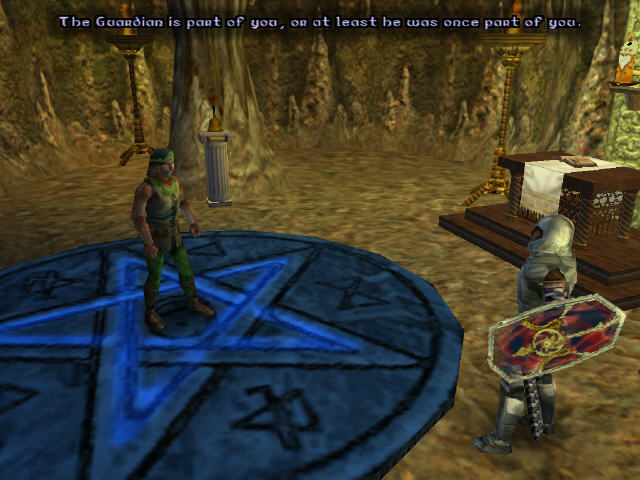
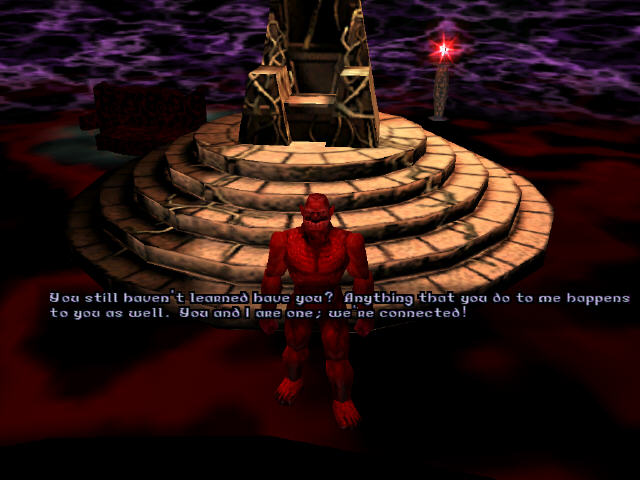
Shamino’s quest proved fruitful and he has some disturbing news for me. He tells me that the guardian was once part of me and was formed from the parts of me I let go when I became the avatar. He says this isn’t a judgement on me but if anything proof of my virtue. The evil energy has to go somewhere and this is evidence that one person shouldn’t be all things good for a whole people.
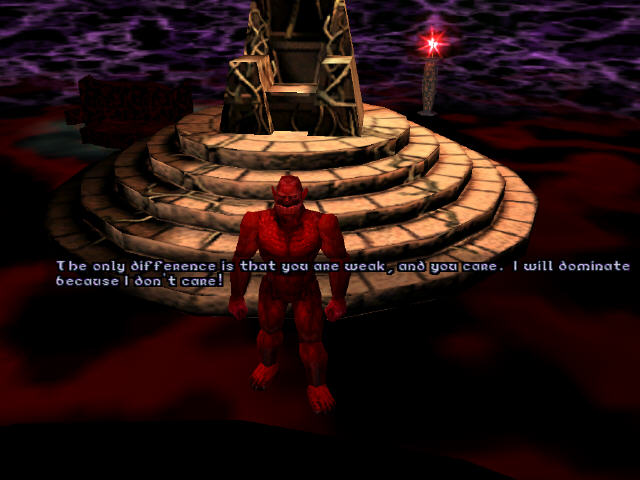
I completely disagree with the whole notion of this idea and it annoys me more than anything else in Ultima 9. It appears to imply that no one should try to be too good a person as the bad parts of yourself will just drift off and cause trouble elsewhere. We should all just aim for utter mediocrity instead presumably. Just how evil must the avatar have been before Ultima 4 anyway – the guardian is clearly massively more powerful than I am and has conquered countless worlds if UW2 is to be believed. I could possibly live with some sort of alternate world idea where the guardian was in effect an anti-avatar but this just doesn’t work for me. It doesn’t fit with the guardian from earlier games and it belittles the earlier titles in the series also, especially Ultima 4. As the last in the series, I’m wanting some sort of conclusion and explanation from Ultima 9. I may get the conclusion but this explanation doesn’t make any sense as far as I’m concerned.
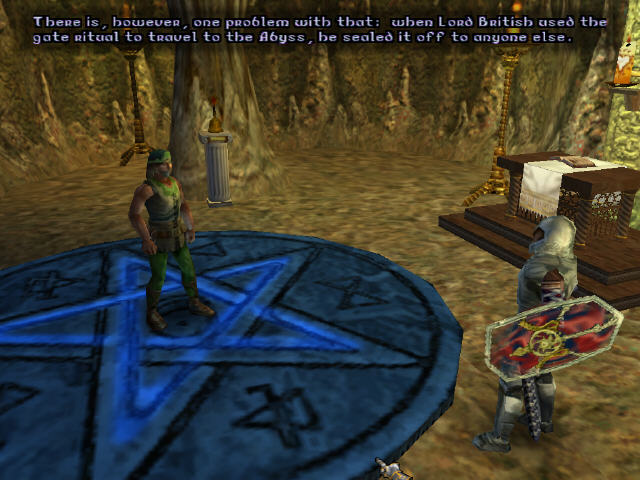
I may not like it but I’ll have to get used to the idea of the guardian being my dark half. Shamino tells me next about LB going off to the abyss to confront Blackthorn. He has sealed the abyss behind himself so I won’t be able to get in. The spell can only be broken from within which means I need to summon a creature native to the abyss.
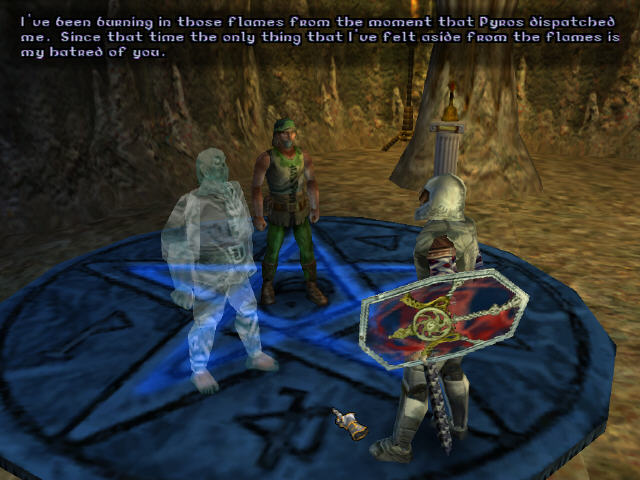
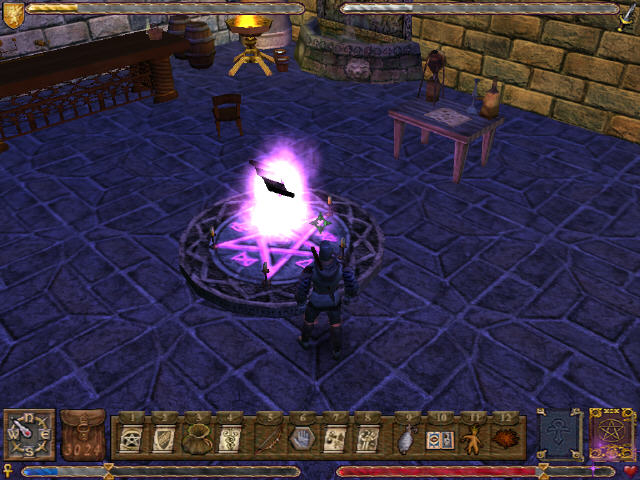
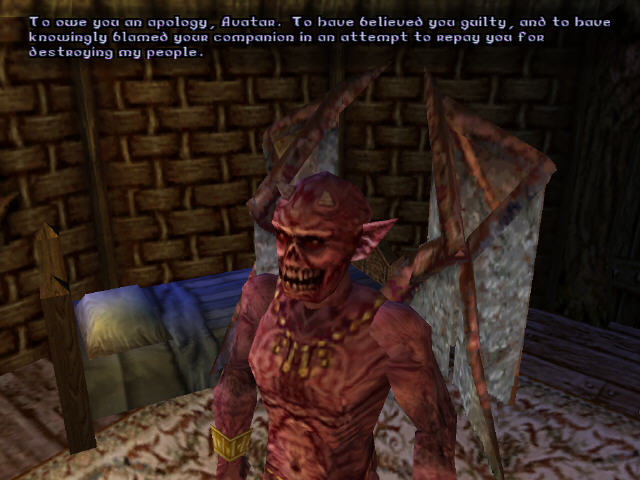
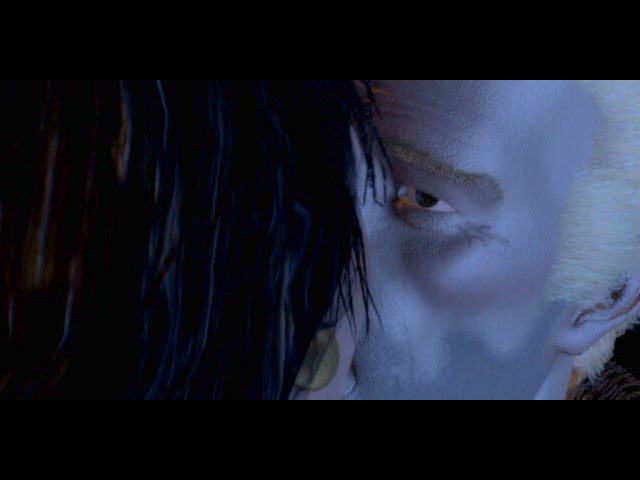
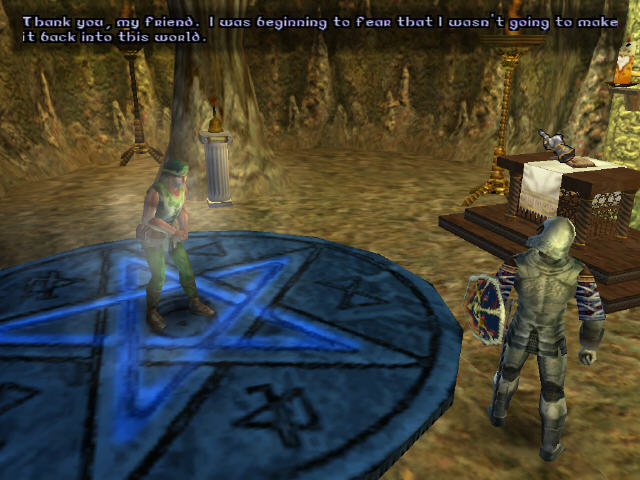
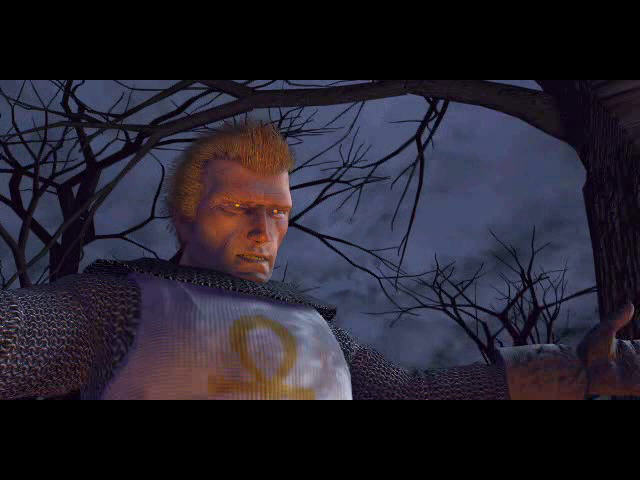
To this end, Shamino summons a ghost of one of the characters from Ultima 8. He was killed by Pyros flames and claims that they burn him still. Shamino tells him that the burning is actually his hatred for me and that he needs to forgive to find piece and he can start by telling me how to summon Pyros. This actually works and he tells me the necessary ritual to call Pyros, bind him and then he will be able to let me into the abyss.
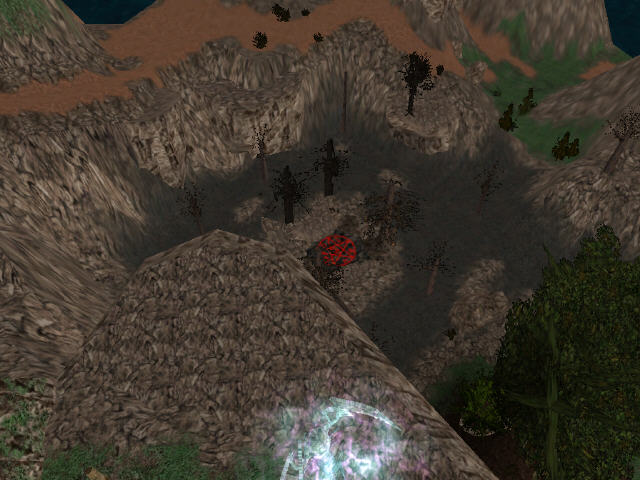
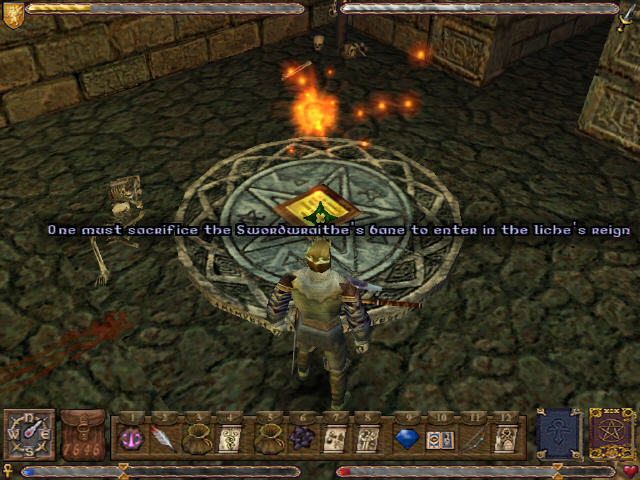
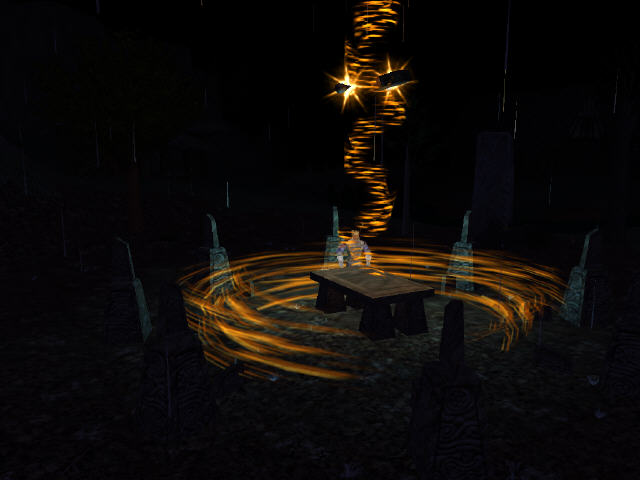
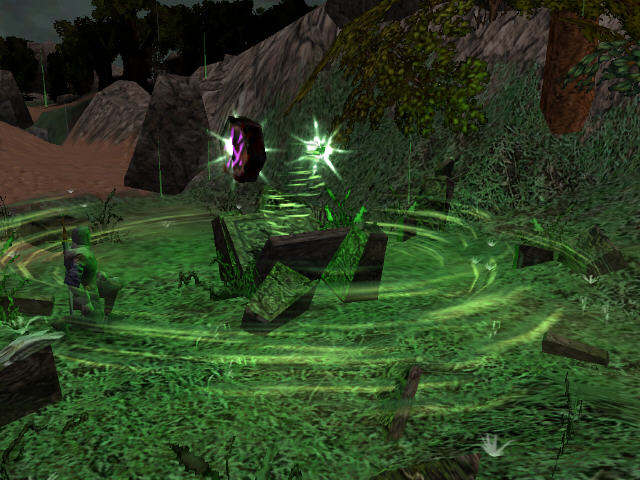
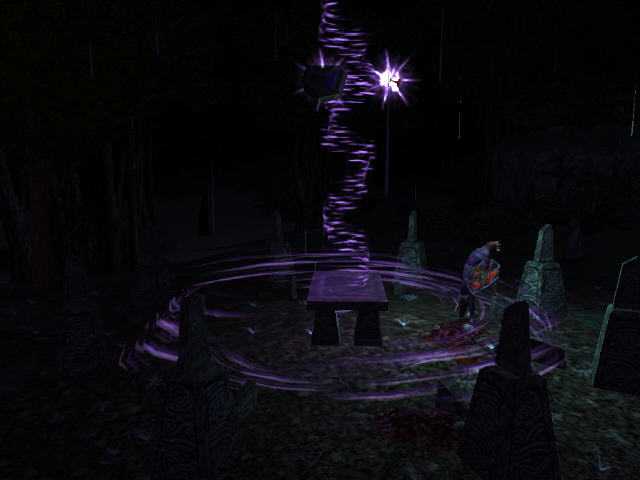
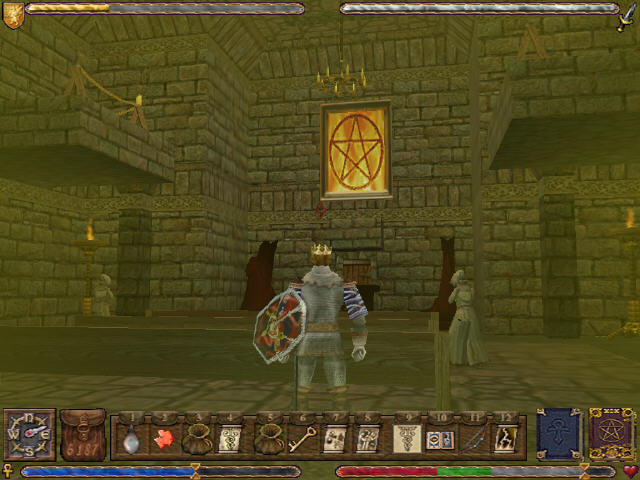
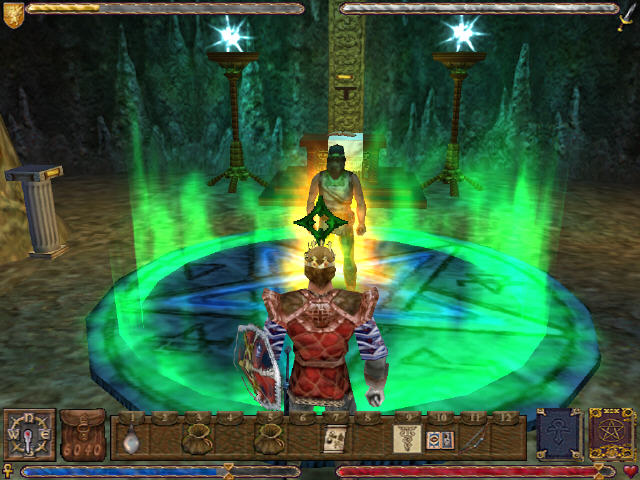
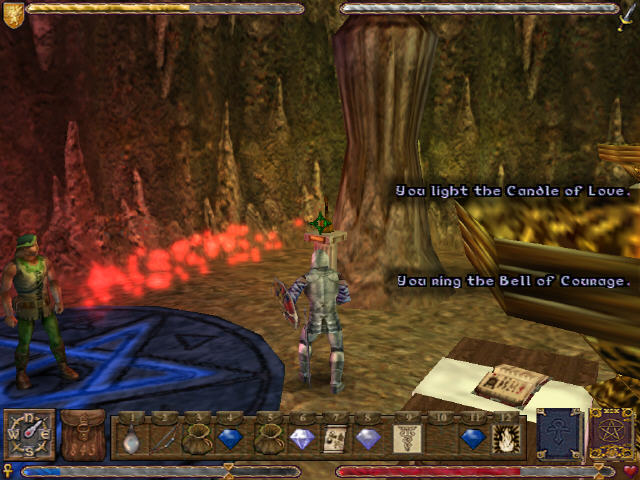
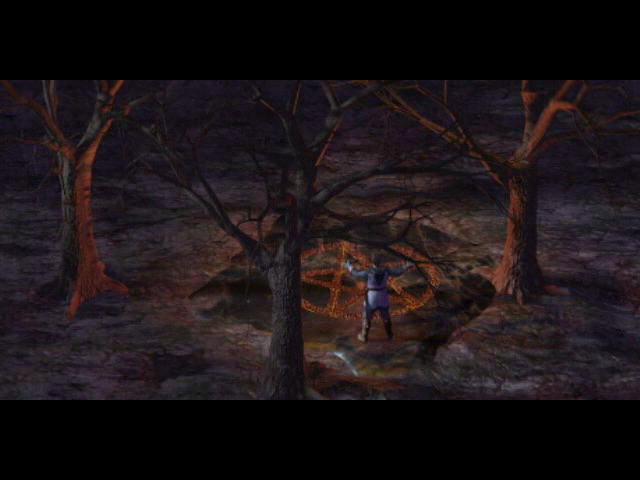
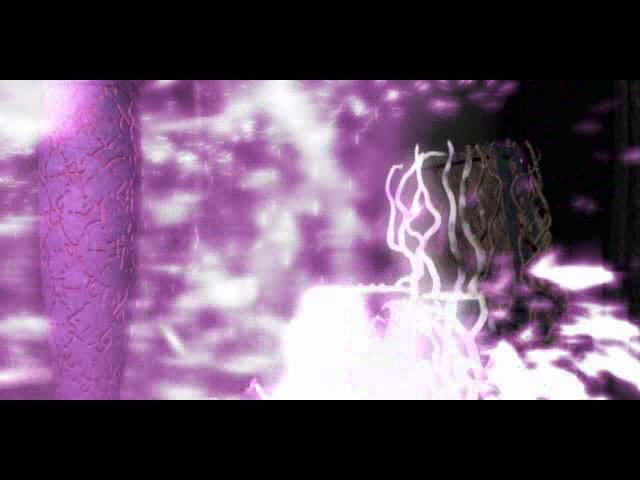
I get to see a pentagram magically appear on the Isle of the Avatar. The ritual uses fairly standard items except for some blackrock and the red candle which are only in specific dungeons.
Raven sails me off to the Isle of the Avatar. LB’s ship is in the harbour so he has definitely been here first.
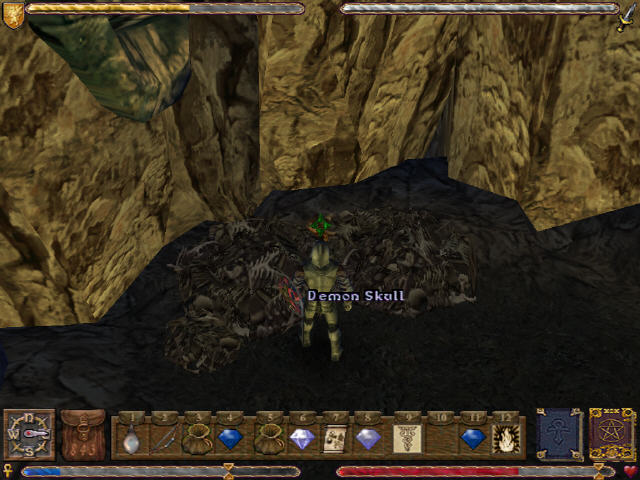
I realise at this point that I’m missing a daemon skull. I can get this from Valoria where I killed the demon earlier.
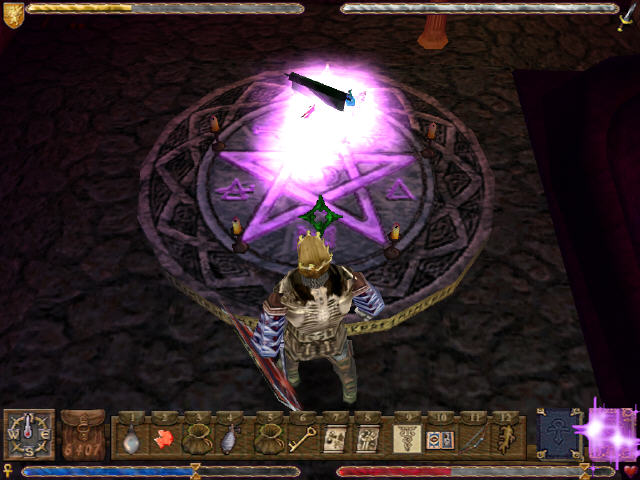
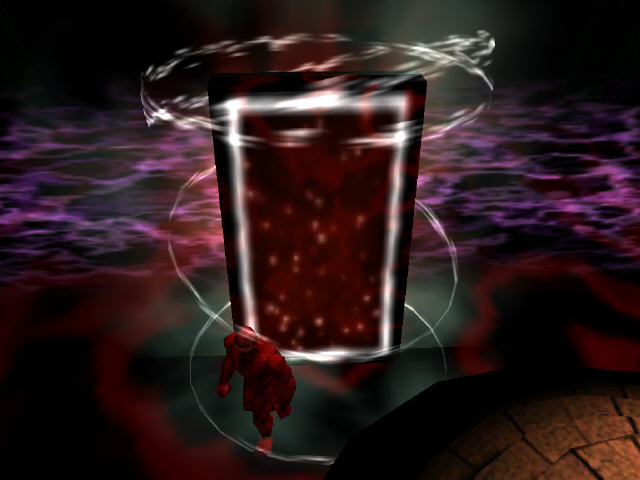
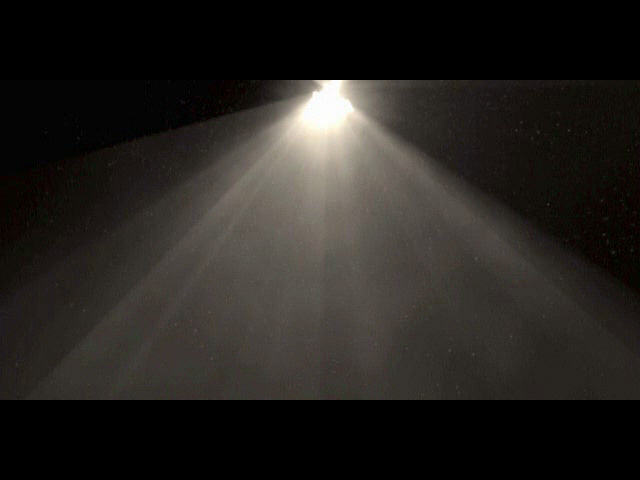
I go back and cast the ritual. There is a nice cutscene showing Pyros appearing and magicing me down through the rock. I’m not entirely sure how Pyros is a native of the abyss although it does make some sense given that the dungeon (in U9 at least) is split into the four elements.
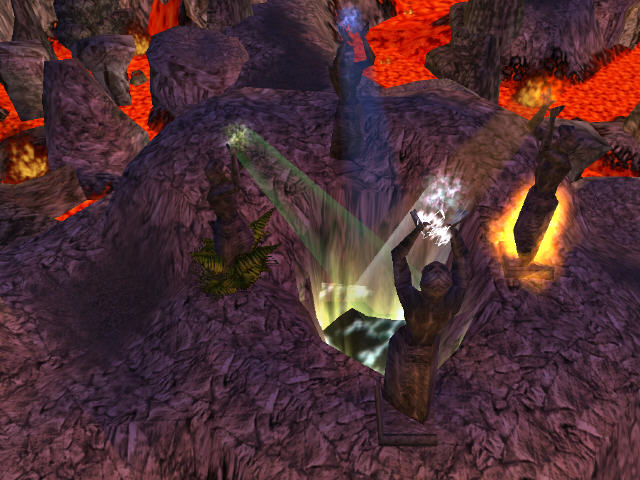
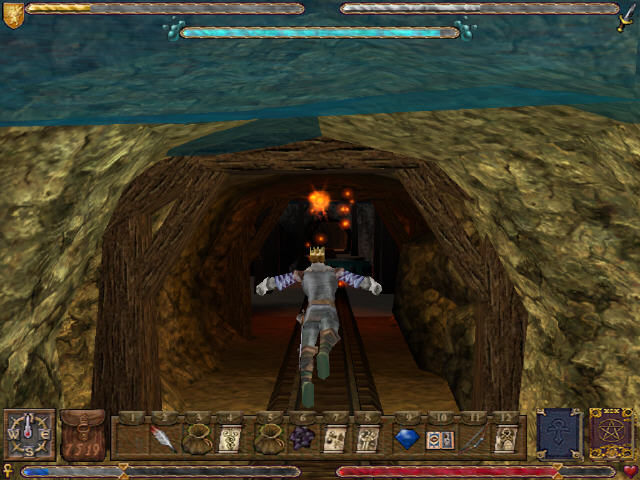
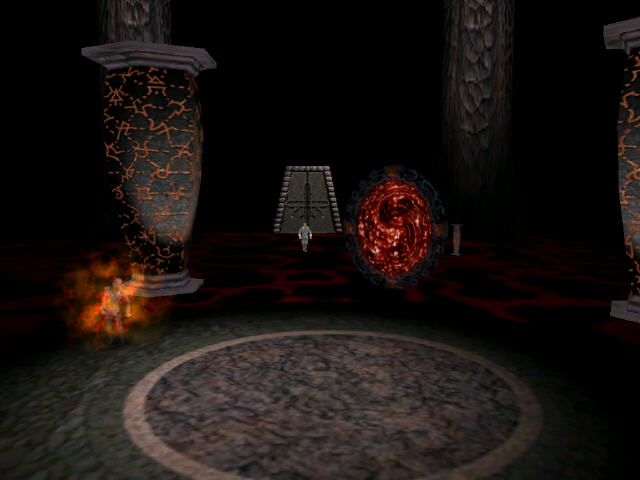
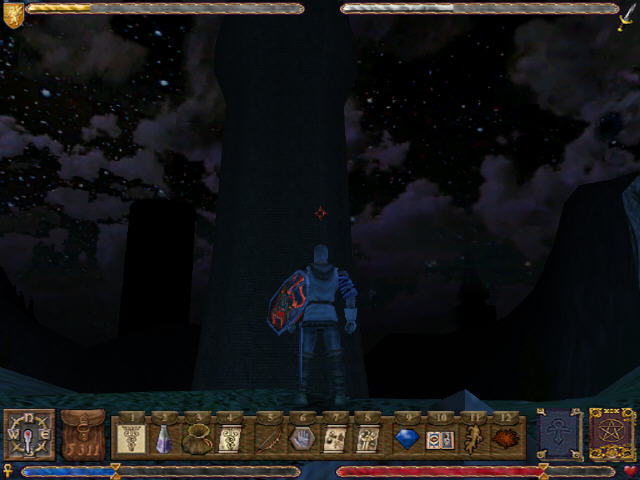
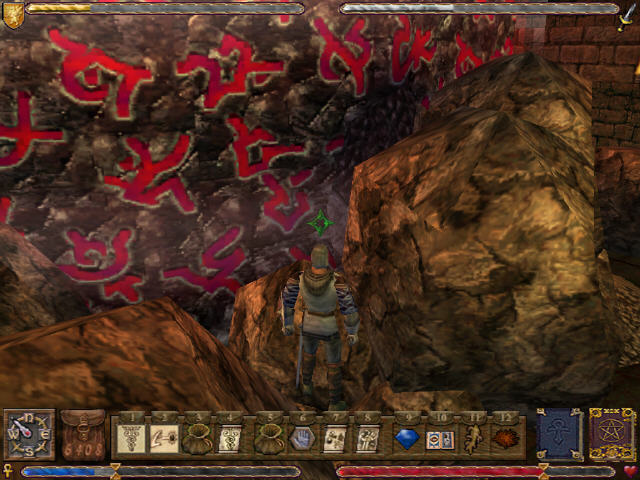
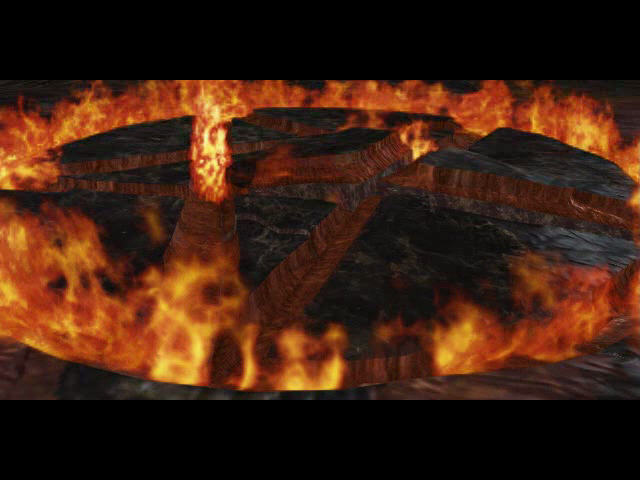
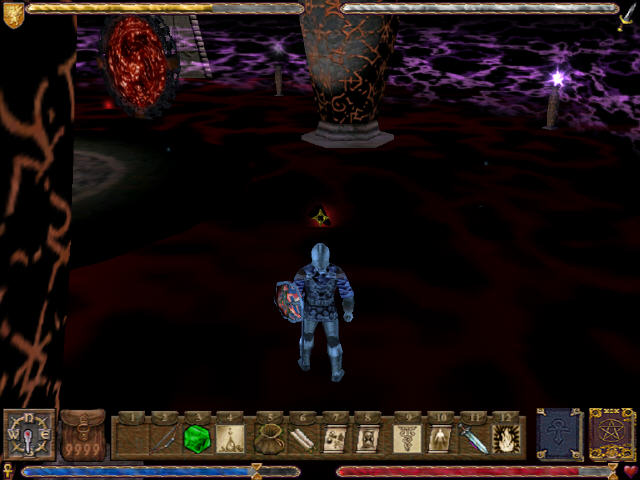
The abyss is a dungeon on a whole new scale to anything I’ve seen before. It starts out with a fiery room complete with dragons where I just have to make my way to a central hole and jump in it.
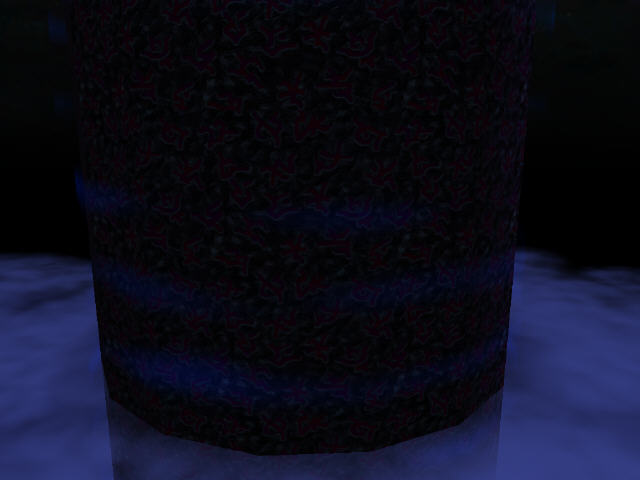
This gets me to a long vertical shaft. There are four platforms on the way down, most of which have force fields around them.
At the bottom of the shaft is a teleporter which is currently protected by all four elements. The aim is to play through four zones, each representing an element, kill off some creature or other and open up the teleport. Thanks to a bug in the game, the blocked teleport, actually lets me teleport anyway and I skip most of the dungeon at this point. I realise something is up pretty quickly and go back and try to do things properly.
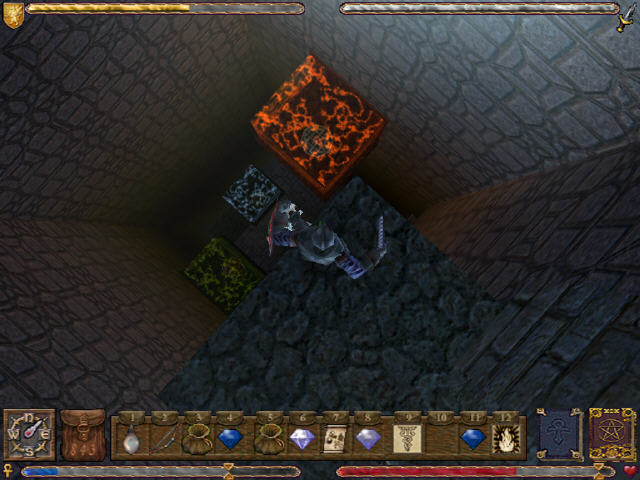
There is a globe holding claw at the bottom of the shaft. Before I can get to each zone I first have to get a globe and use it in this claw to open up the gateway. Each floor has a couple of rooms with a minor puzzle or two to solve. These are all fairly simple and usually involve pushing brick switches and the like. The first zone is air and doesn’t take much solving.
The fire zone is marginally trickier but doesn’t take long either. I have to douse a couple of braziers which is simple enough but its been a long time since I had to use the douse spell so I don’t think of it straight away.
Next its the earth zone. This is more complex and involves pressure plates and a bit of climbing.
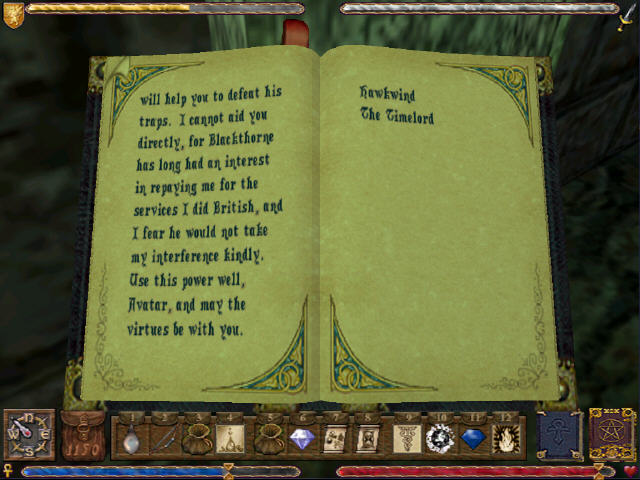
I see a floating ankh just like the ones I got in the intro back on Earth. Clicking on this, I discover a book from Hawkwind where he reveals himself to be the timelord. Assuming I’m remembering this right, Hawkwind was the guy that judged my virtues back in Ultima 4. This is another completely unsatisfactory explanation although its a lot less fundamental than the guardians identity.
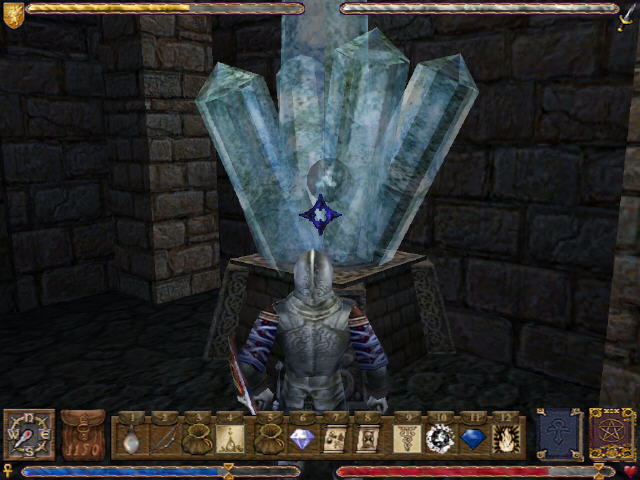
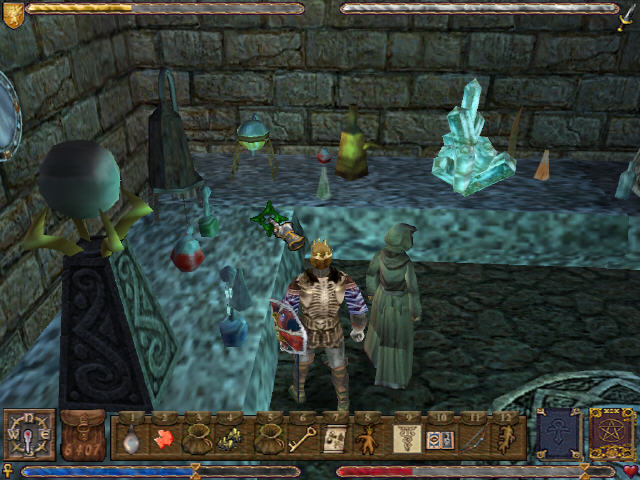
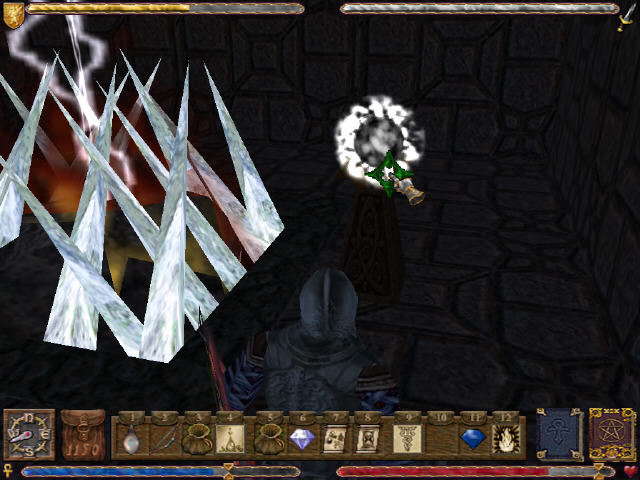
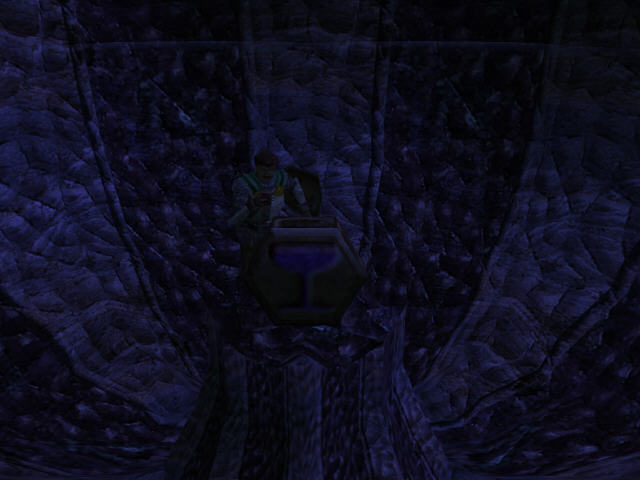
The final zone is water which has both a watery area full of fish and an ice area. The globe I need is in a giant ice crystal. I have to fireball it to get the globe.
I use all four globes one after another at the bottom of the shaft.
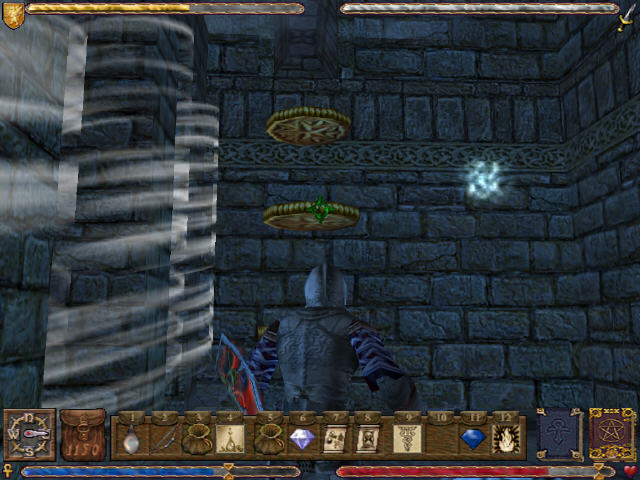
This doesn’t obviously do anything but each zone now has a new area when I go back to it. The air zone here has some platforms letting me climb up to a portal in the wall.
I step through the portal….
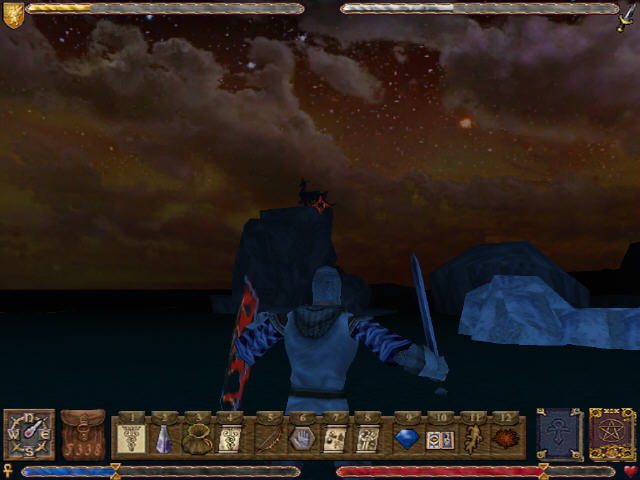
… and find myself in a huge open space. Each of the elemental zones will be something like this and for a 1999 game they really do look impressive. The abyss is not disappointing as a final dungeon.
As mentioned before, my goal in each of these zones will be to kill a creature representing the element. Here I have to kill a gigantic dragon.
When it dies a teleport is revealed which gets me back to the central shaft.
Once back, the air element (lightning) vanishes and the teleport is slightly less well protected.
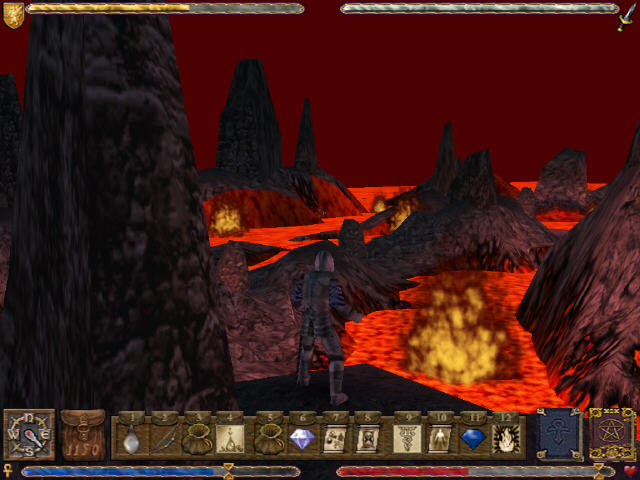
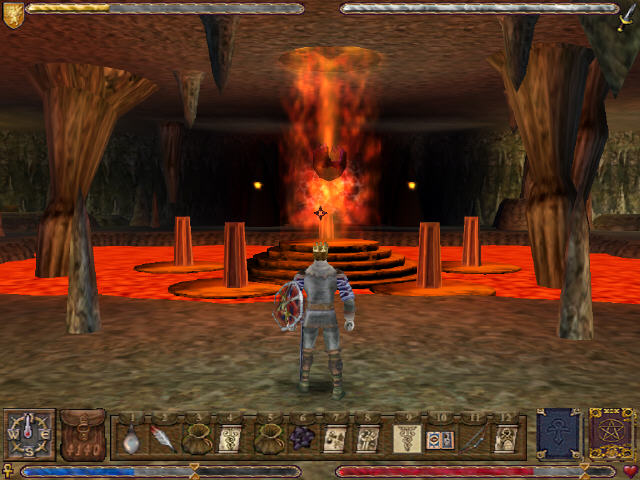
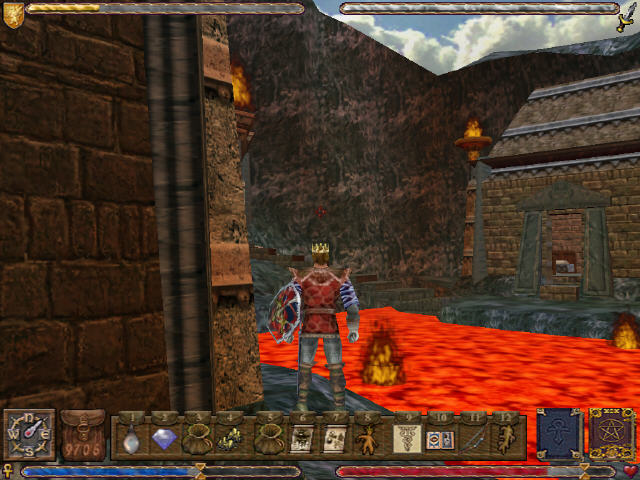
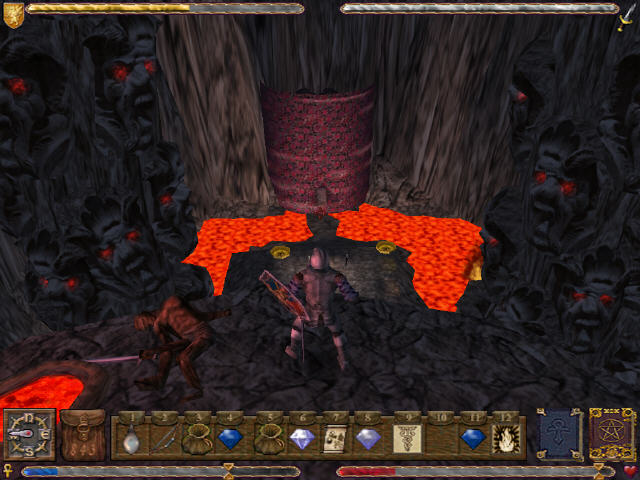
Next up its fire which as you might expect means wall to wall lava, demons and hellhounds. This is quite a hostile place – I resort to running past most of the demons.
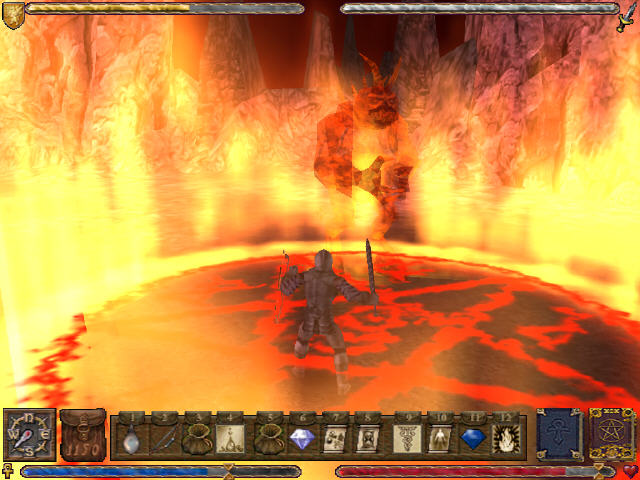
At the far end, is a king-size demon who I have to kill off to complete the zone.
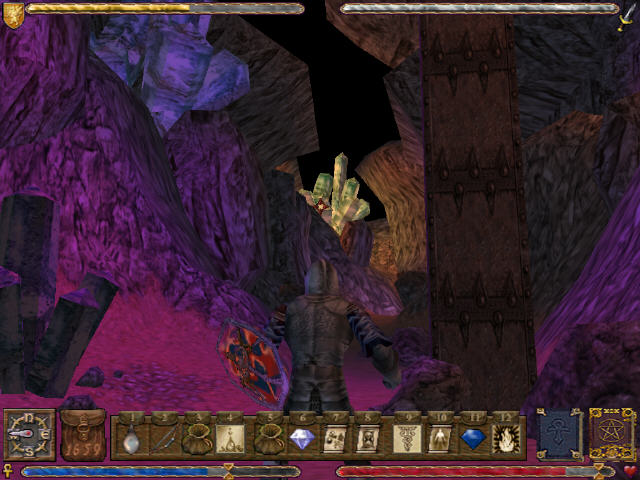
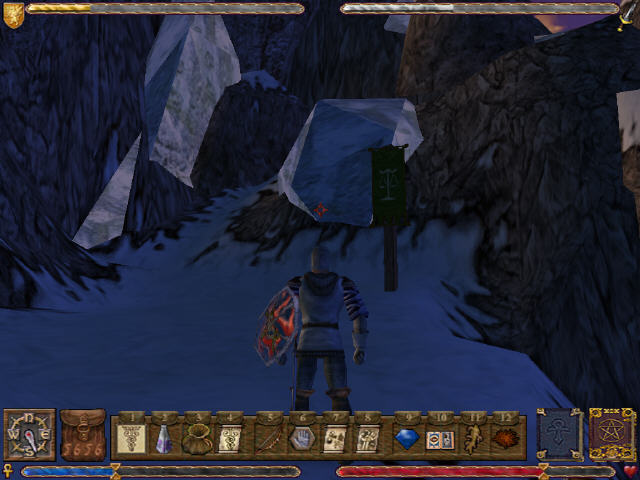
Next its the earth zone which is giant crystals and the like. This is a lot easier to survive in than the fire zone was.
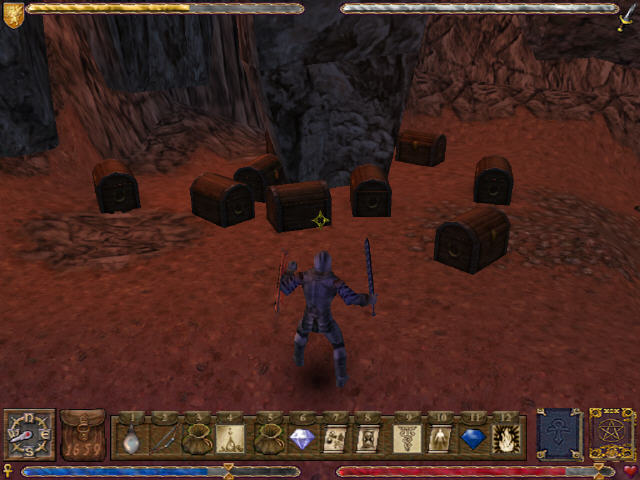
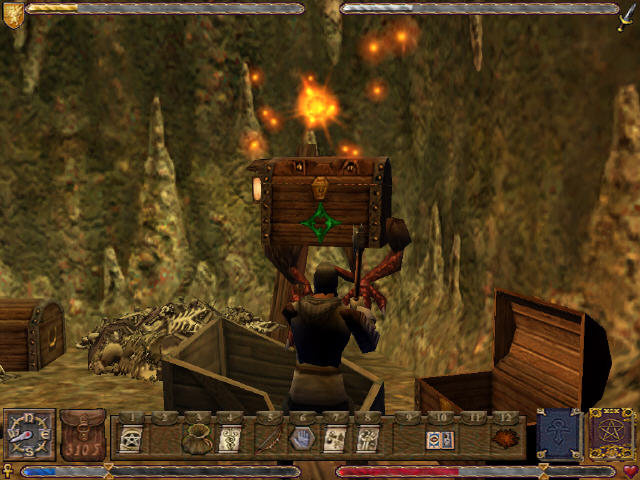
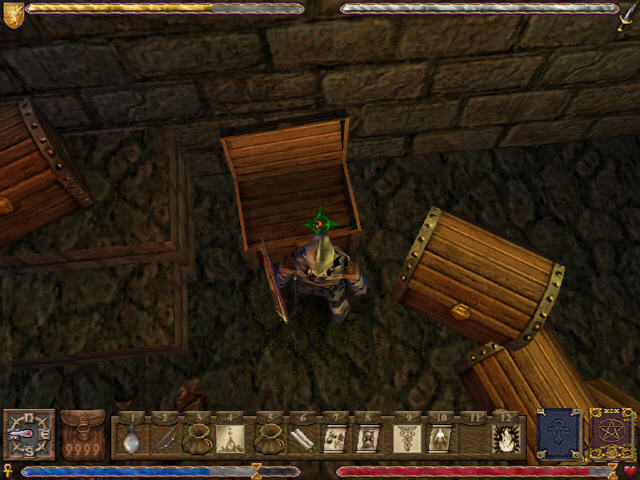
The final boss is so easy that I don’t even realise its a boss at the time. It’s a large plant which takes one or two hits to kill. Behind it are a load of chests. All but one are mimics. It goes without saying that there must be something good in the other and it nets me a blackrock chest plate.

That just leave the water zone which is not as watery as I expected.
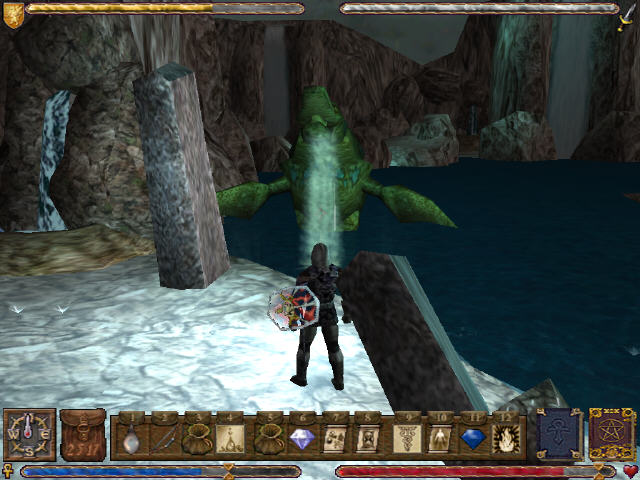
There is a sea serpent waiting for me this time. The problem with fighting this thing is getting to it with my sword. I try a few range weapons but it doesn’t seem to get me anywhere and I eventually kill it with my sword by getting as close to the waters edge as possible.
The final barrier to the teleport vanishes and I can now legitimately get through to the next stage.
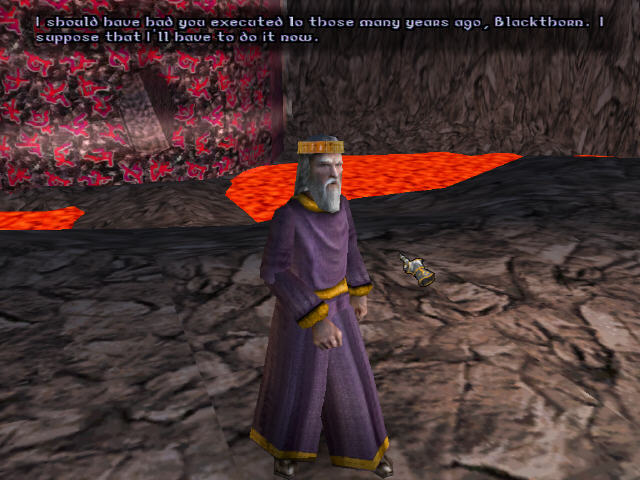
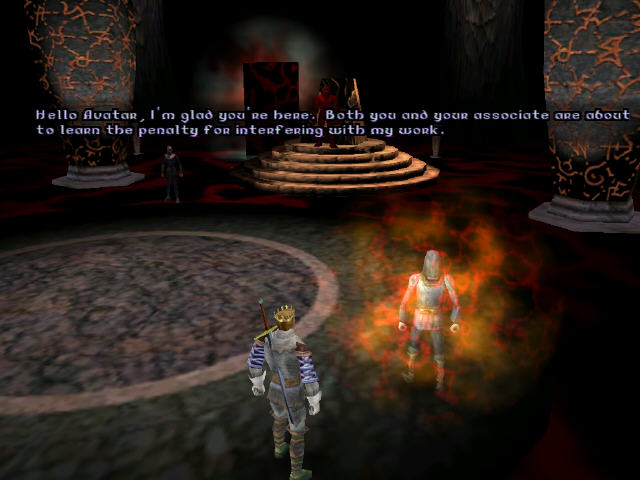
Blackthorn and British are outside the column entrance and about to fight. I volunteer to fight myself but LB isn’t having it.
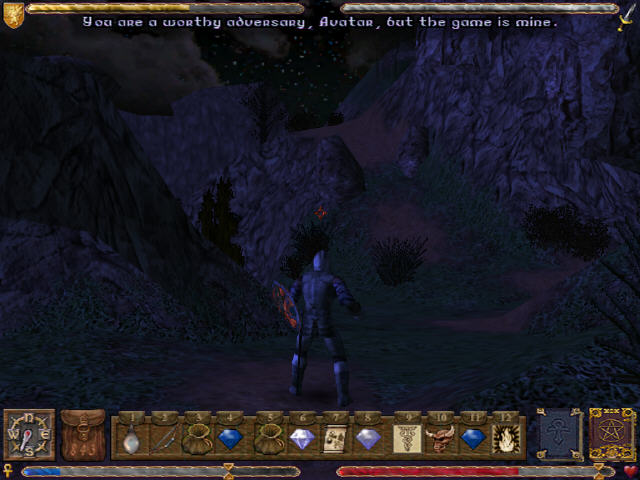
LB blocks me behind a barrier. He says that he has sat back too long and let me deal with all his problems. LB and Blackthorn precede to try to blast each other out of existence.
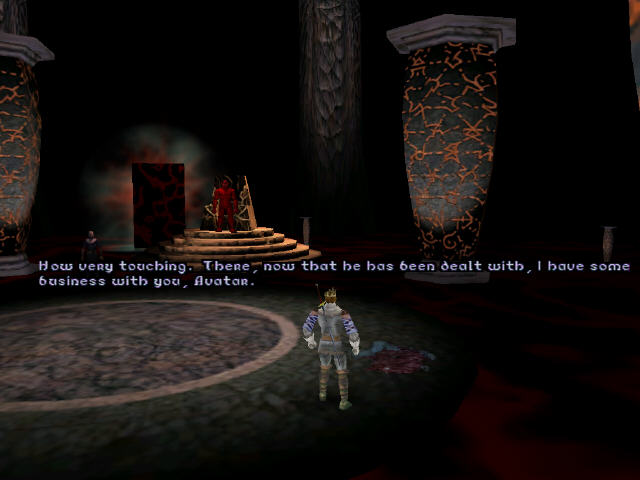
LB emerges triumphant and thats the last we will see of Blackthorn.

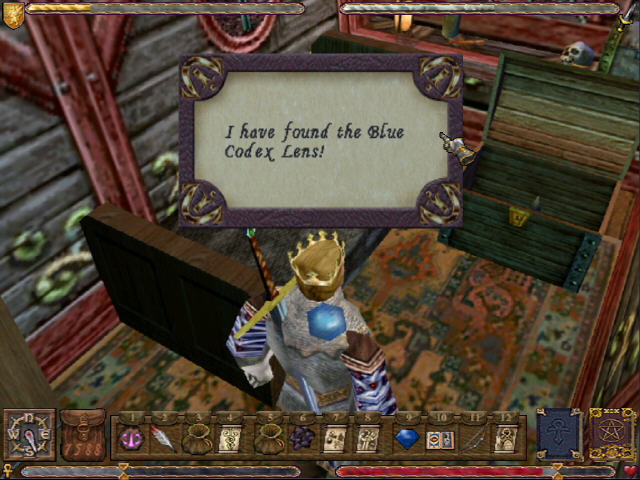
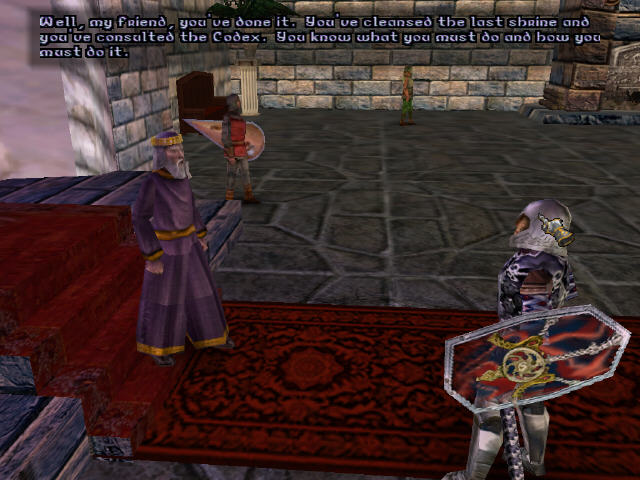
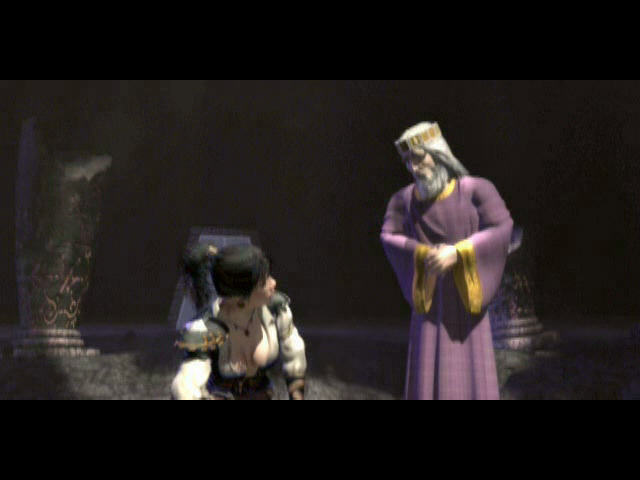
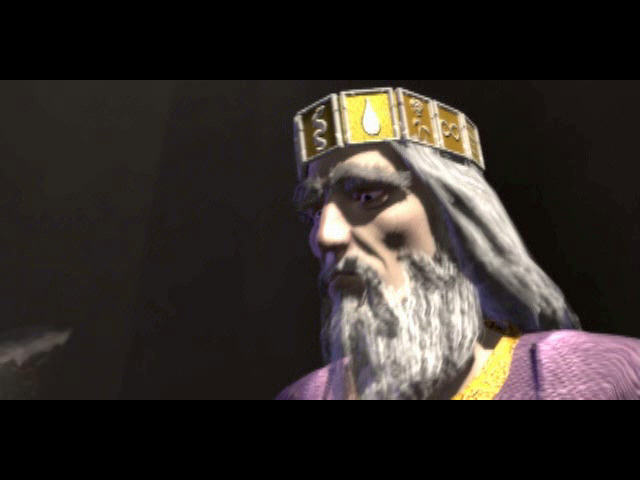
LB tells me how I was supposed to be an example to the people of Britannia but they have come to rely on me to solve their problems too much. This has been far more true in Ultima 9 than earlier games but he does have a point here. He then hands over the codex which I presume he took from Blackthorn.
Before we can leave I have to pick up the last glpyh. LB then teleports me back out to the Isle while he returns to Britain. He says he can move the moons from their orbit using magic and allow me access to the shrine of spirituality. He won’t do this until everything is in place though as it may hasten their descent to Britannia so he sends me off to consult the codex to learn how to defeat the guardian.
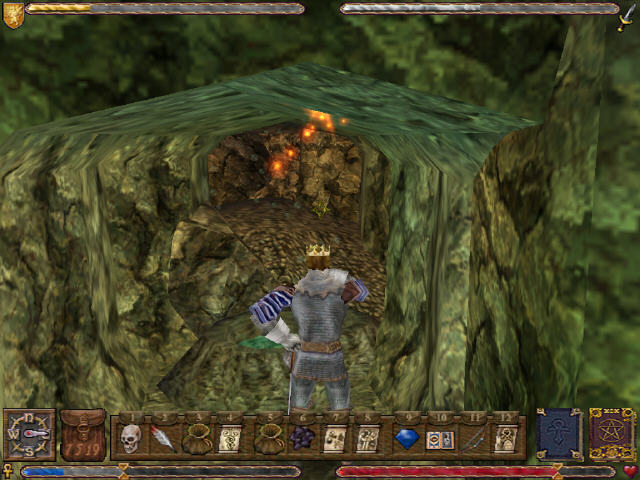
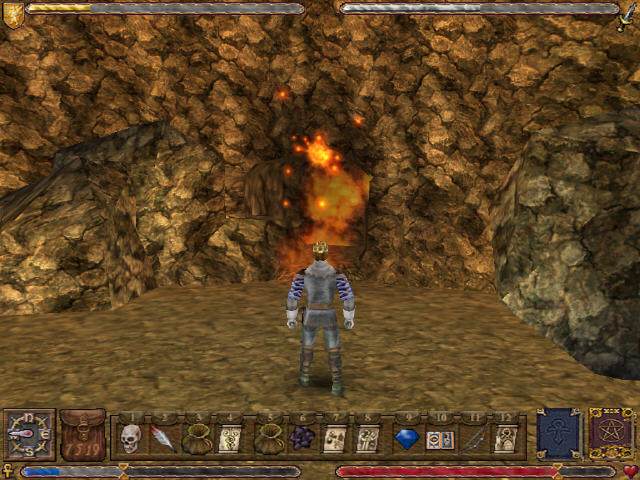
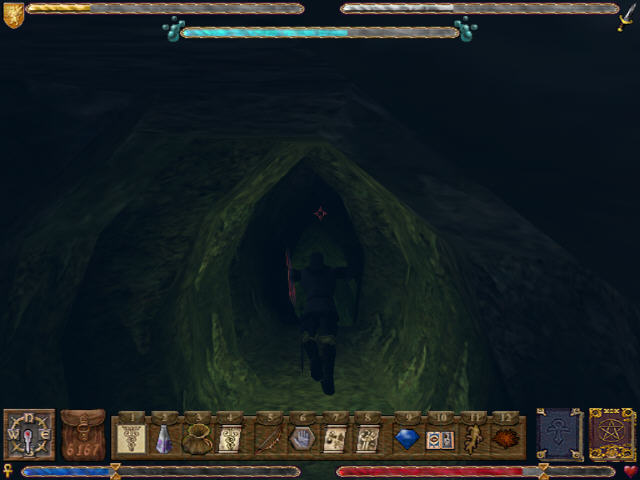
To do this I have to find the appropriate place on the Isle of The Avatar. This is actually quite easy as it makes a sort of choral sound which I can hear from a mile off so I just follow the sound in the right direction, through a cave until I get to the altar.
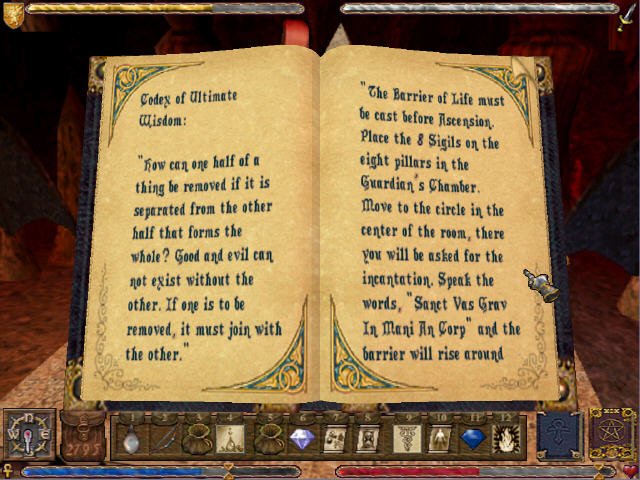
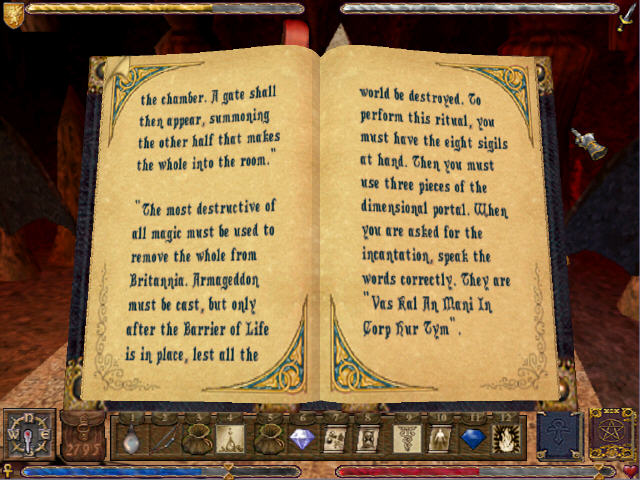
Using the two lenses I consult the book and it reveals how to destroy the guardian once and for all. The plan basically involves committing suicide using the armageddon spell but first using the talismans of virtue to create a barrier to keep this spell from the outside world. There may be elements to the plot I don’t like but I have to say that finishing the series by having your lead character commit suicide to save the world is a pretty brave ending as it was never going to be popular. I do like the fact that it involves a use for the armageddon spell which has been a feature of many earlier Ultima games.
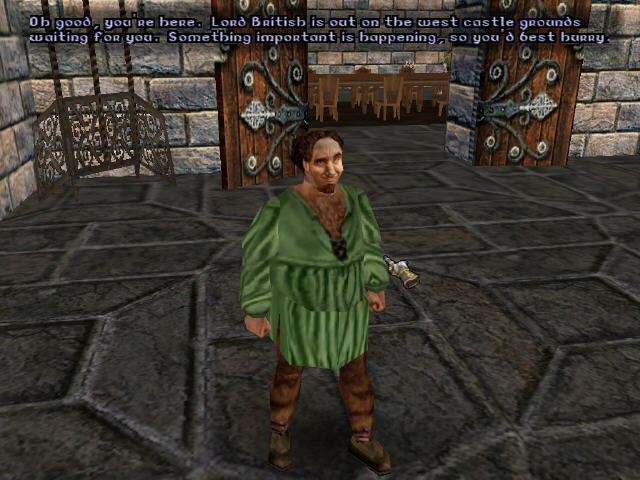
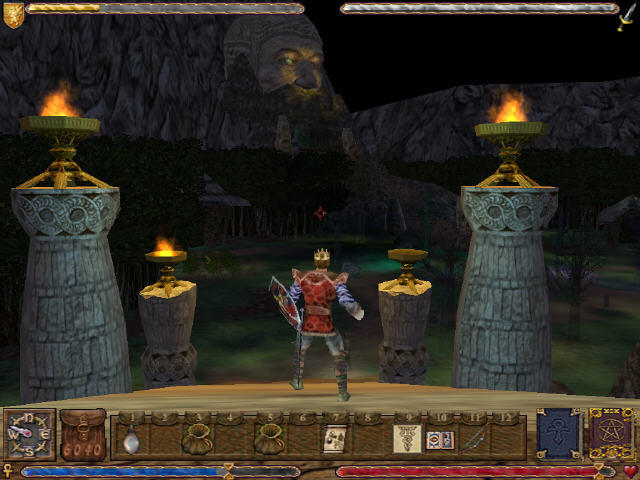
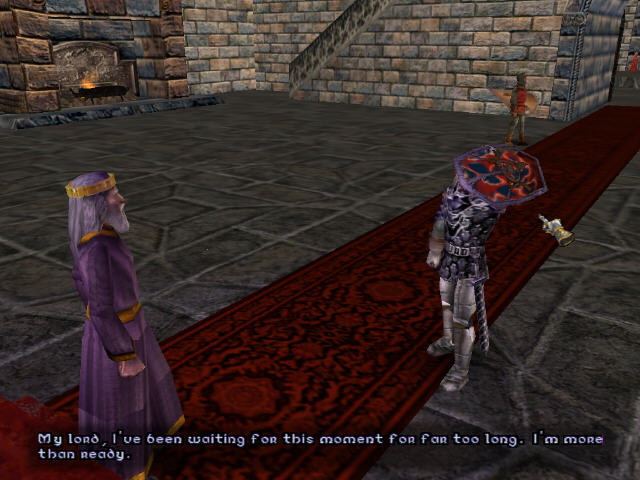
Now I know what to do I head back to Britain. I’m told that LB is waiting for me in the grounds.
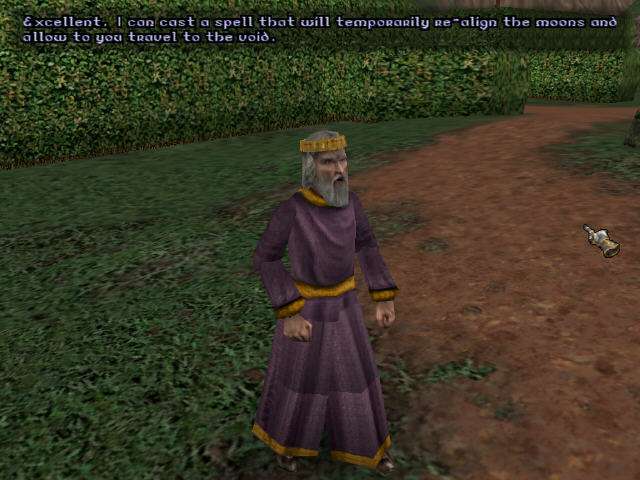
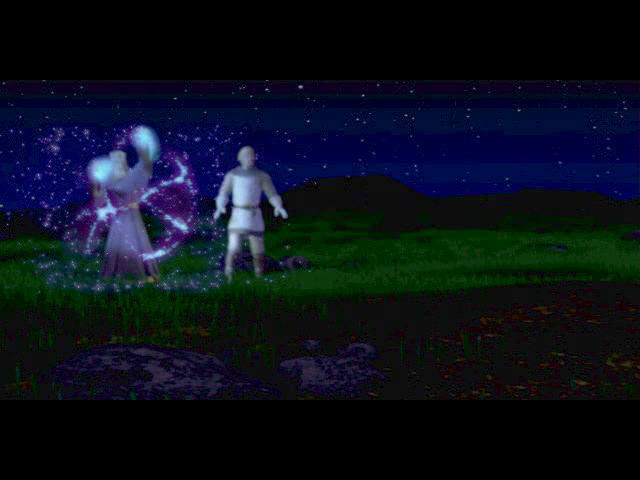
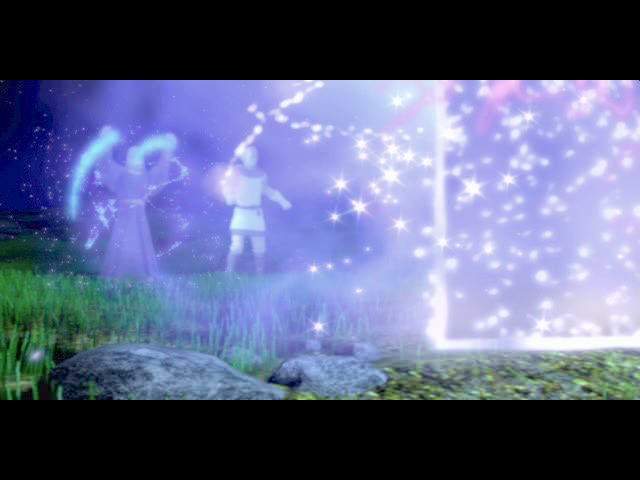
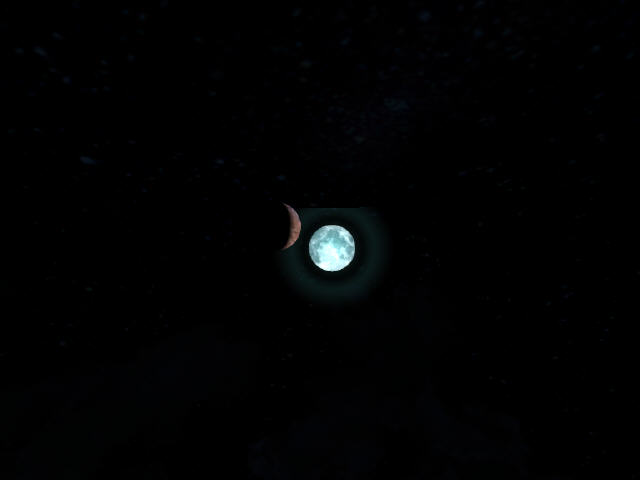
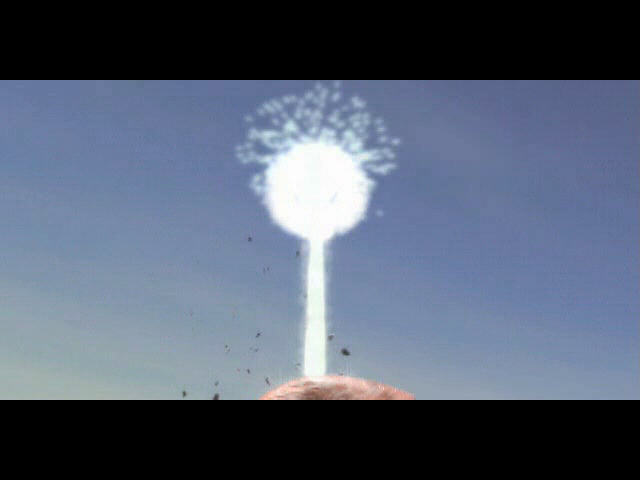
LB performs his magic on the moons and changes their orbits just long enough for me to dash through the moongate and reach the shrine of spirituality.
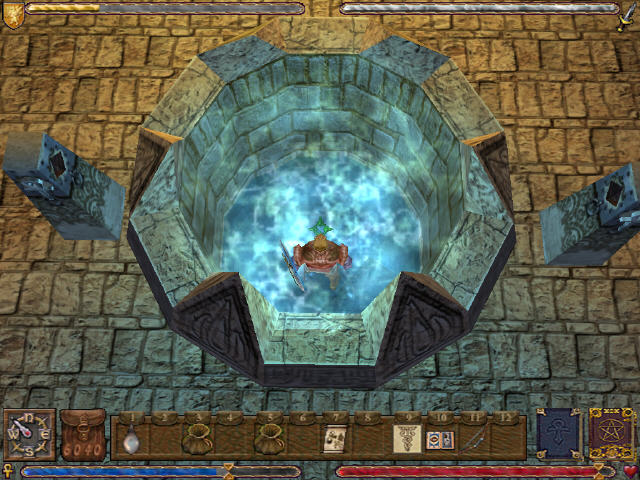
The shrine looks a bit like the well of souls I was in earlier.
Any of my companions which I’ve killed off along the way are here. They are all forgiving of what I did and are even apologetic for allowing themselves to be corrupted by the columns in the first place.

I hop along the platforms to the shrine and perform the cleansing ritual. Thats all 8 columns done which just leaves the guardian to deal with.
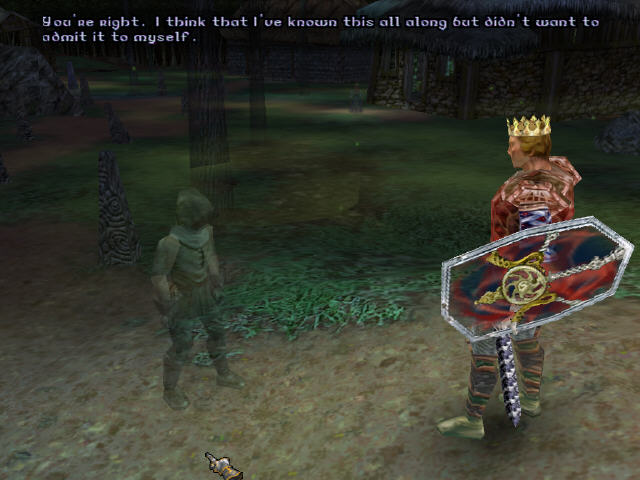
Before that I get to say a final farewell to all my companions. Cleansing the final shrine has restored them all to life – I think Dupre would have explained this to me at the last shrine but I never actually saw him while I was there.
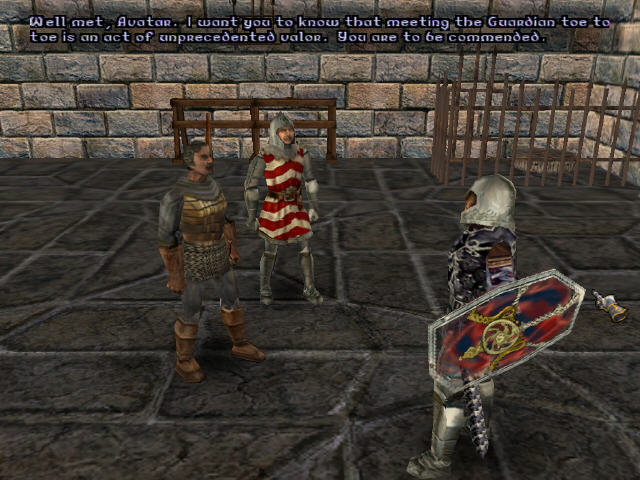
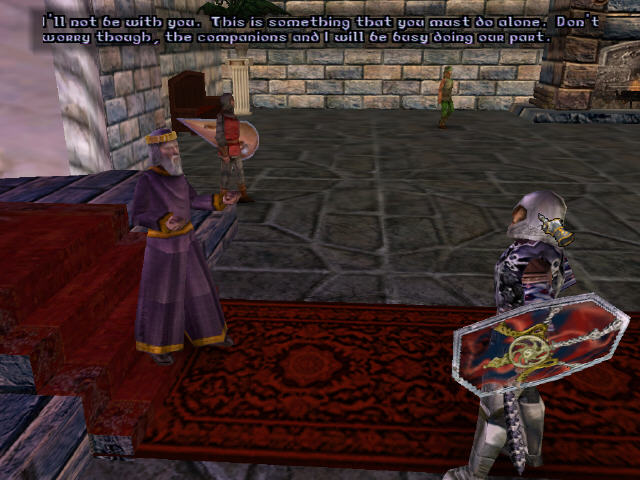
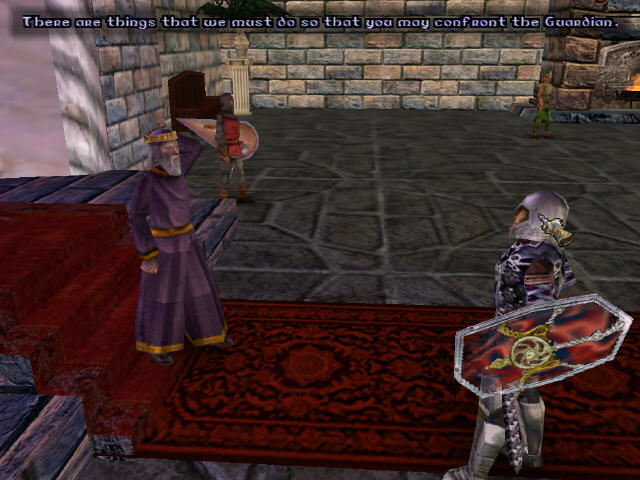
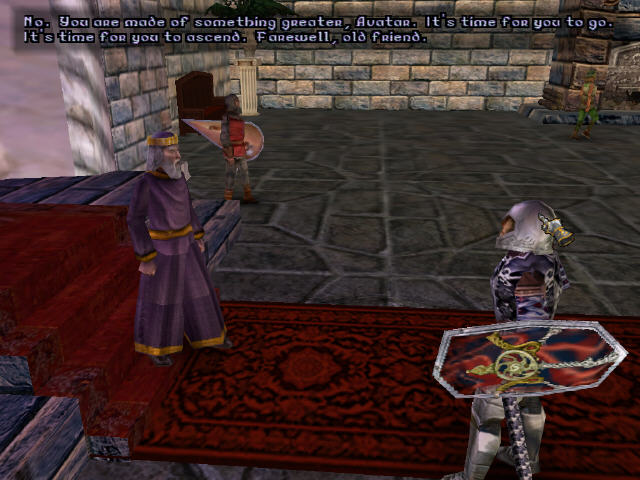
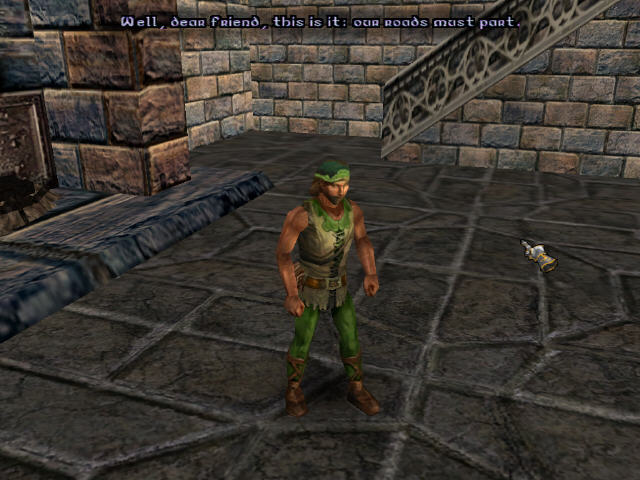
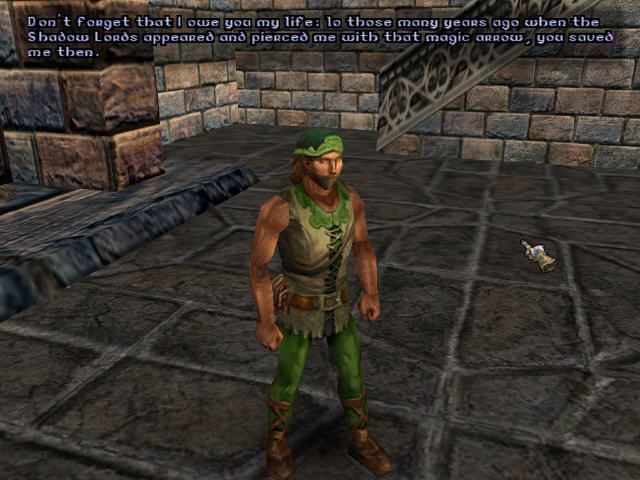
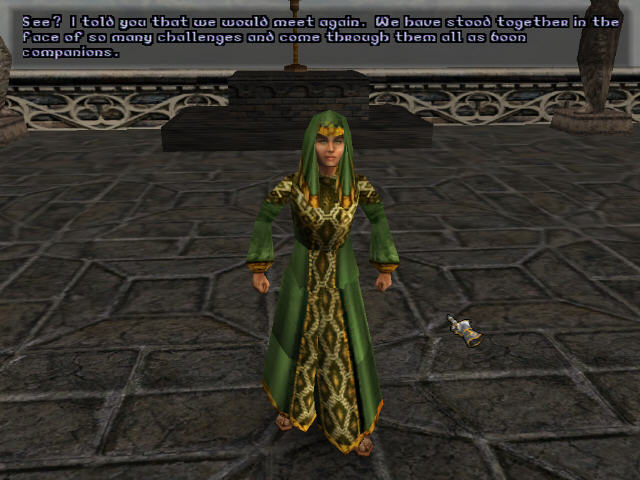
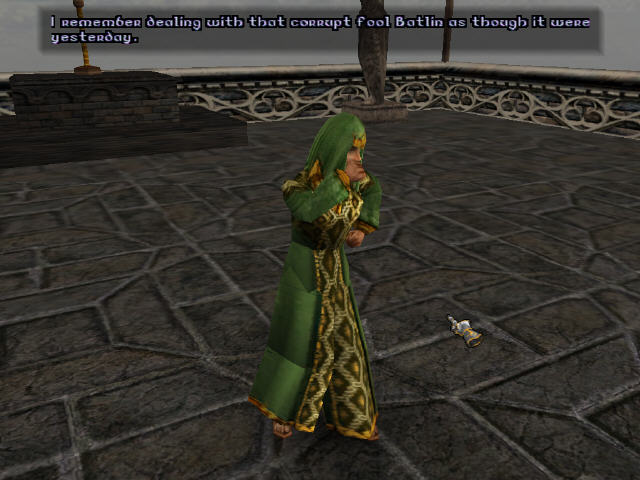
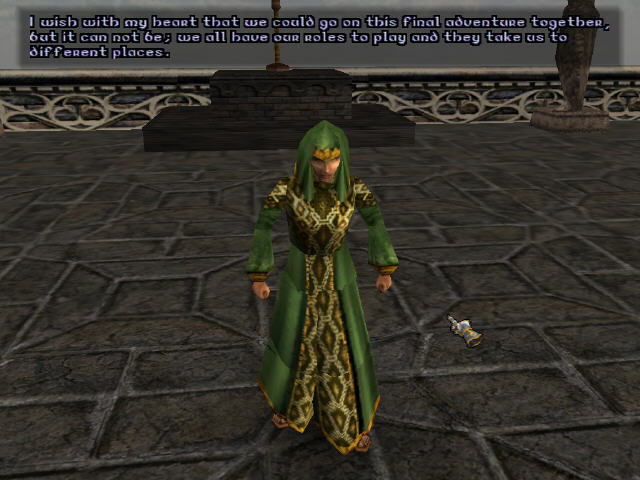
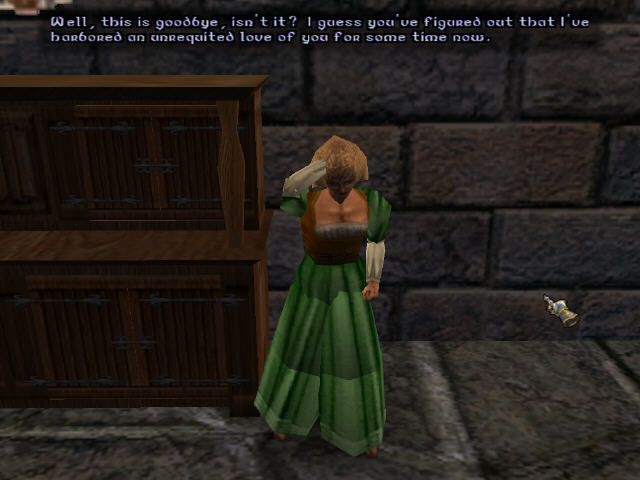
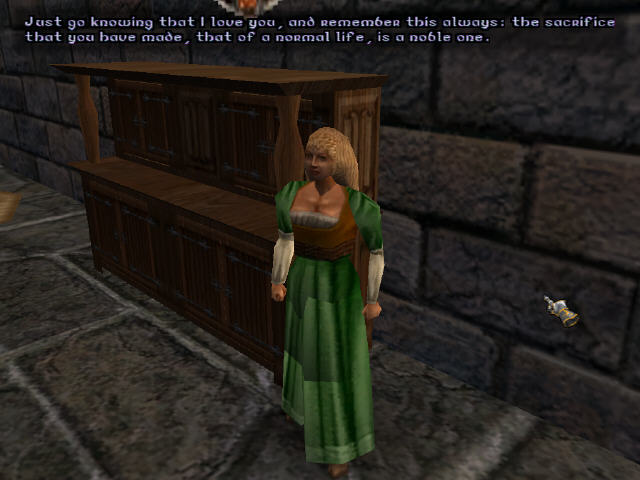
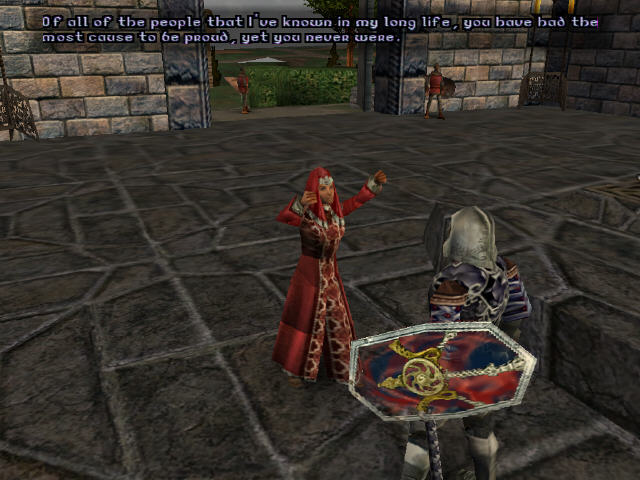
I wander around LB’s castle meeting all 8 of my companions and LB one last time. This is actually quite sentimental and one of the better points in U9’s storyline.
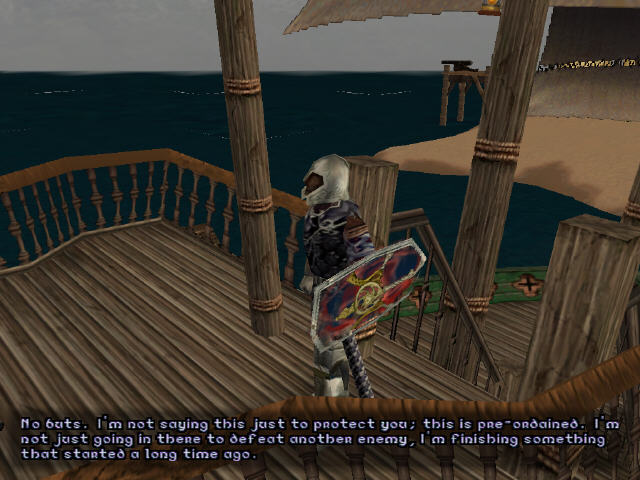
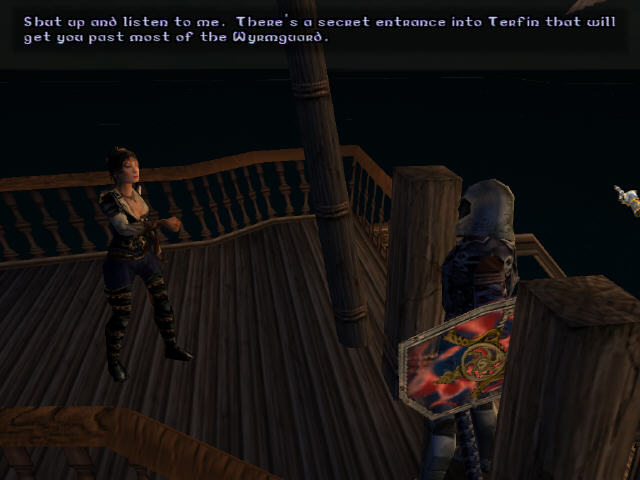
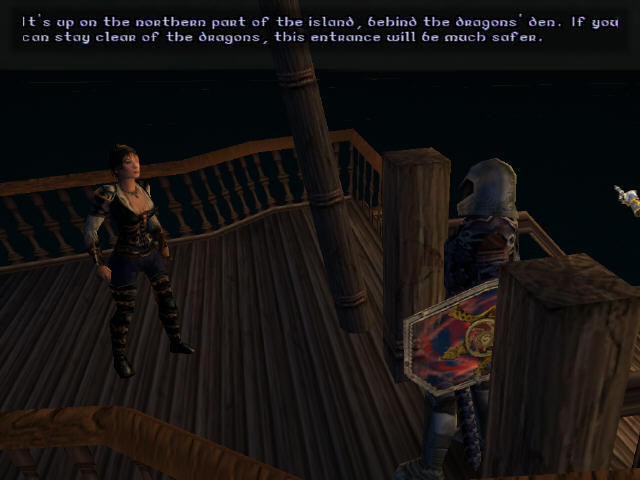
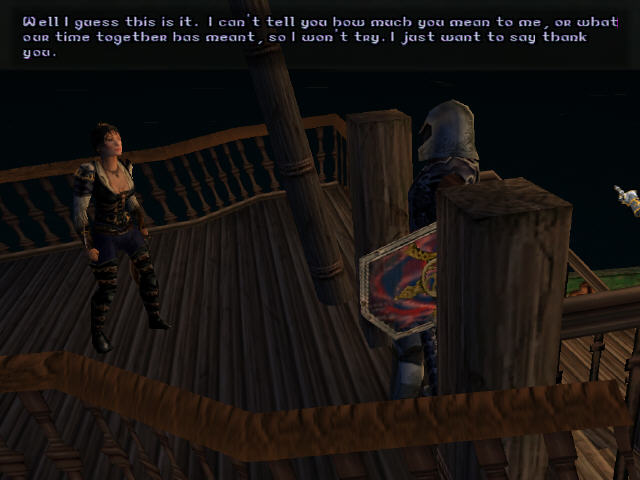
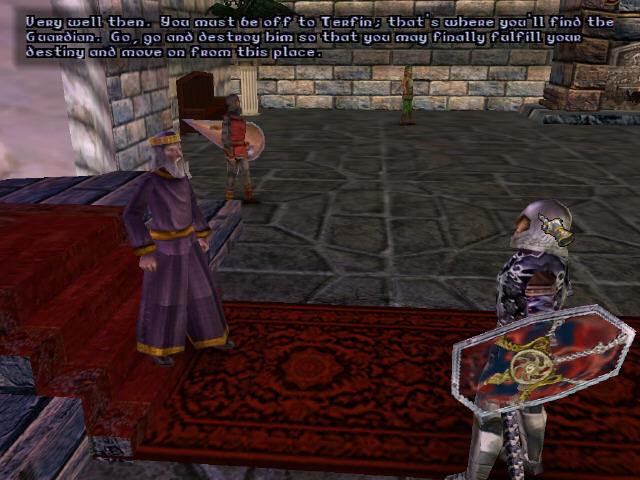
Raven takes me over to Terfin. We say our final goodbyes and she directs me to a secret entrance over on the west hand side of the island.
The entrance is behind a force field which vanishes as soon as I walk up to it.
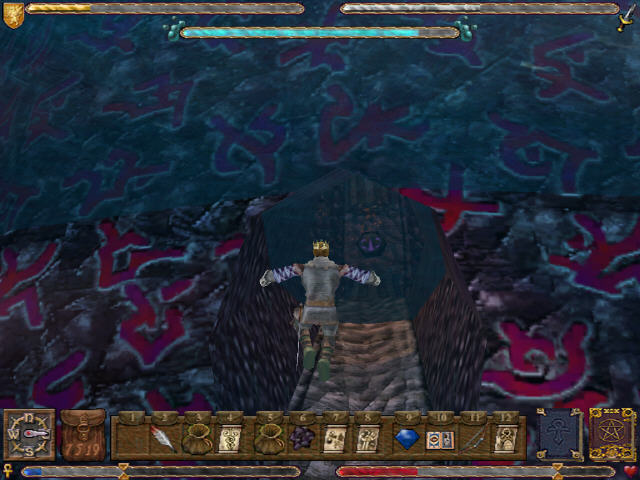
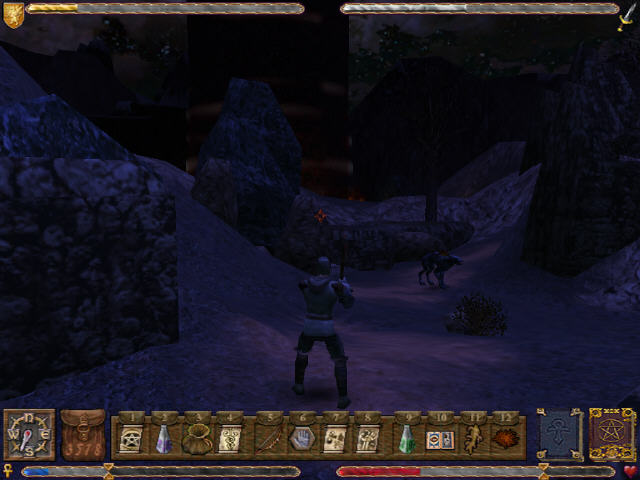
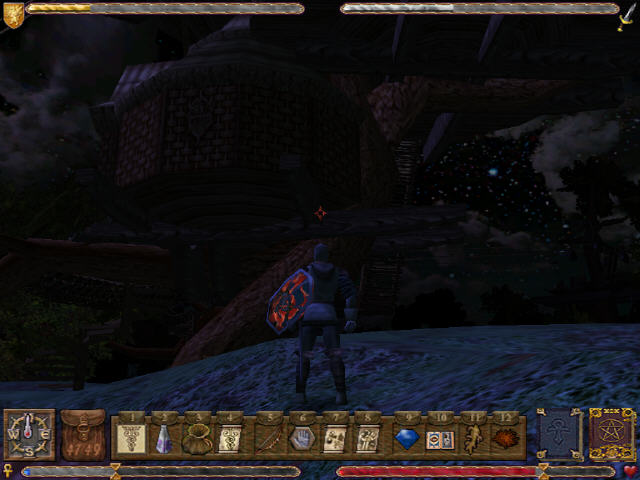
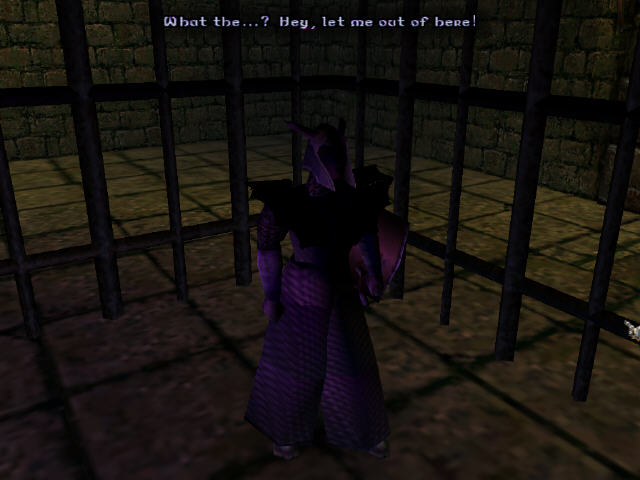
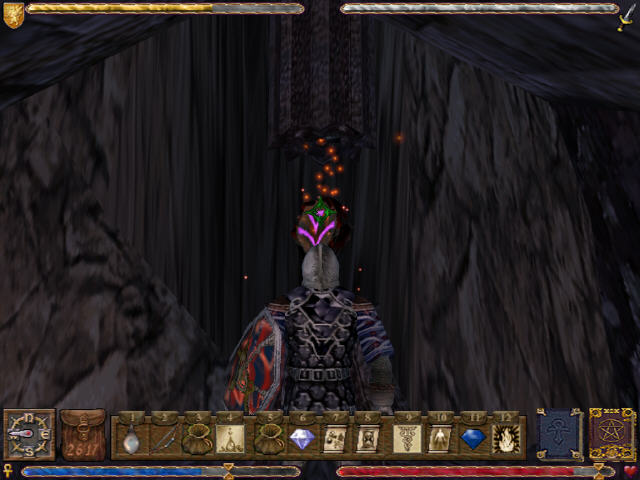
Terfin is on 2 levels, the first of which is full of hostile gargoyles. These guys are nasty, especially the wingless ones. They can kill me in 3 hits and since the first one can stun me into inaction long enough for them to get the final 2 hits in, I can die in one hit in effect.
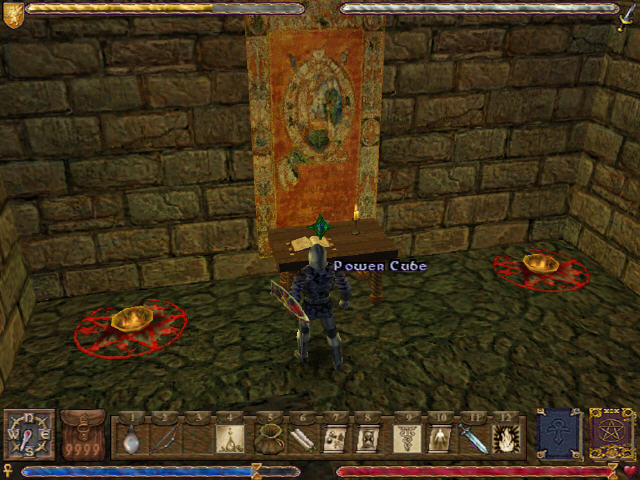
It has to be said that Terfin is one of the least interesting dungeons in the game. It’s not easy and fits in as the final dungeon in that sense but compared to playing through the abyss it seems mundane by comparison. It’s very non linear which makes it tricky to complete. My task here is to collect four power cubes which will allow me access to the guardians chamber.
I come across a child who has been poisoned by the guardian and is allegedly in terrible pain and wants me to kill her. This is a moral choice that is just thrown in for the sake of it as far as I can tell and makes no difference to the game. I don’t dislike the idea of having to make a choice like this but I’d like to see consequences and/or buildup to give it context. This is just thrown in there for the sake of adding some interest to an otherwise dull dungeon and I could just ignore her altogether if I wanted.

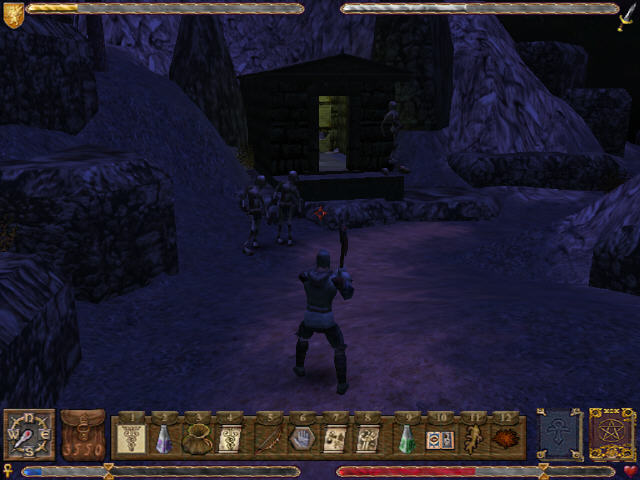
The second level of Terfin is full of wyrmguard rather than gargoyles and is subsequently much easier than the first one.

Just in case I’d forgotten one of my least favourite games in this blog, I’m reminded of Knights of Legend by a book in here. I’m sure this book is straight out of Ultima 7 and it wouldn’t mean much to many Ultima 9 players I expect.
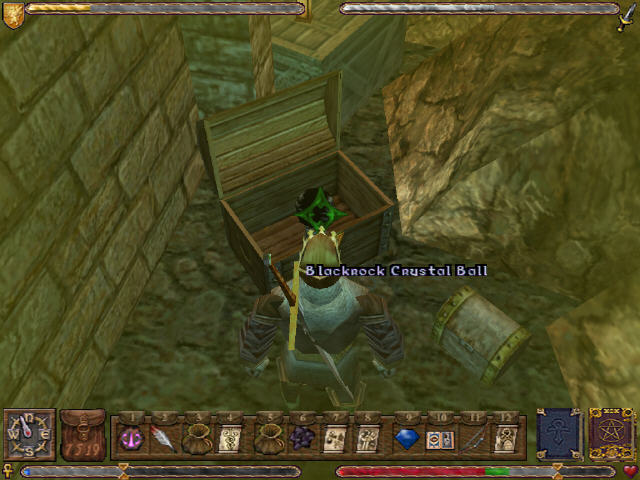
I find a treasure hunter down here who wants me to give her the key to the treasure room in return for one of the coloured power cubes I need. I’m not sure if this is supposed to be another moral dilemma or not but I fetch the key and hand it over anyway. As far as I’m concerned she’s welcome to the guardians horde. I think this is supposed to make me consider the ethics of taking all the treasure in these dungeons for all these years.
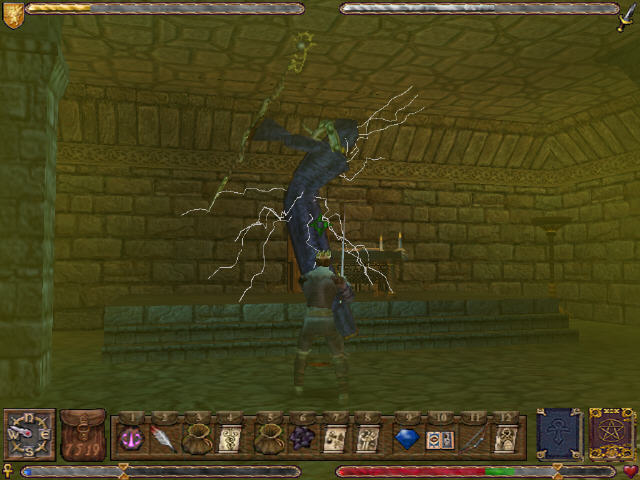
In another one of the dilemmas, which seem to be Terfins theme,I’m attacked by a guy who seems to have lost his marbles and thinks I’m Blackthorn. He’s pretty handy with a lightning spell and I’m forced to defend myself. This gets me the treasure key I need to exchange for the red power cube.
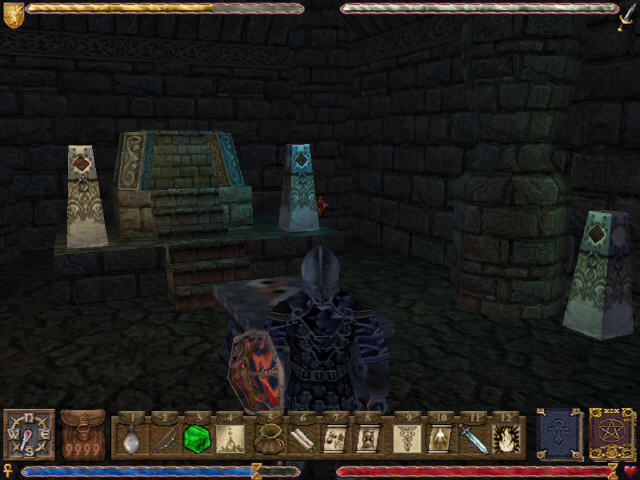
I’ve not got all the cubes yet but the red power cube allows me to get to a room with a small throne and four gem holders. One already has a red cube in – I just need the other 3.
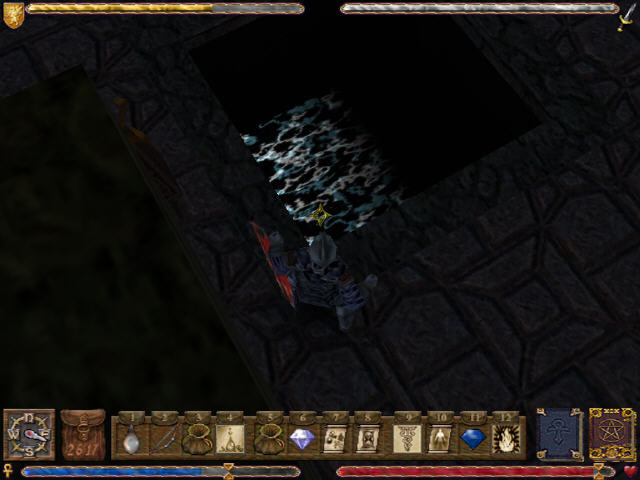
I find another one at the far end of Terfin but get locked in the room as soon as I pick it up. I have to use the teleport in here to take a circuitous route out through a cave system.
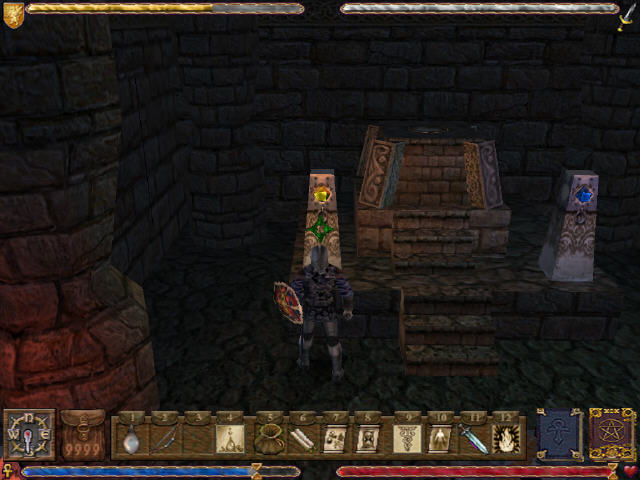
I return back with all the power cubes and slot them into place.
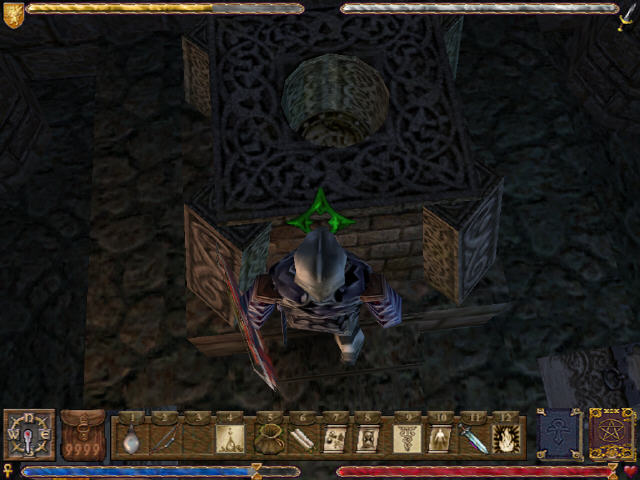
A platform rises up with a meteorite on it. I pick this up and slot it onto the throne and it slides down into place and summons a teleport.
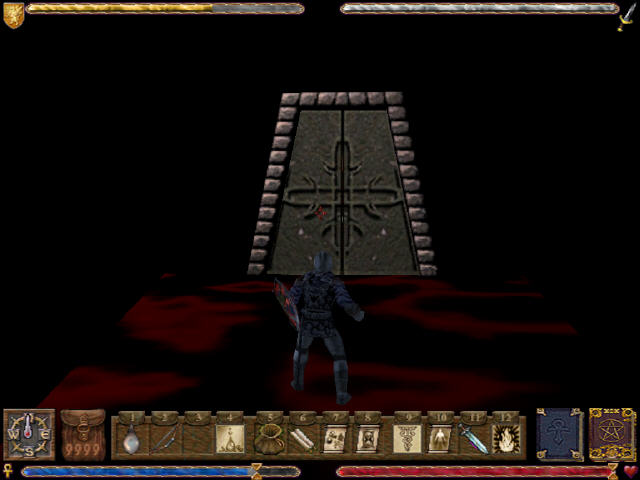
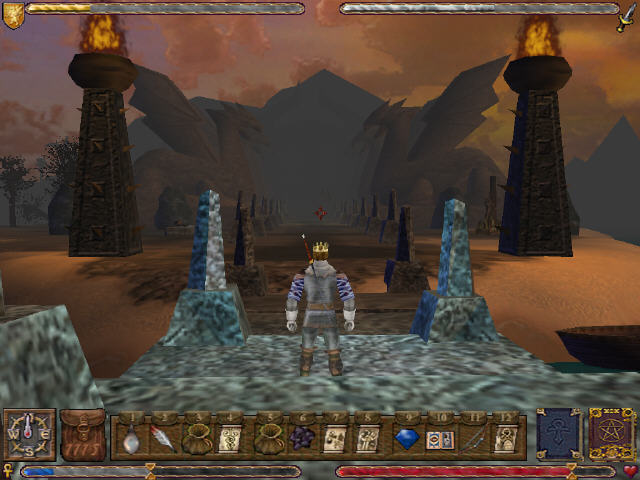
The teleport drops me right outside the guardians room.

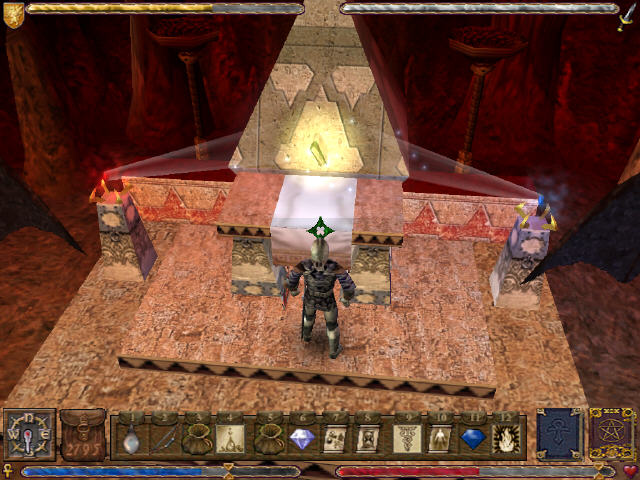
The guardian is nowhere to be seen. I take the opportunity to place all the sigils on the handily placed pillars around the edge of the room.
Once they are all in place a glowing light appears in the middle of the room.
I walk into this and say the appropriate phrase which I learnt from the codex. This raises the barrier around the edge of the room which will hold the armageddon spell back.
At this point the guardian is supposed to appear but due to yet another bug he doesn’t. In this bug, my view keeps cutting away to where the meteor appeared a few minutes back. It’s as though the earlier cutscene is being triggered over and over. This stops the next stage of the current cutscene triggering. I end up getting around this by loading a save game from before I found all the gems and floating my way through to the guardians chamber. This is a bit unsatisfying having got this near to the end of the game.
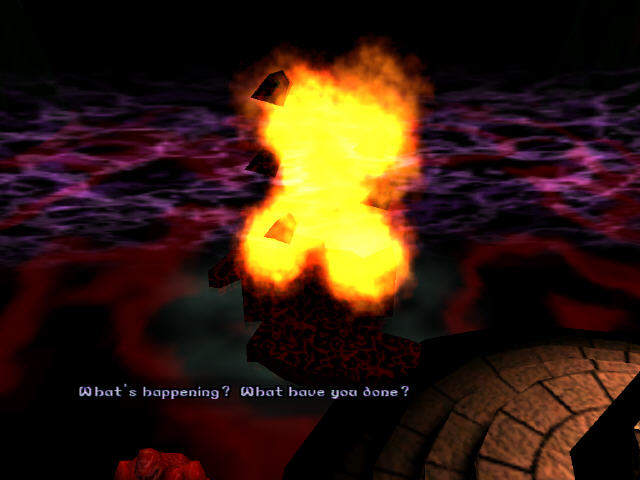
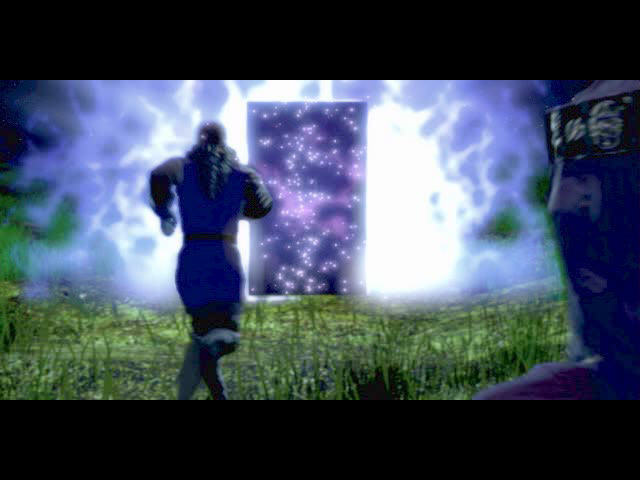
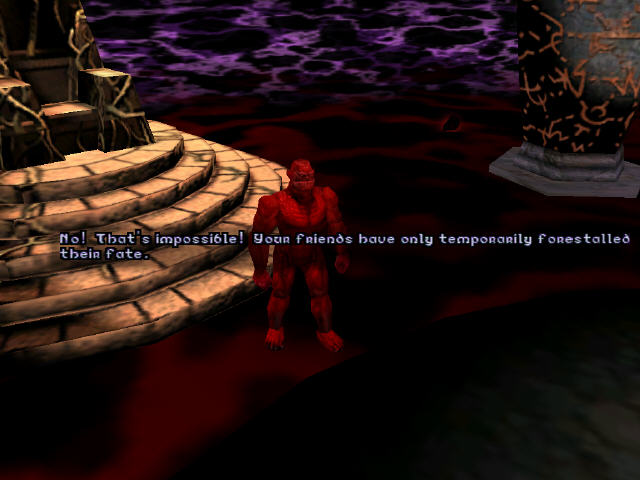
It does at least work this time around. The guardian appears through the black gate. The gate is destroyed behind him trapping the two of us in here.
I have to run round fetching 3 pieces of blackrock from the gate and drop them in the middle of the room.

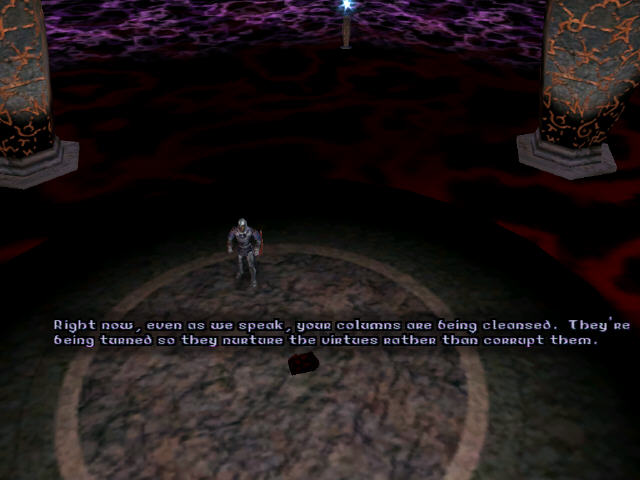

After dropping the first piece I see my companions placing the runes of virtue into the columns thereby making them nurture the virtues. I’m not sure I like this especially as I prefer freedom of choice for the people of Britannia.
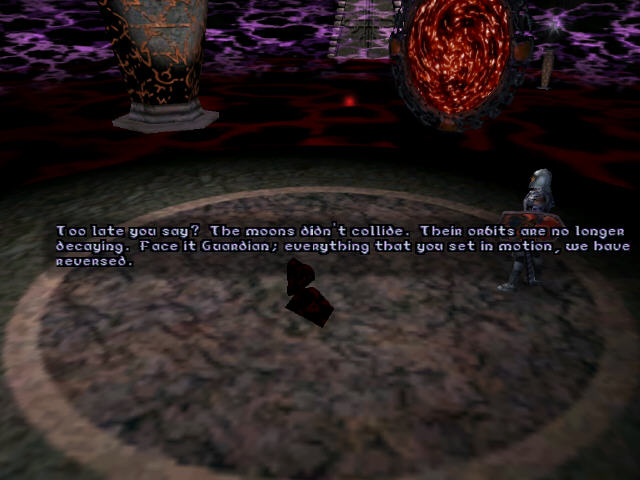
After placing the second piece, I do learn that the new columns have averted the moons collision.
I place the final piece and then speak the armageddon spell.
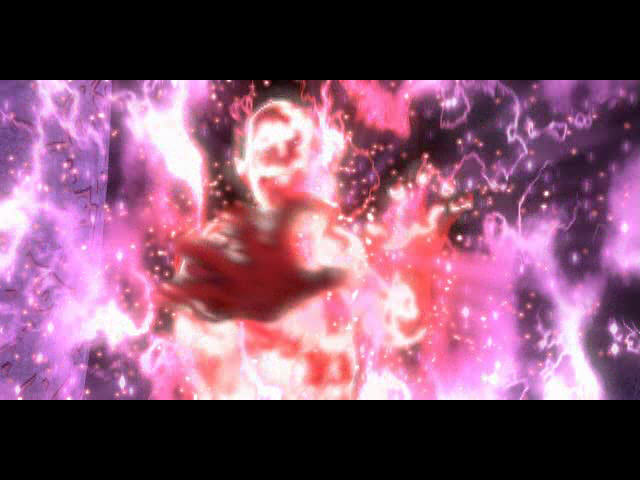
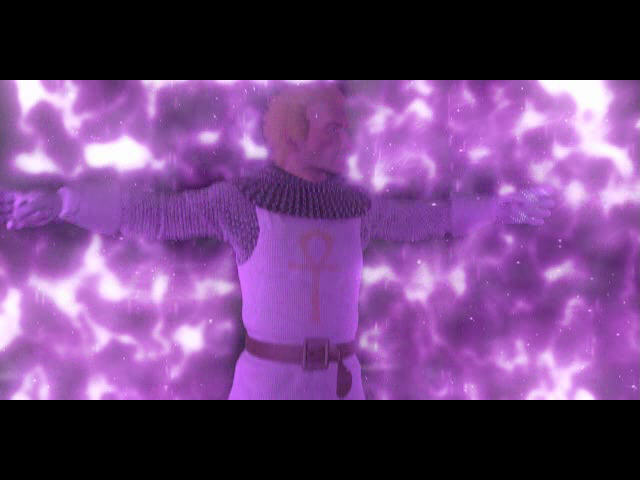
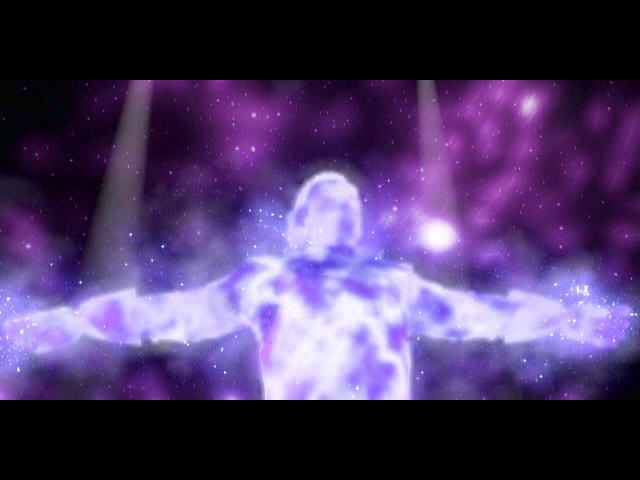
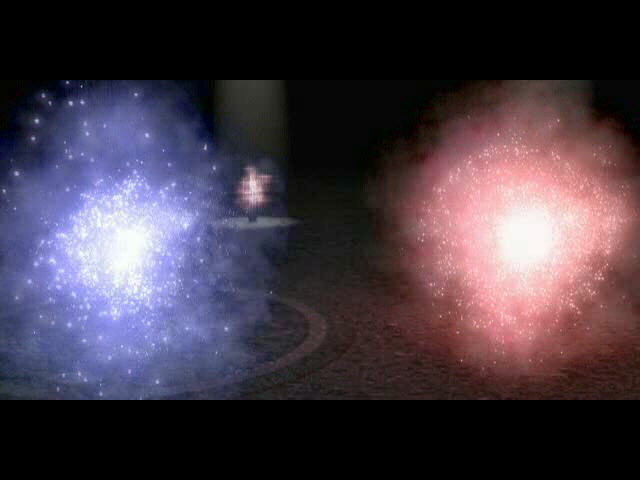
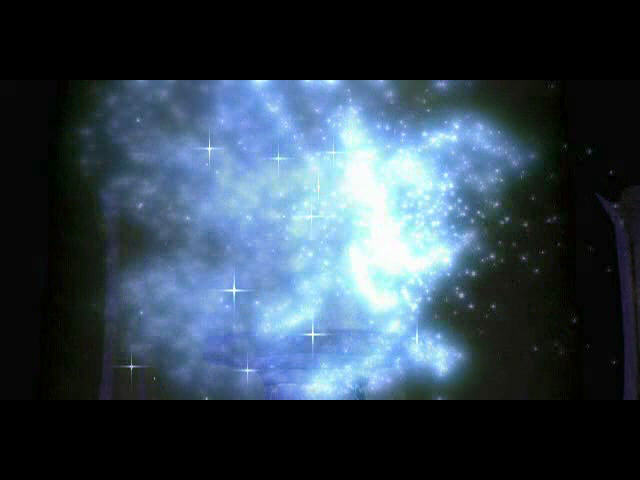

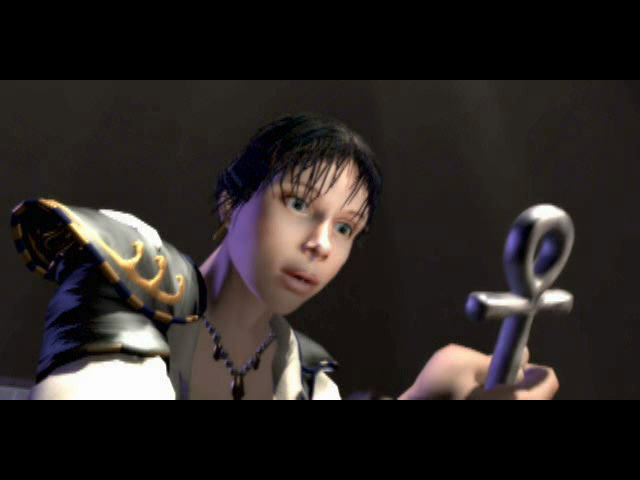
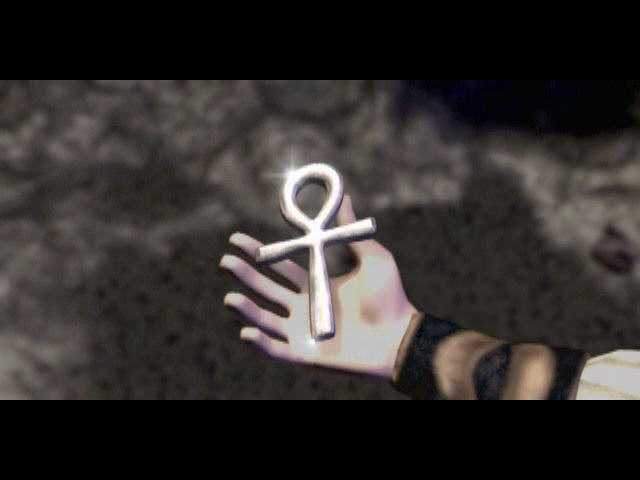
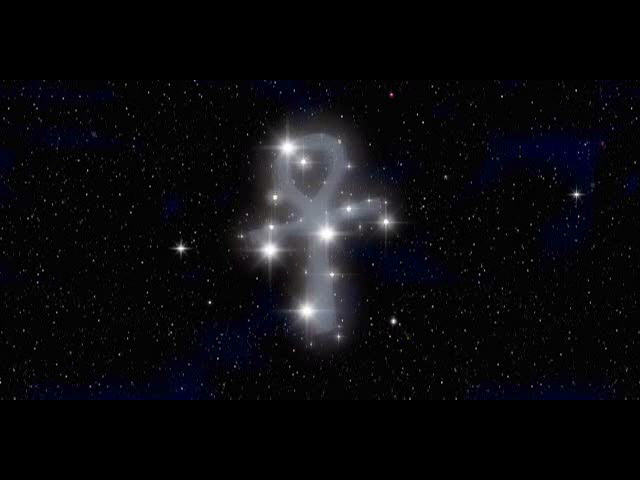
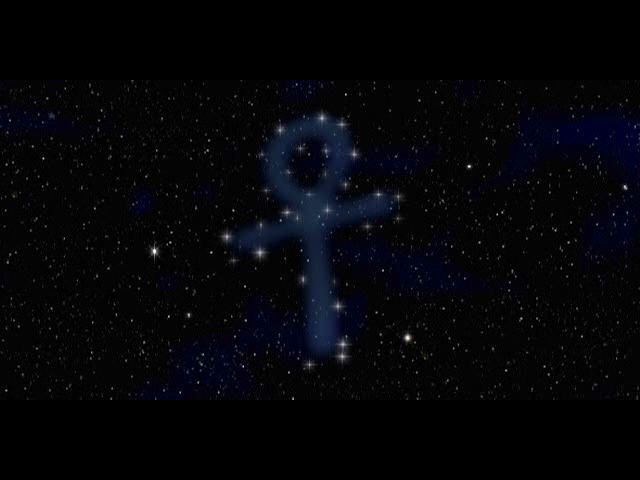
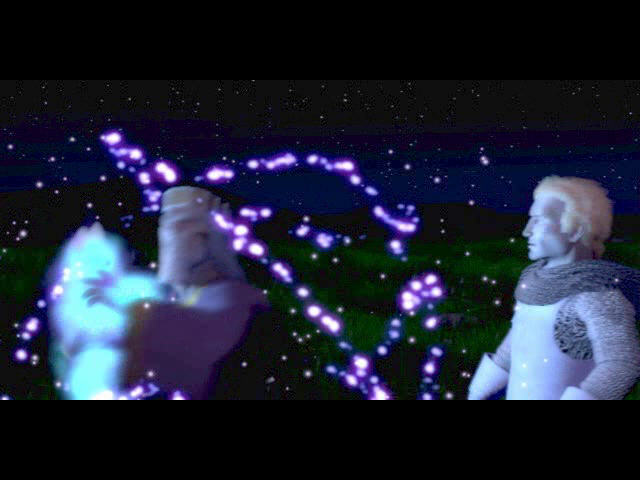
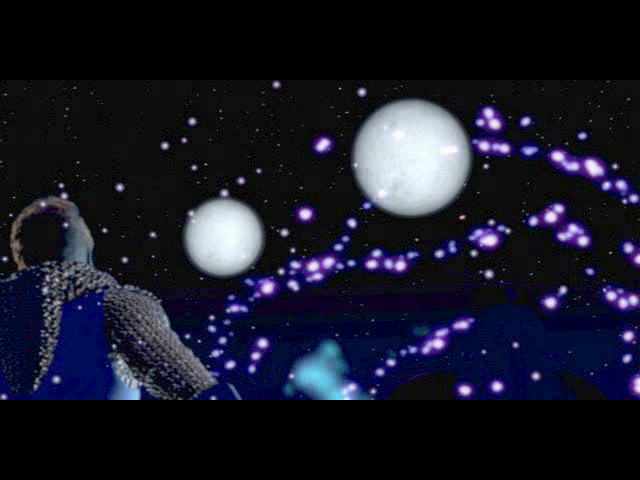
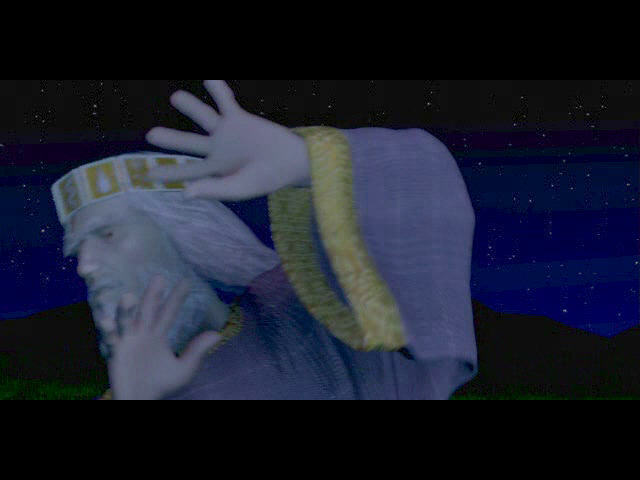
The avatar and guardian are destroyed in the spell and reduced into swirling light. This combines and sends out a cloud over Britannia which sucks the columns into space. We then see LB and Raven picking through the wreckage and Raven discovers my ankh which matches a new constellation in the sky.
The end credits start and have some appalling and completely inappropriate electronic music playing over them which is so out of place I can’t imagine how anyone could have thought it was a good idea.
That finishes the final game Origin made. If I bring myself to accept the idea of the guardian being my evil half then I do actually quite like the ending. It’s heroic & touching while remaining very ambiguous and open to interpretation. The notion of ascension is barely mentioned in the game and you are left to make up your own mind as to what exactly happened. The fact that the cloud travels over Britannia removing the columns but leaving everything else unharmed suggests that the avatar (combined with the guardian) cleanses the land before he leaves and hints at some sort of continuation as a super powerful being but it could easily be interpreted as simply the end of the avatar depending on your point of view. No ending is going to be anything but an anti-climax after 20 years of games but I do actually like the way this turned out – at least until the adlib style credit music kicks in and ruins it.
That finishes nearly a year of blogging Origin games and I’ve got mixed feelings now I’ve finally got there. I’m glad to have reached the end but its been a lot of fun along the way and its a shame there aren’t more to go at. I’m not going to attempt a summing up now, as I’ve spent far too long writing up this final day already so it can wait for a bit. It’s definitely not the end of the blog as I start to pick up some of the fan games next and maybe a few other bits and pieces. I think I deserve a well-earned break first so it may be a week or two before I get started.