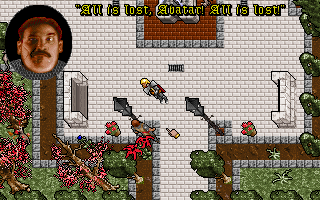
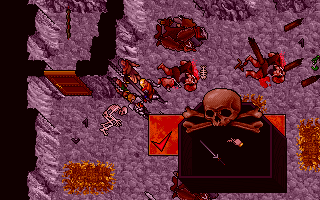
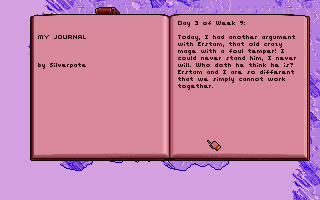
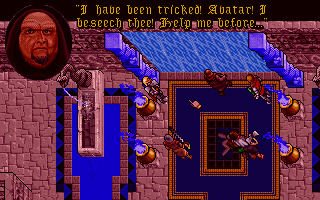
One final lot of scans for today. This is yet another article from the June 1993 PC Review which seems to have had more than it’s fair share of Origin.


One final lot of scans for today. This is yet another article from the June 1993 PC Review which seems to have had more than it’s fair share of Origin.
I’ve gone through all the 1993 magazines I can find looking for Origin reviews/previews and I’ve got a fair pile of them lined up to scan in. I have to say scanning in other people’s reviews is a lot easier than writing anything myself. Expect to see a lot of scans in the coming days. Hopefully this stuff will be of interest to someone.
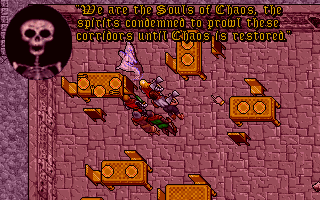
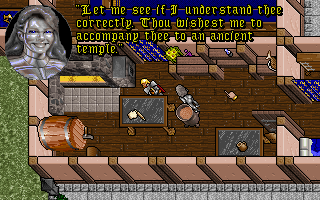
This is a preview of Serpent Isle from the May 1993 PC Review.


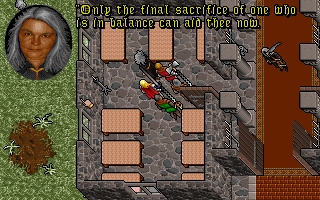
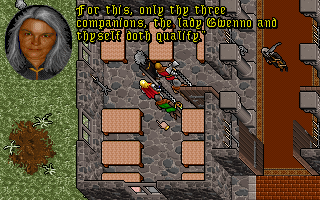
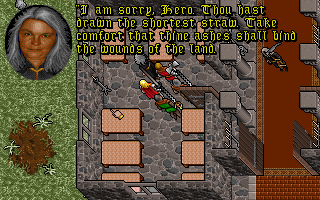
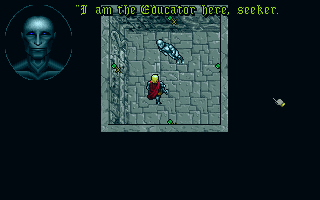
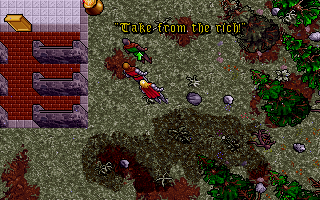
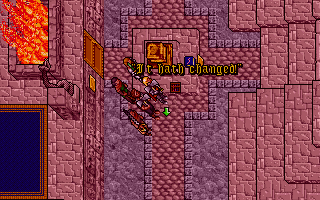
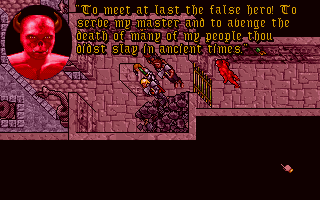
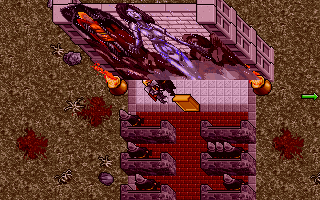
Each time I go back to Xenka some new random topic seems to be available to discuss – this time its sacrifice. I suppose it could be coming from the prophecies but no one has mentioned sacrifice to me at any point otherwise. She tells me in a very brief scene that one of my party will have to sacrifice themselves and we draw straws and I lose. It takes about 4 lines of text to find out that I’m supposed to throw myself into the cremation machine in Monitor.
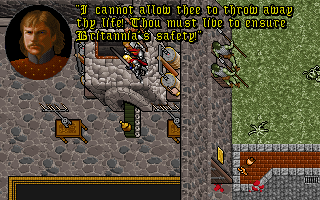
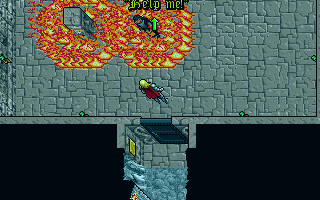
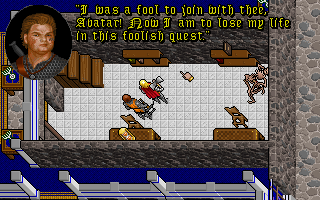
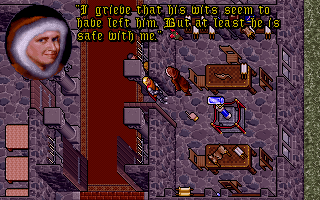
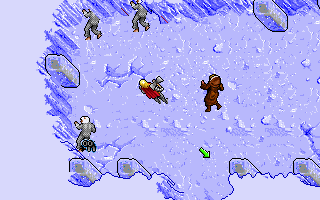
I suppose its no use arguing so I head to Monitor. When I get there Dupre won’t allow me to do it and jumps in the machine himself. I knew that he died in this game at some point but I expected a bit more than this somehow – it all seems far too brief and is over in a few seconds.

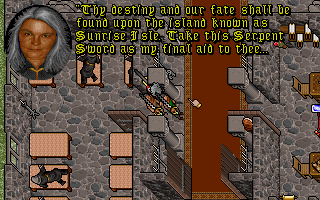
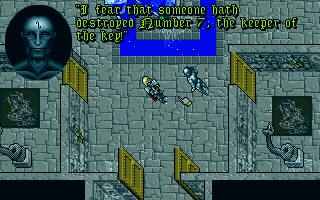
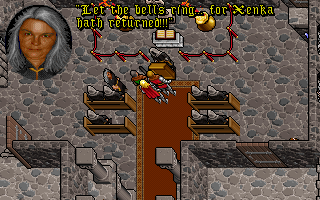
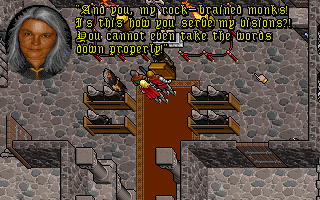
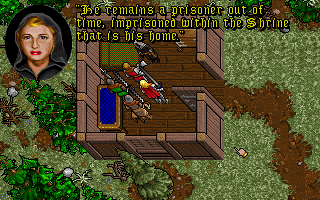
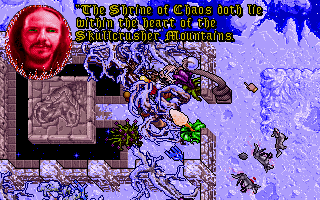
Xenka now tells me to head for the chaos shrine and also gives me a sword to use somehow on sunrise isle which is presumably where my final tooth will take me. I figure I want to go to skullcrusher first.
Gwenno decides to join up with us at this point.
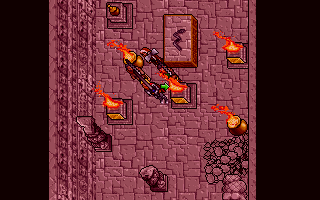
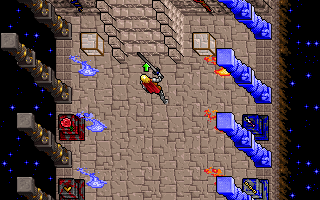
My first task is to find some powder kegs to blow open the door to the chaos shrine. I know I saw some very early in the game but I can’t say where now. However, my mind goes back to Monitor and the secret plan of Spektor for exploding weapons + the key I got and never used anywhere. There is a secret door in the mountainside here, south of the crematorium which takes a little finding. The key gets me through the locked door just inside here.
I don’t have to go far before I find a load of powder kegs.
Its off to skullcrusher and the powder keg makes a mess of the door.
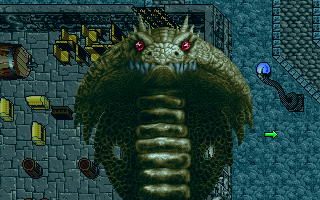
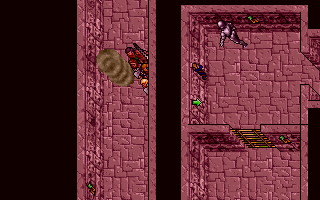
There is a lengthy maze like dungeon spread over a couple of levels at this point. It only takes about 10 minutes to work my way through to the chaos shrine. There doesn’t seem to be anything much here – I need to go through a secret door behind the two snakes.
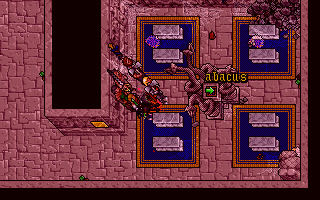
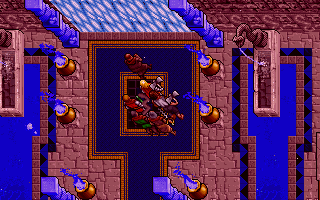
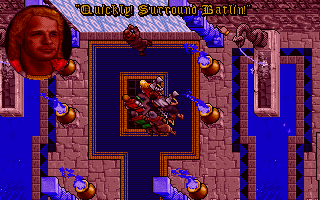
This gets me to another wall of lights and a load of plinths looking ready for some objects.
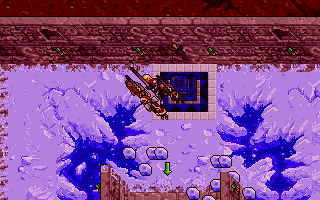
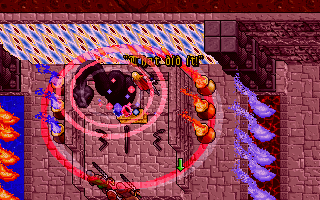
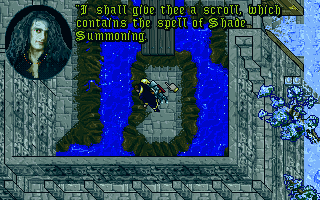
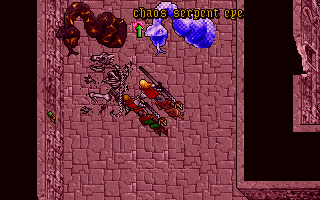
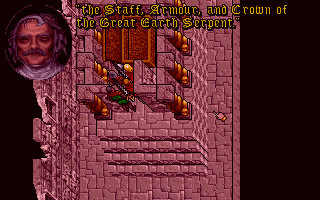
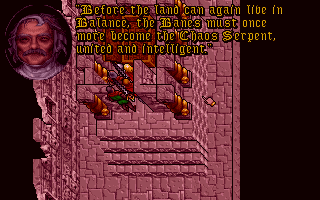
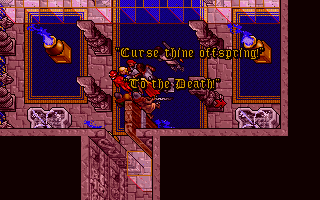
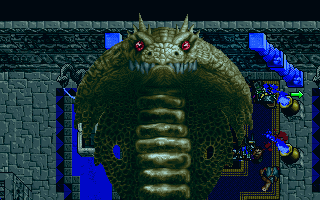
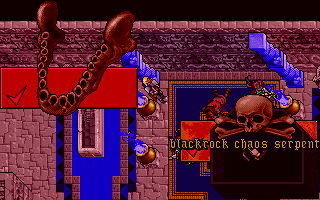
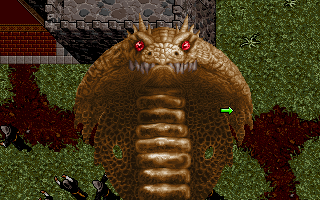
I use the 3 banes + chaos serpent then put dupres ashes on the last plinth.
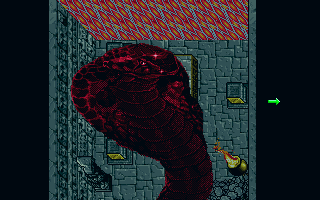
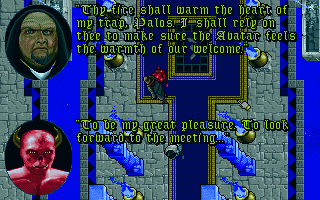
The chaos serpent appears – its soul and Dupres have now merged and Dupre is holding it off from attacking me. The voice acting for Dupre is typically horrible (he’s played by Denis Loubet). Xenka teleports straight in and tells me to go to sunrise isle next.
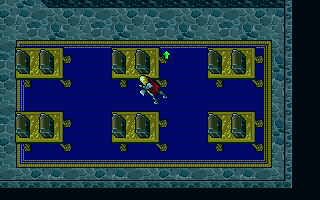
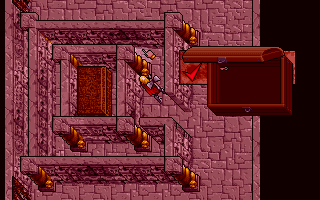
I’m teleported straight into a locked room with a load more plinths. First off I have to get the snakes from the corners and place them on the scales.
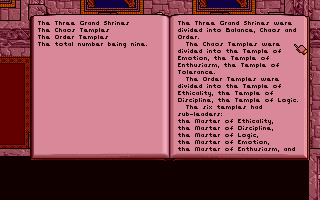
When I do this all the other plinths fill up with the various symbols for the 6 virtues of the Ophidians.
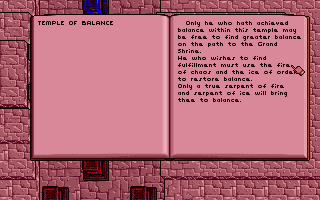
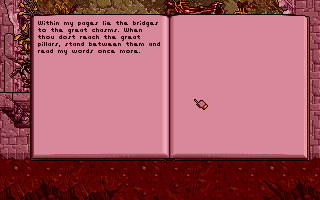
I pick these up all these items and the doors unlock. Just outside is a book telling me what to do next. I have to place all these items in their opposite temples to balance them as such.
This place doesn’t look like an island to me and is more of a void type area with big black nothingness surrounding everything. Its not too dangerous though and I think I only run into one flock of bats the whole time I’m here. Finding the temples takes a while but I slowly work my way through them all.
After placing the final object a book appears in its place. This book claims to be some sort of key so I take it with me.

Using the book between two likely looking pillars back in the middle of the map creates a blue firey bridge which I walk across. I then get another two pillars where I do the same and get an orange fire bridge.
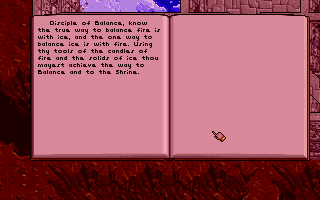
The shrine of balance has still more protection in the form of various balance type puzzles to solve before I can get in. For the first I have to place a serpent candle on an ice plinth. This shatters an ice wall into blocks and I use one of these blocks on the fire plinth.
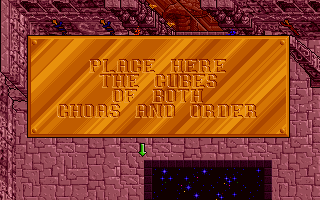
For the next area I have to gather cubes of chaos and order – I can’t believe this typo got through to this version of the game.
This puzzle is a strange one involving teleporting between east and west sections gathering keys to use on the opposite side. After struggling with this for a bit I get some chaos and order cubes.
Using these blocks fills in the middle of the central room with stairs one at a time. A scroll pops up with details of what I will need next. Despite what it says I don’t need to wear the armour and all that, just carrying them would seem to be enough as I walk straight onto the new teleporter without any problems.
This gets me to the long sought after shrine of balance.
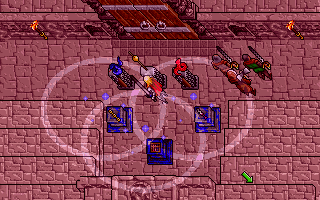
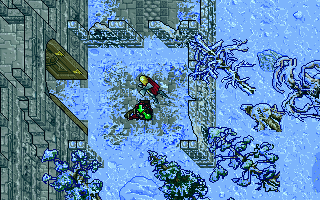
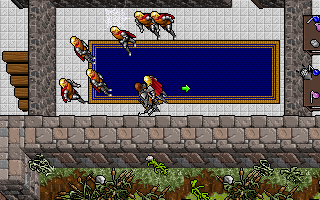
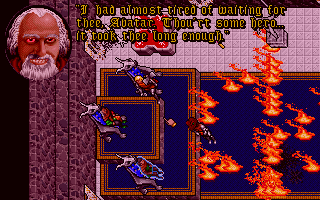
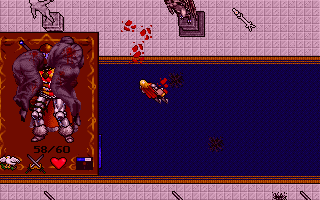
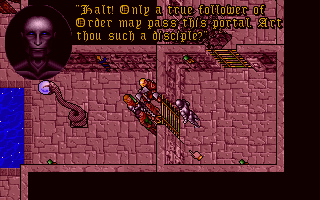
All the serpents seem to be here although the order serpent has one last go at stopping me by sending a load of ice trolls at me. This is a pretty big battle but we all come through unscathed.
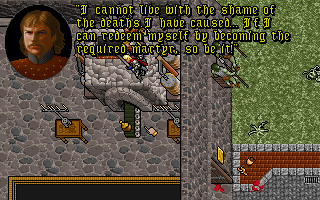
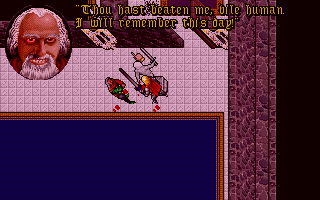
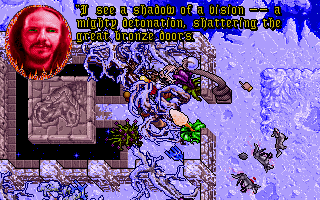
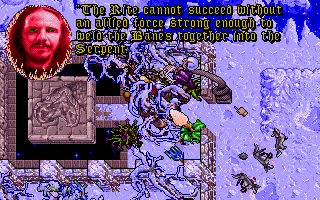
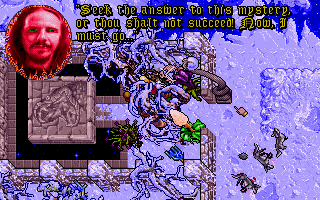
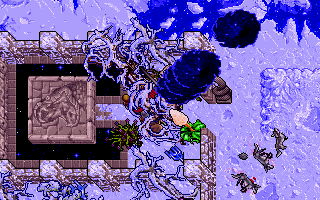
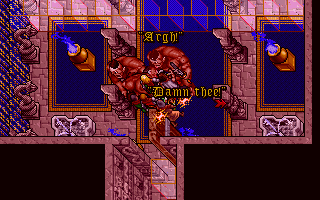
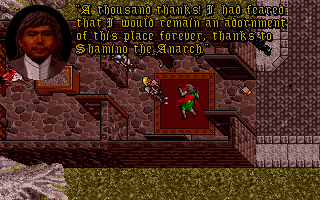
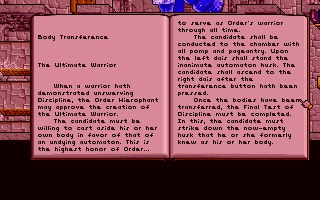
The earth serpent tells me what to do at each stage now. I place the 3 serpents, put the appropriate 3 serpent items on the altar and then the snake statue comes to life as the chaos serpent. It asks me to slay it with the serpent sword to send it back to the void. I do so and am then struck by lightning repeatedly until the endgame starts.


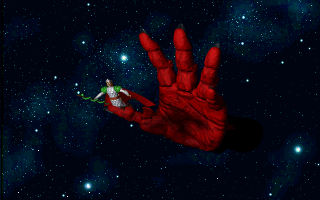
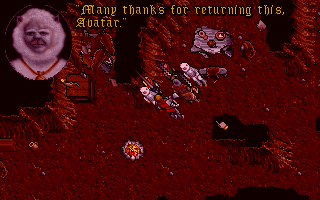
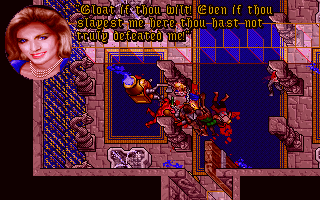
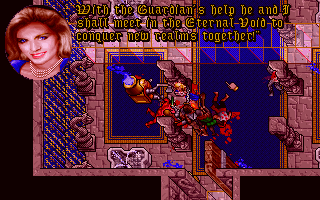
I’m sent to the void along with the chaos serpent – I get to watch balance being restored and learn that Dupre is content in his new role but am then left floating in the void. The guardian puts in an appearance and before I can go anywhere else grabs me out of the void to take me to “a different world”. Its a nice ending, setting up the next game without being too much of a cliffhanger.
There was definitely evidence of the developers rushing the later stages of the game, although it didn’t turn out too badly for all that. Looking at the games around this period from Origin, most were released prematurely but at least a lot of the problems were fixed in later patches so I’m a lot better off than I would have been buying them new at the time. EA’s influence is definitely showing by this stage.
Ultimately this game wasn’t quite up to U7’s standards for me although it was still way above average. I gather that the series will take a turn for the worse at this point with U8 although I’ll judge for myself when I get that far.
I’ve now finished 40 out of the 60 games so I’m 2/3 of the way through this blog. I can safely say now that there is no way I’m not going to finish them all as I’m far too stubborn to get this far without completing the lot. After turning out loads of RPG’s in their early days, Origin seem to be concentrating on flight/space sims from here on which are going to make up half of the remaining games with the only RPG’s left being Ultima 8, 9 & System Shock.
Next: Strike Commander – Tactical Operations.
I had another major attempt at finishing up Serpent Isle again last night. I still haven’t actually managed it but I must be getting close.
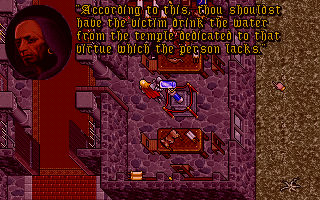
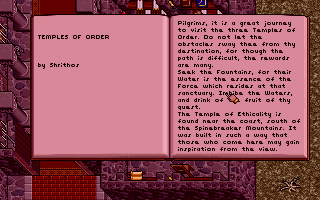
Today’s first job is collecting all the water from the various temples. I head back to the temple with the moons eye first and while I’m there I use the moons eye and get a vision of my companions all loitering around in the White Dragons Castle. I know where to go now at least but I will need the water to create the prisms first I expect.
I don’t seem to be getting anywhere is this temple so I leave and try the temple of ethicality. When I double click on a serpent carpet here I’m teleported into an ethicality test. First off an automaton asks me a series of fairly easy questions, then I get to actually prove myself for real in a series of tests.
First off I have to save a man by pressing a button in the middle of a load of fire.
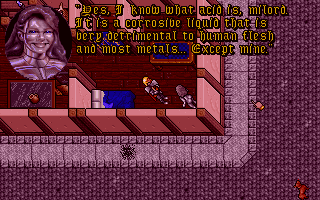
The next test is a little trickier. I have to prove that blood is more valuable than money whatever that means. There are a couple of gold statues I ignore but what I have to do is to place some valuable objects that have appeared in my inventory on a pedastel before walking down a corridor and pushing a button.
For the final test Batlins back and I have to fight him again.
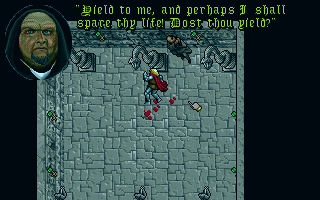
You can tell its not the real Batlin as he beats me in battle easily then asks me to yield. I refuse and thereby pass this final piece of the test. Completing this test fixes the fountain and I get my bucket of water

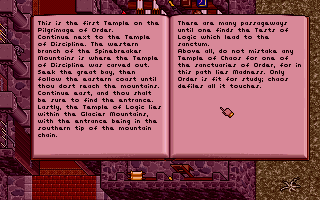
The next temple (logic) is in the north. I have to navigate a maze then hack through these icy blocks.
I expect a few logic puzzles for this one and am not disappointed. The first involves walking on a load of teleport pads in the correct order as described in the notebook.
The next puzzle is a bit trickier – I have to place the runes in alphabetical order. Not all that difficult but figuring out that this is what I needed to do is not obvious.
The final puzzle involves figuring out which automaton has stolen the key to the fountain room and murdered its owner.

This isn’t too hard to solve – number 4’s alibis are contradictory and I accuse him. He attacks but is easily beaten off and I get the key and the water.
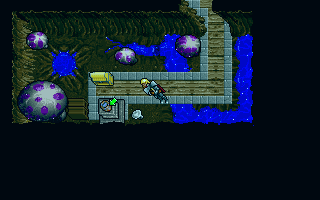
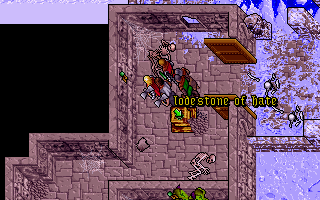
I decide at this point to go back to tonights first temple and have another go. There is a suspicious looking green thing on one wall which when I double click on it turns out to be the trapped soul of a child. I free this child by hacking the column in the middle of the room which nets me a further lodestone. A bit of expirmentation with the lodestone and I find out that when I use them on the pillars near the water it seems to have some effect. Unfortunately one of my companions had 2 of these from earlier so I trek back to retrieve them.
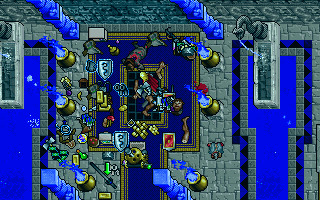
This place is truly a mess and I start running out of space to put stuff. I do find them anyway and while I’m here I also fix the daemon sword.
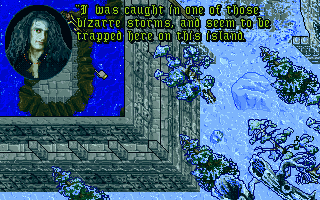
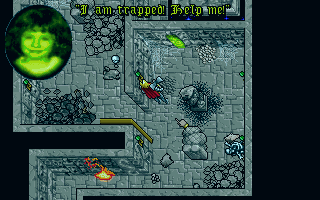
For some reason, I get distracted here and try another temple before heading back with the stones. I find the death mage from Moonshade standing on a middle of a small island. He says he got teleported here and wants me to release him somehow.
This guy is clearly useless – he could just wade across the tiny gap and I just have to telekinesis the drawbridge down to free him anyway. He says he can’t find his way home on his own either and joins the party. He does offer to teach me some new spells.
As soon as I get outside he is struck by lightning and is gone again. This doesn’t seem to have gotten me anywhere. A bit more exploring in the temple and I find a guy in the basement who seems to have been waiting for centuries and somehow kept alive. From him I gather that the pedastle that got swapped for the mage should fill up anything placed on it, so I must have to go to Moonshade, find it and put a bucket on it.
I hold off on the walk to Moonshade for now and take the last 2 lodestones to the previous temple. I can’t see anything happen when I use the last 2 but using the bucket on the water gets me the water I was looking for. Using this on a prism changes its colour so thats the first one done.
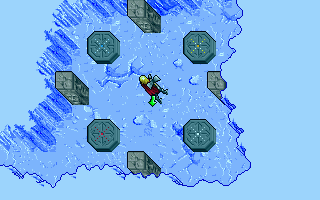
The next temple has some sort of 3D maze to negotiate before I can get in.
Other than the maze this is dead simple. I get a key out of the altar next to a locked door and just stroll in and fill my bucket from the well. That just leaves the 1 prism.
I head off to Moonshade and am don’t find the pedastle where I expected it – I only tried this on the offchance as I could have sworn it was in Moonshade from the start. All that counts is that it worked though so thats all the prisms done.
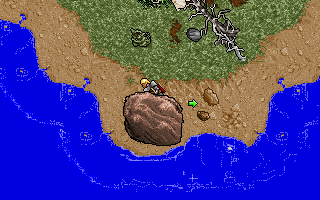
Following up on Natreg’s advice that there are no side quests in this game, I head out looking for Hawks treasure. This doesn’t take that much tracking down – the starting point is on the cost to the west of Fawn.
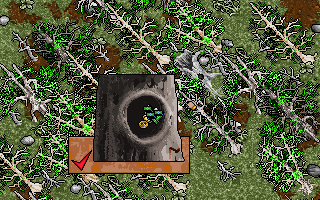
The treasure is in a hollow tree stump and includes the serpent crown which I will no doubt need.
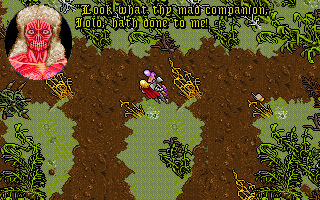
While I’m here I have a look around Fawn. Everyone is dead except for the guy who stops me on the bridge every time I go in or out (who deserves death more than the rest of them for this) + the ugly Britannian. He tells me that Iolo killed everyone else and stripped the queen of her beauty and she has fled into the swamps.
I knew the queen had been stripped of her beauty but not her skin. She is wandering around in the swamps and not exactly hard to spot.
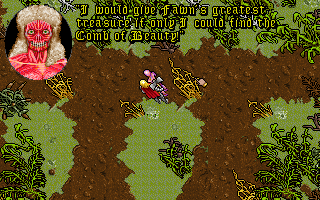
She wants the comb of beauty when as luck would have it, I’m still carrying around.

As a reward she tells me how to get the serpent armour through a secret passage in her throne room.
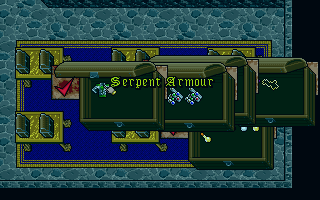
I head for the treasure and find a load of chests down there one of which contains the armour.
I find another broken serpent gate, the one to the great northern forest doesn’t work either. The nearest I can get is to teleport to the Sleeping Bull and walk through the swamp. While I’m in here Wilfred volunteers to join me. I’ve been on my own for ages now so I don’t turn down the offer.
There is a note outside the castle inviting me to join the party. The moment I enter the ghost of the white dragon himself show up and attacks.
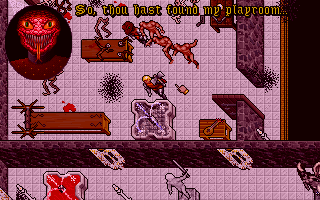
This castle is quite good fun, its one room after another where the banes attempt some sort of trick. In this first room full of mirrors Iolo shows up….
..and I’m having to fight a half dozen mirror images of myself. A secret door on the right gets me into the next room after the battle.
In a room full of exploding books, Wilfred decides he has had enough. A right lot of use he was.

One of the books is a journal of the white dragon who was clearly less than sane by this point.
I find my way to the basement and Dupre joins in the fun by setting a load more monsters on me.
There are still a load of presumably unaccessible rooms but I make it to the throne room of the banes and they all attack. Hacking at them with Eriond’s axe doesn’t seem to be having any effect. I gather from a walkthrough at this point that I’m supposed to use the daemon sword – how I’m supposed to know that is unclear.
I walk all the way back armed with the daemon sword this time. As a side benefit, when I get there the banes attack one at a time making things a lot easier for me.
I now need to carry all these bodies back to Monk Isle. There is only me to do it so I’ll need a couple of trips – I sling Dupre over one shoulder and Shamino over the other.
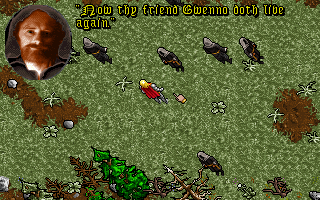
The monks revive them both. Shamino is definitely not himself but Dupre seems about the same as ever. I use the appropriate water on both of them and they rejoin the party at long last.
Even though he is still dead Gwenno, thanks me for reviving Iolo prematurely.
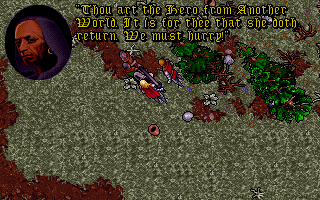
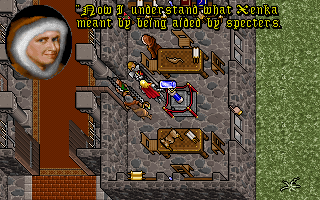
I head back to fetch Iolos body and give him the same treatment. As soon as he is cured a monk tells me that Xenka is returning and I’m teleported back to the monestary.
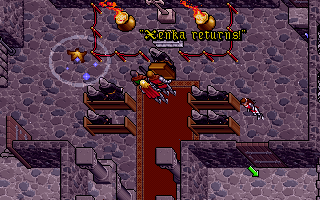
Xenka is not quite what you might expect and after waiting this long to return doesn’t tell me all that much.
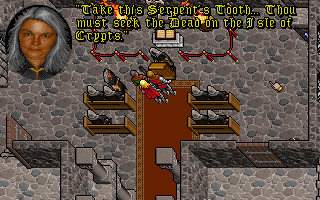
She does give me a new serpents tooth however.
This means trying to find the thing in my overflowing backpack which takes a while.
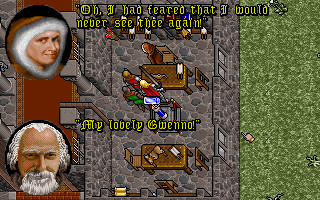
Iolo and Gwenno are reunited. He doesn’t have the necklace to give her as its still lying on the temple floor. My next job is going back there and routing through the equipment to get everything important back. On my first attempt my companions die of frostbite in seconds so I have to make one trip on my own to gather fur clothing, then another with my companions.

Using the new tooth I teleport onto the isle of crypts that I previously tried to sail to on my ice raft.
I make my way through the temple. I use this scroll on a pedastel opposite a gold serpent and get teleported to a library and then to a room with two serpents.
Inbetween these two serpents is a field which I dispel to get a serpent eye.
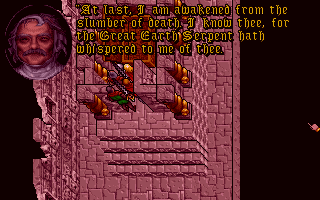
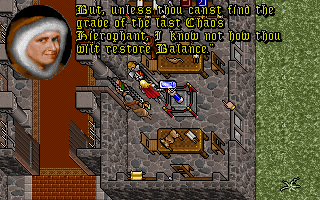
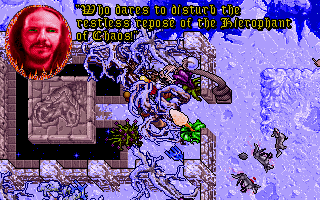
At this point I run out of ideas for a while but there is a secret door just to the north of these serpents that gets me to the tomb of the hierophant. I cast summon shade on him and his spirit appears.
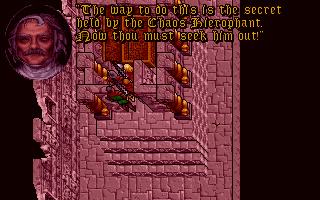
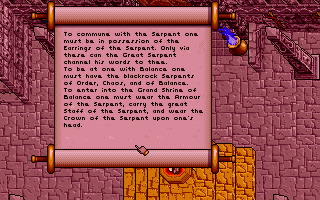
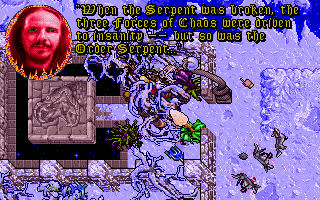
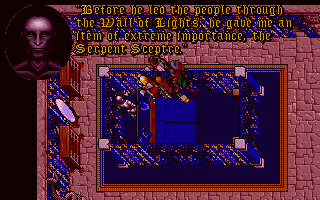
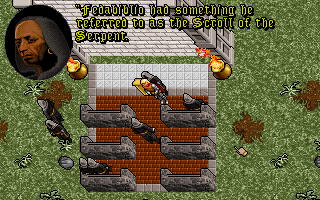
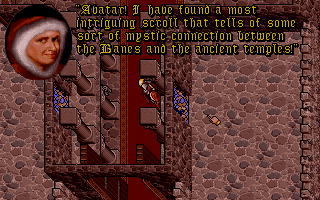
This guy has quite a bit of information to say the least. He tells me of 3 serpent items I will need – I have two and need to find the serpent staff in the fiery depths which sounds like Furnace. The 3 banes who I have trapped, need to be recombined to create the chaos serpent and restore balance. I also will need to seek out the chaos hierophant but he has no idea where to look.
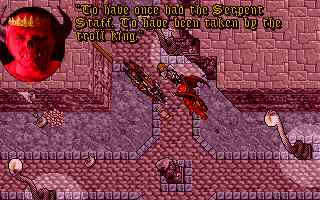
Armed with this new information, I head for Furnace to find the staff. There are a few bridges who’s levers I can’t move down here. I talk to the gargoyle king and he opens up an exit bridge for me to get back to Monitor. He also tells me that the trolls have the staff. I never used this exit earlier so it looks like a good spot to find the staff.
Sure enough, this place is crawling with trolls. I kill the king, take his keys and retrieve the staff.
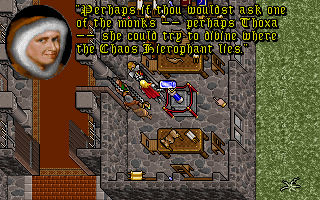
Gwenno is still hanging around in the library and suggests I ask Thoxa where to find the chaos hierophant.
Thoxa gives me a vague clue which points towards Sethys who was at one of the temples.
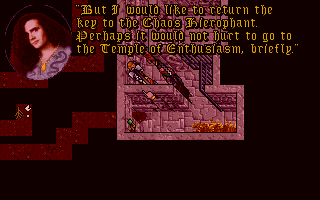
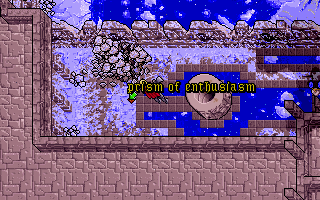
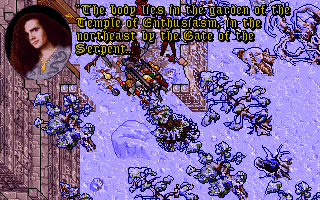
He decides to join my party to journey to the temple of enthusiasm where the remains are.
As soon as we leave the temple, the years catch up with him, but he manages to tell me where to go first.
I don’t see any remains but stand where he told me and cast summon shade.
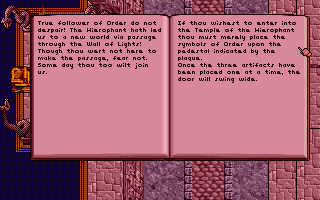
He doesn’t consider himself on the same side as me but is as helpful as his opposite hierophant was. He tells me where to find the missing temple by blasting through some brass doors with a powder keg. Once there I can combine the banes again. First I will need some way of strengthening myself though so its back to the monks for more help.
Xenka seems more concerned with me completing my set of serpents teeth. I just have the one missing now and she points me towards the Gwani.
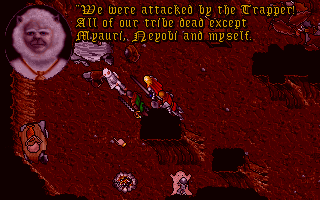
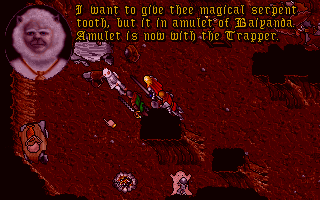
The gwani have pretty much been killed off just like everyone else, this time by the trapper. I can have the serpent tooth if I retrieve their missing amulet.
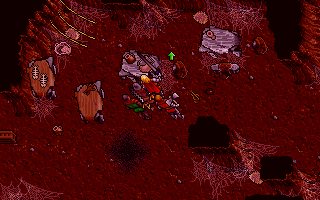
The cave with the trapper is empty. I’m pretty sure I was here earlier which means I must have dropped the amulet somewhere thinking I didn’t need it.
I find it eventually and return it to the few Gwani left.
They hand over the final serpents tooth and that completes the set even if a few of them don’t work. So far its just the northern forest + moonshade that don’t work and the gate in skullcrusher won’t take me to the hub either.
The game has picked up again today. Getting through all the temples has been fun and there hasn’t been too much needless wandering. The white dragon castle was one of the best areas of the game with a twist to every room. The plot has cleared up today as well, I finally understand how the banes were created from the destruction of the chaos serpent, how this imbalance drove the order serpent mad and what I need to do to cure the problem. This is a game I could actually see my myself enjoying more on a second playthrough as a bit of foreknowledge could help make the story clearer, especially the Silver Seed which didn’t mean much to me at all at the time.
I think I really can say the end is in sight now although I still don’t know how to strengthen in preparation for the ritual to restore the chaos serpent. I’ll try the monks again at this point – I expect the final tooth must have something to do with it also. I’m intending to finish this game off tonight one way or another.
I made a concerted effort to finish Serpent Isle this Sunday. Despite spending quite a while on it, I still don’t feel that I’m actually that near the end yet but this is going to be a long post for all that.
I start out by exploring the new dungeon, I’ve just entered. This turns out to be another ruined Ophidian city. There is a library I find containing a brief history of Serpent Isle.
Another book suggests that I should have searched more on that island of penguins.
The earth serpent starts being a lot more helpful today and repeatedly tells me that the dead wizard is the key and I have to vanquish him.
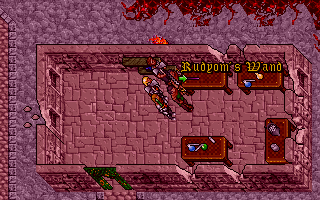
Before I find the wizard, I discover what looks like a wizards lab with all sorts of strange items, including Rudyoms wand which must be about the last of my teleported items that I’m missing. There is also the flux analyser + a few other bits and pieces.
There are a few ghosts around this time but they don’t have too much to tell me on the whole.
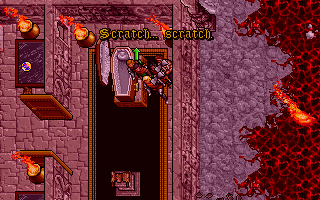
I discover a coffin with a scratching sound coming from somewhere although when I open it there is nothing in it.
A moment later the dead wizard appears and is not pleased to see me. He isn’t hard to beat and goes down in seconds much like every other fight.
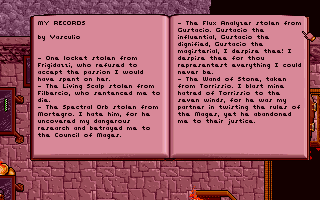
Among his possessions, I find a scroll detailing all the objects he has stolen.
There are also a couple more serpents teeth on a body in his jail.
Using the key from the wizards body, I exit the dungeon back out into the snow. I set out exploring and literally blunder through a secret wall into a new dungeon. This turns out to be the lost treasure of the pirate Silvernate who’s map I picked up a long time back. There is plenty of money and the like in here although I don’t discover anything that looks vital.
This clearly wasn’t the way I was supposed to go so I leave the dungeon and try heading east instead. I reach some sort of temple. There are quite a few lodestones of one sort or another in here – these look useful so I grab them all on the way through.
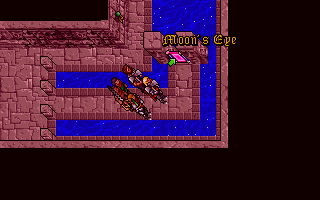
This temple turns out to hold the moons eye which I’ve been looking for.
Using the moons eye gives me a vision of Batlin preparing to use the wall of lights and setting all his henchmen up to stop me. Considering I was told I needed to find this I was expecting something a bit more significant.

I try using it again to see if I learn anything new but I just get a load of planets.
There isn’t anything else to this temple so I keep going through the snow. I find another place full of locked doors + a mind transference room. I’m sure I’ll need to come back here later but I can’t seem to do anything right now.
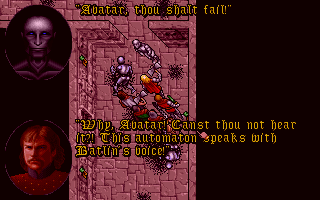
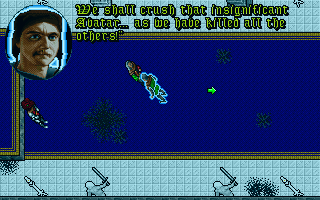
Sure enough, there is another dungeon further east. This is the right place as an automaton with Batlins voice is waiting for me.
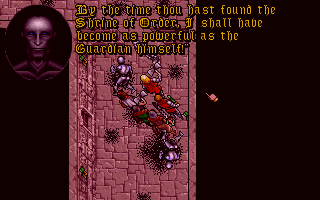
Whatever it is that Batlin is doing he seems to think it will make him as powerful as the guardian. I wouldn’t have thought that this would go down too well with the guardian himself…
The entrance to the dungeon is blocked but going up a side passage, I can see the button to open it which I cast telekinesis on. There isn’t any way the avatar could really see that button of course.
I make my way through a secret passage that just seems to avoid a bit of corridor (presumably circumventing a trap). Shamino urges me to hurry on.
There is another secret door I need to find at the end of this corridor – a gwani wandering around in there gives me the clue to look for it.
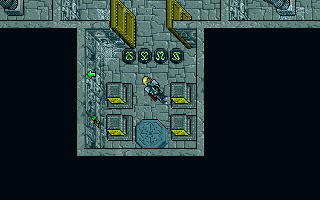
This gets me into yet another ruined city. I find a locked temple with a book outside giving details of how to get in. I need to find objects of virtue and place them on a plinth.
Very nearby there are 3 mini shrines to the three order virtues, each containing pedastels with items on them. Its a safe bet that these are the items I will need.
I collect the items then place them on the plinth until I figure out which is the right one. After all 3 are done the door opens.
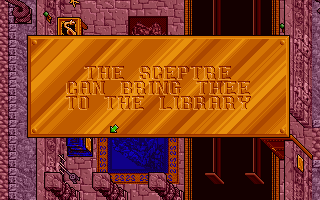
I’m now told that I need a sceptre to get into the library. I’ve not seen one of these around yet.
However, just to the south in the same building is an automaton waiting to give the sceptre to the great hierophant. Hes a bit confused after all these years and by lying to him and saying thats me I get the sceptre from him.
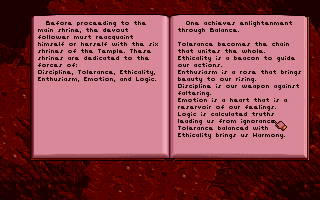
Placing the sceptre on another plinth gets me teleported to the library. There is quite the selection of books here including the complete details of the Ophidian virtue system. Once I’ve read the books there doesn’t seem to be anything to do so I use a teleport to exit.
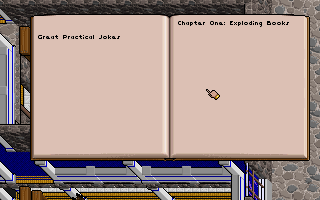
Further East I find one of Batlins henchmen waiting for me. He makes a few threats then runs off. He has filled the next room full of exploding traps. With a bit of trial and error + some heal spells I make my way through it.
There is no sign of Batlins gargoyle but behind a locked door is another automaton. He won’t let me past unless I can prove I’m a follower of order which involves telling him which book a quote came from. I try all the answers I’ve got but none of them work so its back to the library again.
There was a key under one of the books which I missed first time around. This opens a door to the NW and gets me to a single significant looking book which is the one I need.

The automaton opens the door for me and another of Batlins henchmen turns up with more threats. Again he runs off rather than fighting.

I make my way to the north, the corridor looks like it was heavily trapped with burn marks everywhere but I don’t set anything off and the pirate is already dead when I get there, presumably a victim of his own traps.
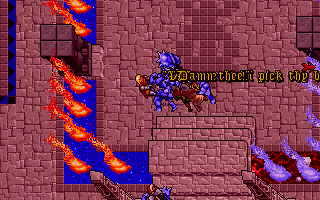
Sybil who I went collecting gold with much earlier in the game appears along with a load of fighters in a last ditch attempt to stop me. They even transform themselves into cyclops. I wasn’t really aware she was on Batlins side and it seems strange that she helped me out earlier in the game.
Like all good villains she threatens to return even though shes dying. I suppose the implication here is that you can fetch people back from the void after they have died. This could have implications for reviving Gwenno maybe?
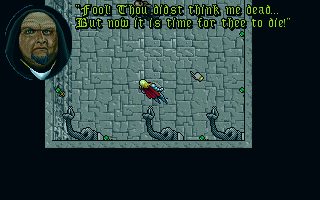
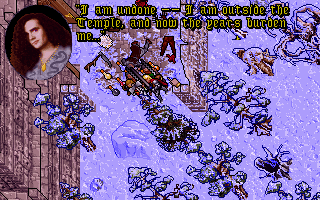
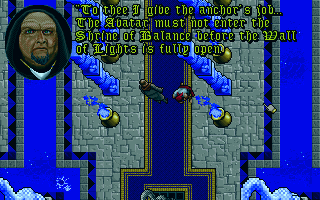
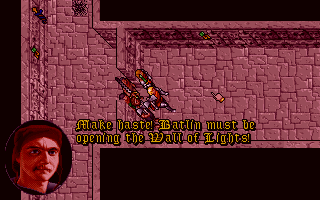
I’m less than surprised, that when I finally catch up with Batlin it is exactly at the moment that he manages to use the wall of lights.
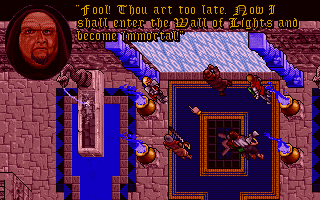
It appears that I’m too late as there isn’t much I can do to stop him entering the wall now.
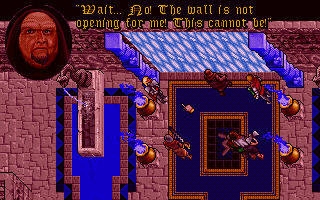

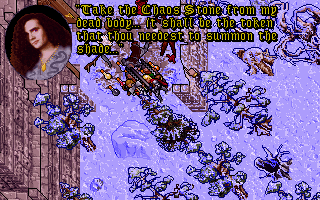
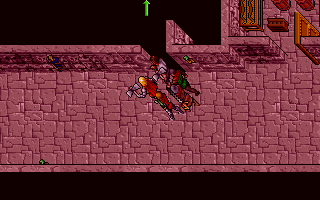
Somehow the banes (which I keep hearing mention of), don’t allow Batlin access to the wall. Batlin is struck down dead.
The guardian makes his first appearance of the game, and says this is how he rewards failure. If he can kill this easily, I’m surprised he didn’t do the same to the avatar or LB. I suppose he must need to be controlling the person involved?
It’s always possible that it wasn’t the guardian, however, as at this point something happens to all my companions.
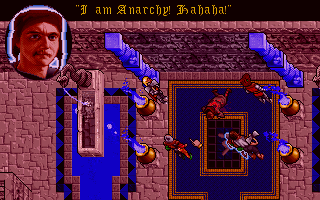
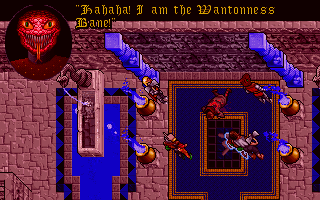
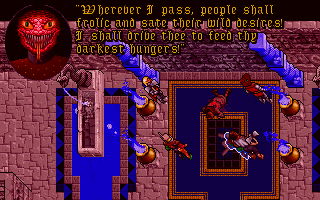
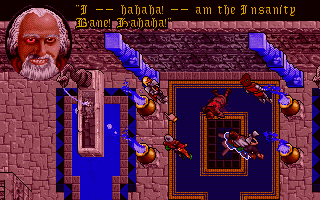
Dupre, Iolo and Shamino are all possessed by the banes. These banes seem to be Serpent Isle equivalents to the Shadowlords, in that they represent the opposite of the primary virtues. Before I get chance to do anything they all disappear in explosions leaving all their possessions behind and killing Boyden in the process.
This leaves me on my own again and there is no way I can carry all the stuff so I have to leave it where it is. I’d be fairly lost on what to do here but the earth serpent tells me to go and retrieve the gwani horn.
Batlin has his own serpents jaw and I take all the teeth from it and put them in mine. He also has a blackrock serpent which looks important. This is the opposite in theory of the one I brought with me from Britannia (which I’m still looking for). In theory I collected this in my last adventure and I vaguely remember hearing about it being in UW2 somewhere but I can’t ever remember finding it.
I head back to the wizards house from earlier to get the horn. It is inside a force field but I discovered a dispel field scroll just before I met Batlin.

The earth serpent pipes in again and send me off to fetch Gwenno’s body now.
The gwanni horn seems to have the power to make ice explode. When I get near to the tomb, there is a barrier across the path but the horn soon clears it.
Instead of burying them the gwani keep their dead in giant ice cubes. The horn melts these and after a bit of searching I find Gwenno’s body. The earth serpent doesn’t give me any clue as to what to do with it although taking it to Monk Isle woudl seem like a good idea.

Before that I try a few of my new teeth to see where I end up. One of them gets me to what looks like Fawn but I can’t get through the locked door and into the city. I do get to see one of the people here drop down dead – it looks as though the Banes have got here before me.
I head for Monk Isle and the first monk I ask revives Gwenno. She is moving around but does not seem to be herself at all.
The earth serpent chimes in with some more advice at this point and I ask the monks about it.
The head monk points me in the direction of one of the mages in Moonshade to get the scroll of the serpent.
This scroll should help us to cure Gwenno which seems to be my top priority for now.
I head for Moonshade which proves to be a longer job than it should be. For some reason the serpent gate to Moonshade isn’t working. Whenever I use it the screen goes black and I just end up back where I started in the dark path. This means that every time I want to go to Moonshade from hereon out I have to go to Furnace and walk the rest of the way. This gets a bit infuriating when I have to head back there as often as I ended up doing today.
When I get there most of the inhabitants have been killed off. The children from the mage school are still alive and tell me how there master was turned to stone in a battle with the bane.
It appears that the anarchy bane took over the town and before long the mages had killed each other off. I’ll admit that most of the Serpent Isle residents didn’t exactly endear themselves to me but its a bit of shock that a whole town would get wiped out like this.
I’m told that one of the mages had some sort of special wand which I might be able to use to turn the stone statue now decorating the school back into a mage.
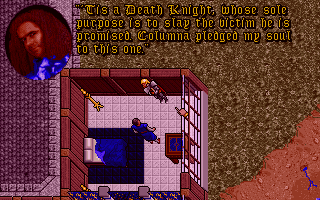
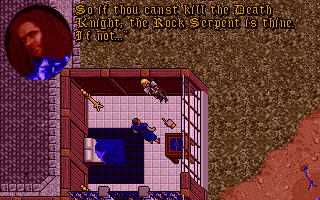
My old companion from the mountains of freedom is still alive although he is fearful that won’t be the case for much longer. One of the mages has set a death knight on him – he claims to have my blackrock serpent but won’t give it me back unless I defeat the knight.
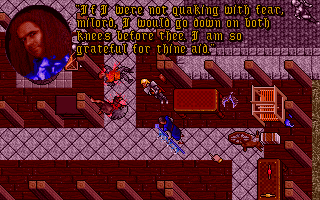
The knight isn’t too tough but does run away as soon as I hurt it a bit which leaves me chasing all over the place to try to get the final blow in. I’m told the blackrock serpent is in the old house west of town and given a key to get in.
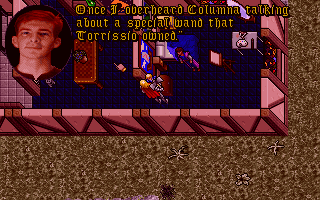
In the town hall, I find the Torrisio who’s wand I need to reverse the stone spell.
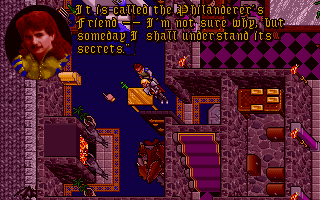
He tells me its caled the Philanders Friend. I remember picking this up along with the flux analyser in one of the dungeons but one of my companions was carrying it so its on the floor in the temple of emotion. This is going to mean serpent gating over there and then walking all the way back from Furnace again.
I find instructions to find some sort of buried treasure in the pub but I haven’t attempted to follow up on this. I don’t need any more weapons or money.
I head off looking for this house with the blackrock serpent instead. It is actually outside of the city walls, I wish people would be more specific with their directions as I can spend ages looking for these places. The key I’ve got doesn’t even open the front door but I do find a key in a hollow tree.

When I get in the house, I notice a little outhouse which I hadn’t seen before with the blackrock serpent in. My key unlocks this and I now have both the order and chaos serpents.
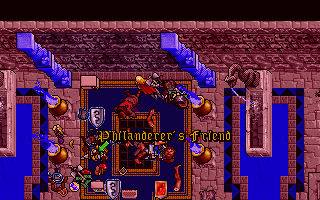
I head back to pick up the Philanderers Friend. Sorting through the piles of stuff takes a while but I find it eventually.
A long walk later and I’m back in Moonshade. I use the wand and get the serpent scroll.
Reading the scroll myself, I don’t learn anything in particular so I head back to Monk Isle.
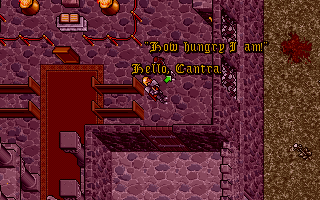
I notice Cantra wandering around who seems to have the same problem as Gwenno.
The solution is to go to the appropriate temple and fetch some virtuous water which I should make Gwenno drink.
There is a book in the library which gives me directions to all the temples. A much easier alternative is to use the serpents jawbone to teleport there directly. While in Moonshade, I’ve been picking up quite a lot of teeth by ransacking all the empty houses so I’m only missing a few now.
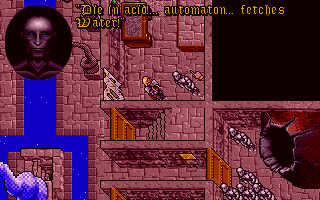
The temple I need to go to is the one I was in some time ago. I teleport straight there and this time manage to find a few doors that open. An automaton gives me some vague instructions about needing to use an automaton to fetch the water as I would have to walk through acid.
I don’t seem to be getting anywhere here so I head back to the monks for more here. I’m given a vision by one of them showing what looks like a metal woman. This has to be the automaton back at the pub in Moonshade.
A long walk back to Moonshade and I find her still in the pub and I now have the option to ask her about acid. She wishes that there was some way to swap bodies as she is just an automaton and can’t fetch water herself? This makes no sense at all – surely if shes complex enough to cook and talk she can cope with filling a bucket. If this were Ultima 6 I’d just have her join the party and swap to controlling that one character but I guess that wasn’t implemented in U7 so we have this more complex alternative.
I’ve already seen the mind control chamber at the temple but apparently that isn’t enough so I have to go back again and try to find whatever I’ve missed.
This time I notice a couple of buttons I didn’t press before. These get me into a lower level and I find a key in a semi-invisible chest.
I work my way through the temple until I find a book detailing body/mind transference. This has to be the trigger I needed.
Another long trek later, I’m back in Moonshade and this time Petra gets the idea and joins the party.
She is surprisingly weak considering she’s made of metal but I don’t need her for combat anyway. The transference is easy enough. I just stand on the plate and telekinesis the button. We transform into loads of other creatures before settling into the correct bodies.
The transfer doesn’t last long before I swap back. I still haven’t figured out where this acid actually is so I go exploring again. I found a couple of Y shaped things which fit into the panels on the altar. This creates a bridge to the steps in the middle of room.
This gets me to a new area and the path to the north means instant death for me but after swapping bodies with Petra its no problem. I brought a bucket with me but there is one in here so I fill them both and then head back to Monk Isle.
The water works on Gwenno and she is returned to normal.

I was expecting her to join my party but instead Gwenno decides to remain here and research the problem in the monks library. We need to trap the souls of the banes somehow. This has to be a question for a mage so I’m sent back to Moonshade, yet again.
Gustaccio was the one who sold the information to Batlin. He doesn’t want to help me for free and demands his wand back.
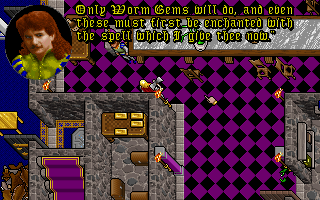
I need to use worm gems (whatever they are) to trap the souls and he gives me a spell to cast on these gems which I have to use first.

As luck would have it Ducio can make worm gems. I guess I only need 3 but I ask him to knock me 4 up as a spare may come in handy and I really don’t want to have to walk back here again.
I cast the spell on them and they change shape slightly.
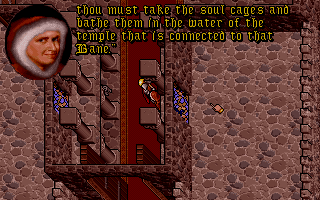
I head back to Monk Isle with the news. Gwenno has been busy in the meanwhile and tells me that I will need to bathe the soul cages in the water of the appropriate temple to capture each bane. I try using my spare bucket of water on one but nothing happens so I guess I actually have to use the cage in the well itself which is going to mean more body swapping. I can also find out the location of the bane somehow by using a device in each temple. My next task looks plain enough then, I bathe all these prisms, track down my companions and capture the banes. What comes after that I’m not sure although I expect Gwenno will provide the answer when I get that far.
I’ve made a lot of progress today, although it would be an exageration to say that the end is in sight. A happy ending is looking unlikely given that most of the population appear to be dead if Moonshade + the bit of Fawn I’ve seen are anything to go by.
I think the game for me has lost a bit of its appeal today. I’ve been expecting the story to build towards a conclusion but it seems to have slowed and I’ve ended up going backwards and forwards between various areas over and over (more than I’ve mentioned here). The serpent gate problem isn’t helping with this at all but with any luck I won’t have to go back to Moonshade again.
On the whole, I’d say that I’ve cooled to Serpent Isle the more of it I’ve played. All the games in the series from U5 on have felt like a virtual world – I’ve not had that feeling at all in Serpent Isle. The whole setup is artificial with non-sensical barriers being put in my way to keep me within certain areas. I thought at first this would benefit the storyline and it started out well but this far in I don’t think the storyline has been good enough to justify the restrictions. Games like Final Fantasy 7 or Planescape Torment did a better job with this style of gameplay with stronger storylines throughout and I actually appreciate Ultima 7’s style of gameplay more now that I’ve played this. Both FF7 and Planescape came much later though and Serpent Isle was clearly influential on the direction western RPG’s took.
Its still a very good game & I’m enjoying it for the most part but its not going to be up there with my top few Ultima’s. Where it does have all the rest beat is in sheer size. I’ve not spent this long on any other game in this blog and it just shouldn’t be possible to fit this much onto 7 floppies.