Day 118

At the end of the last post, I commented about not really being sure what my quest actually was. I thought I’d expand on that a bit first today. It strikes me having played this far that finding Batlin/Gwenno isn’t the sort of quest that RPG’s are made of. Batlin wasn’t enough of a villain to be worth chasing all this time and Gwenno could have just found her own way back for all I know (assuming there is a way back). I never really understood why she went to Serpent Isle in the first place and is chasing after her a good idea when I have no idea how to return myself?

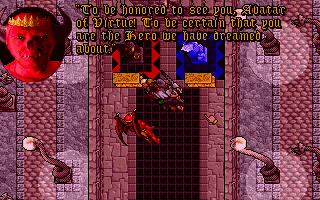
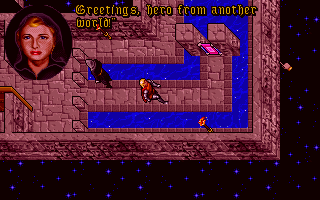
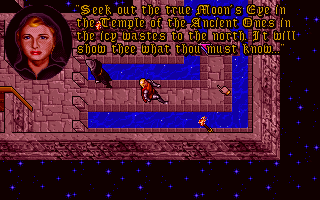
I was given the “hero from another world” speech within about 5 minutes of the start so I’ve really been considering that the main reason to be here. Restoring the balance is more along the right lines as an RPG quest but with no idea how to go about this all I’ve been doing so far is travelling between the towns, exploring, picking up items of serpent jewelry that I’ve been told I will need for some unexplained reason. I also need to find this moons eye thing which not only do I not know why but I don’t even know what it is yet.

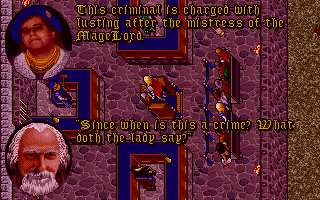
If killing off Batlin is my main quest, I could have done with more reason to dislike him to emphasise the need to track him down. In U7 he just came across as an underling of the guardian who wasn’t all that much worse than a lot of the other fellowship members. I know he is up to something in this game with him researching the Ophidians but that isn’t much to go on. I’m about to find out hes up to some serious mischief at the start of todays play. Moving this encounter a bit further forward in the game might have lent the game a sense of urgency.

There have been a few events during the game that have given me some cause to find him but if anything I’ve been given more reason to dislike the town leaders who all seem to have it in for me in one way or another. Serpent Isle is definitely short on benign rulers like LB.

All this is a minor complaint, if its a complaint at all. More than anything else, I’m surprised that I can play the game for this long and still not really know where its going.

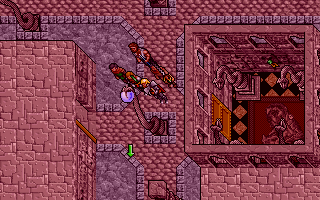
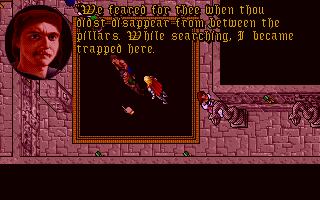
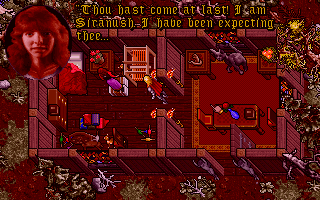
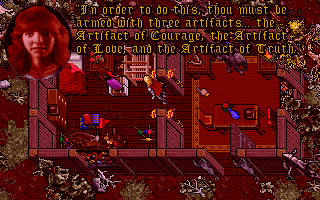
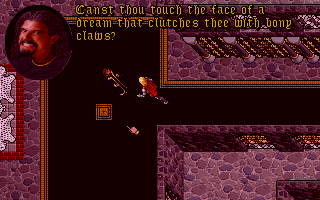
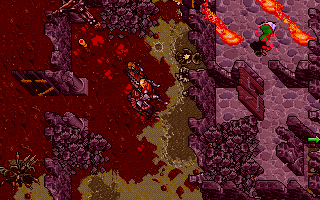
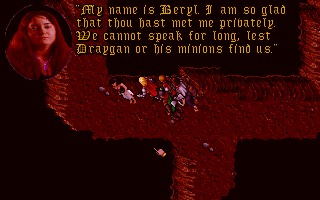
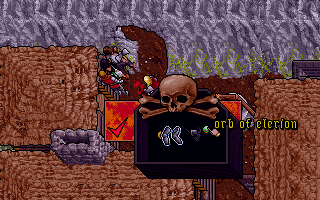
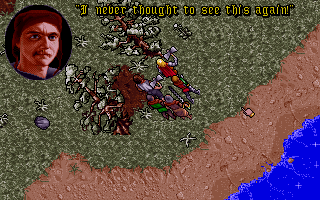
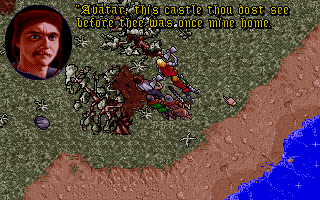
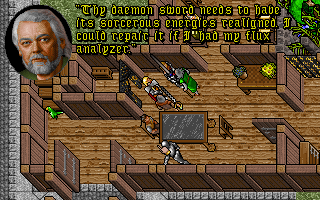
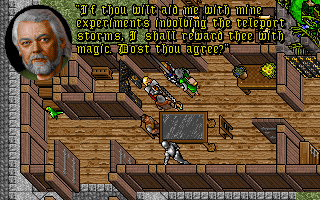
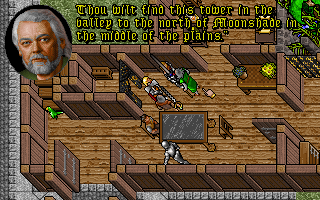
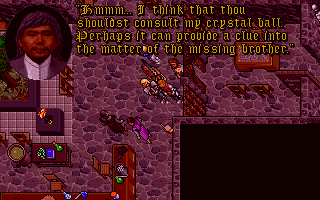
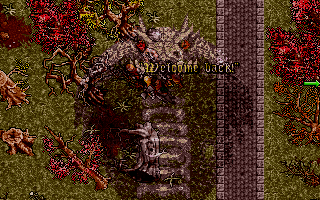
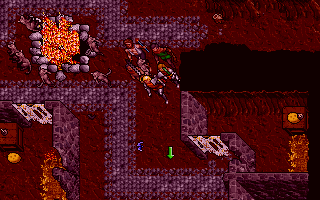
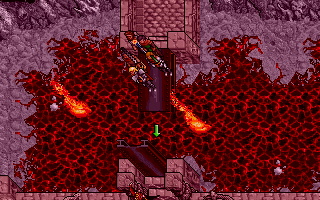
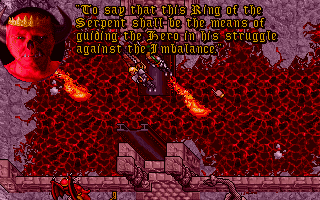
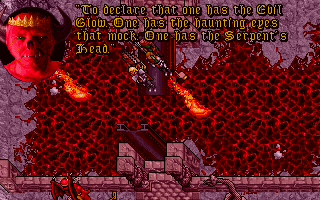
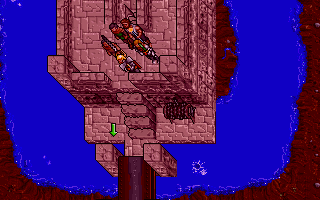
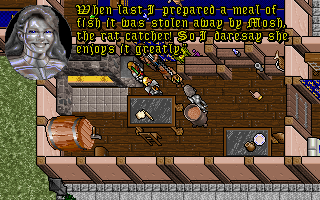
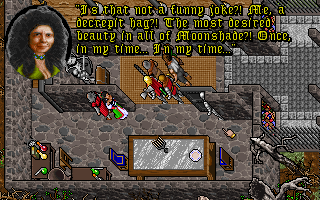
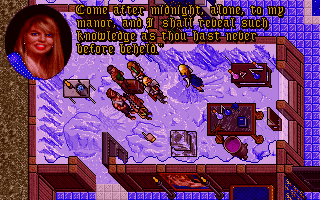
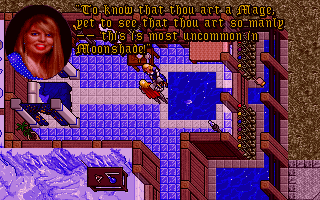
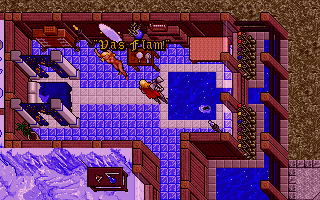
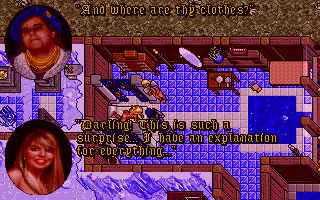
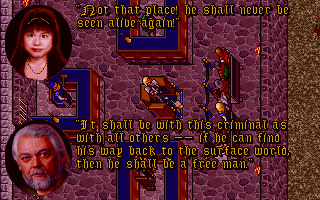
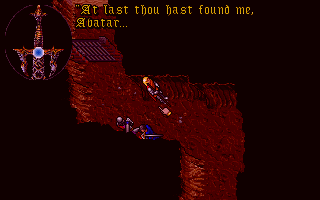
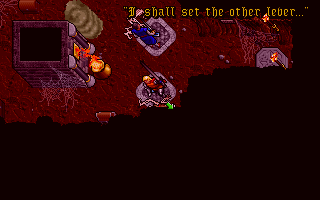
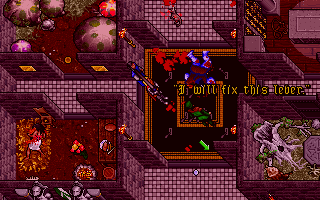
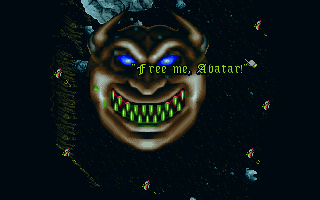
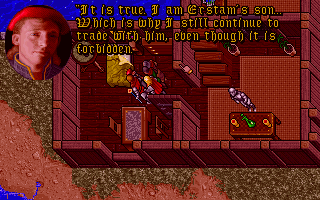
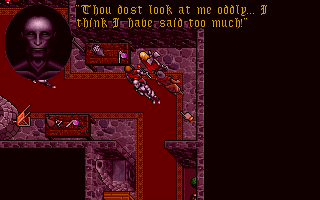
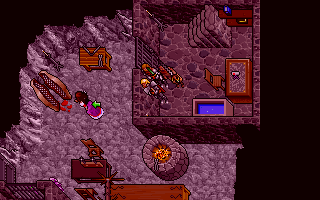
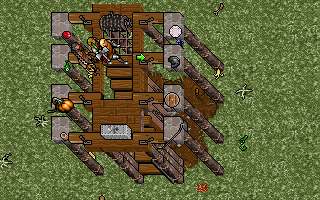
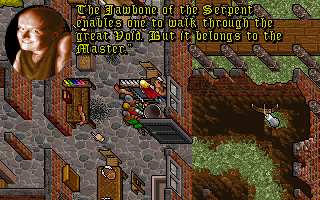
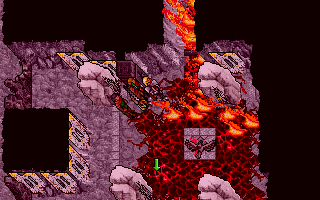
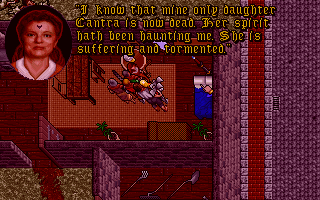
To get back to the game, the backstory I was hoping for in Shamino’s castle fails to appear. There isn’t a whole lot here but I do unexpectedly find Batlin. I wasn’t aware that it was him that had kidnapped her back in Monitor although thinking back to that strange scene in the crystal ball it could have been him fighting the possessed child. I’m wondering now if I should have known it was him at the time and missed it in my hungover state last Sunday. I definitely don’t remember his name being mentioned but this would have given me a good reason to find him.

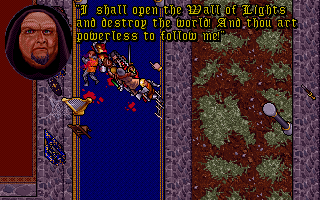
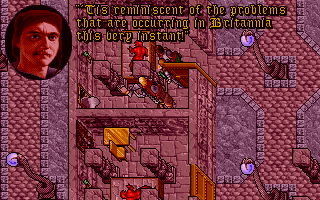
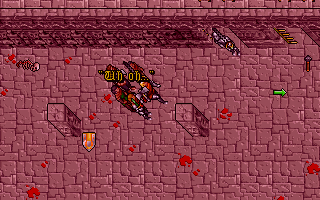
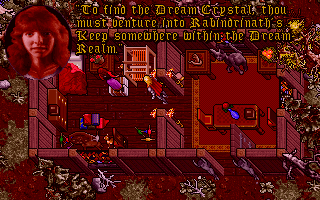
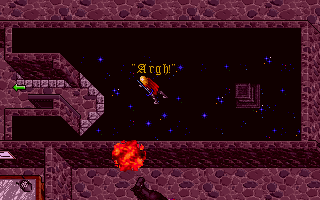
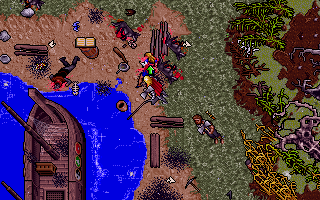
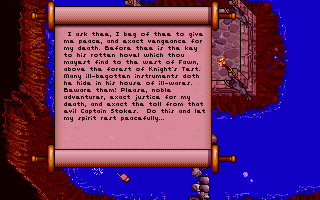
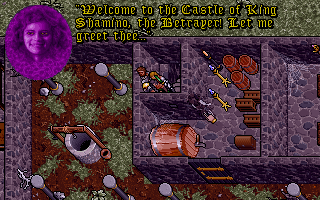
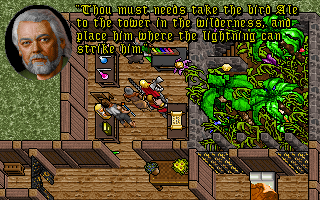
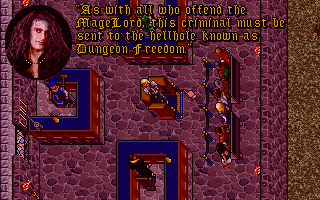
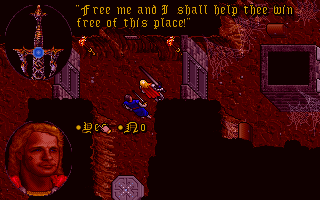
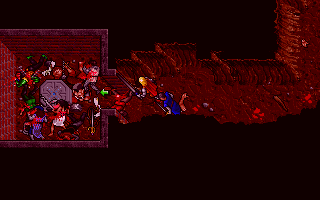
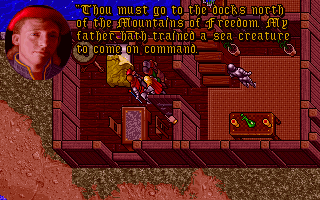
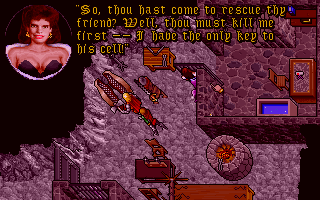
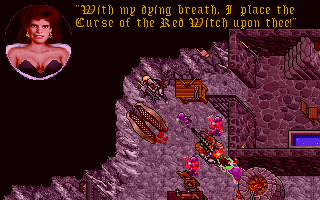
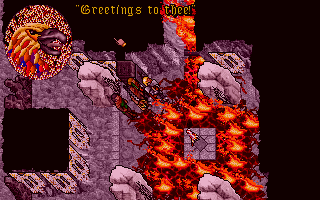
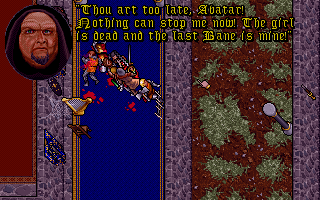
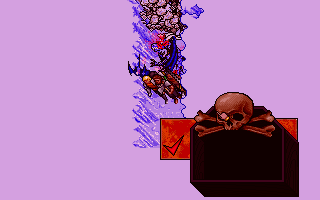
We defeat him and his companions with ease but Batlin does his usual escape act after first threatening to open the Wall of Lights (whatever that is) and destroy the world.

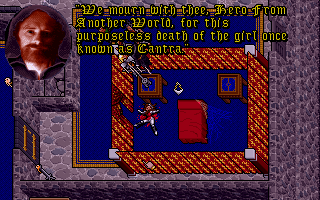
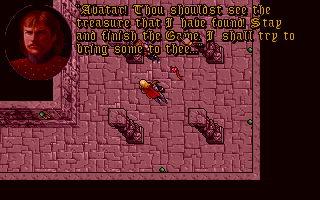
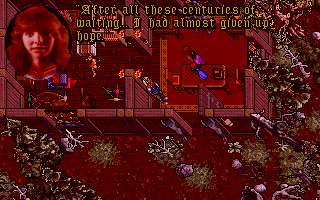
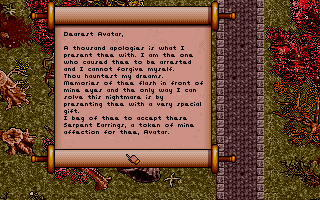
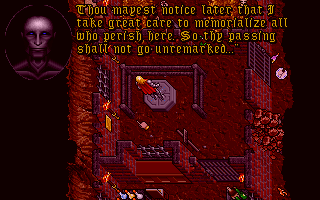
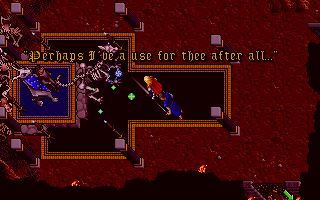
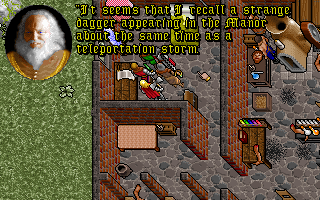
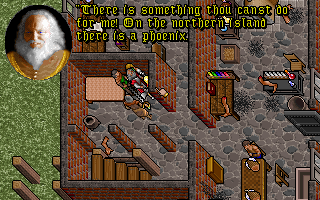
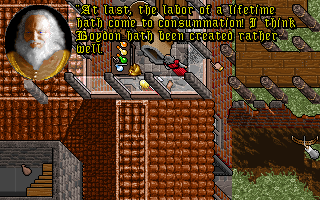
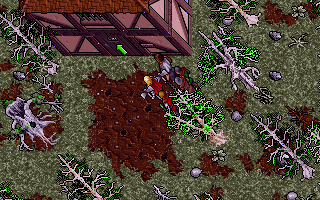
We find the body of Cantra in the castle. A monk teleports in and offers to take to body and even attempt to ressurect her. He tells me not to worry about this in the meanwhile.

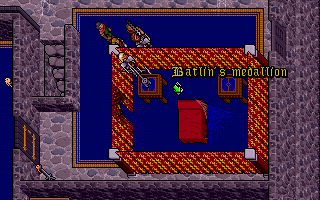
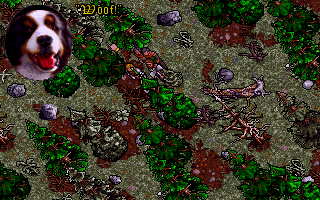
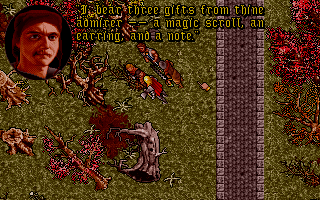
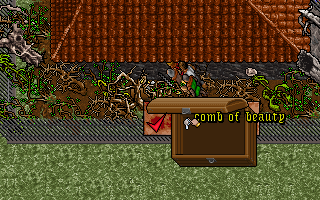
Batlin has left his medallion behind which I figure out later is another item that the hound can use.

First I head back to Monitor to give the news to Cantra’s mother.

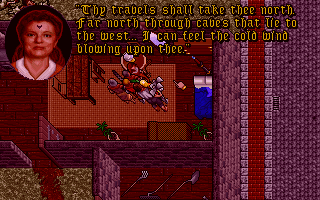
She takes it well and even gives me a prophect that I need to go to the far north through caves to the west – these sound like the ones I found that key in.

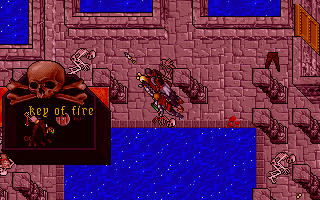
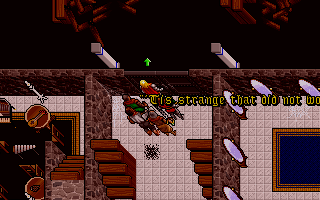
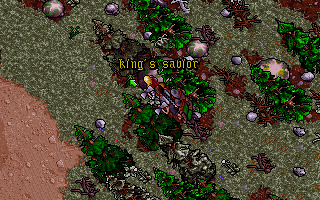
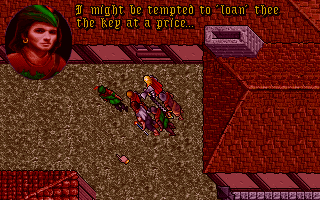
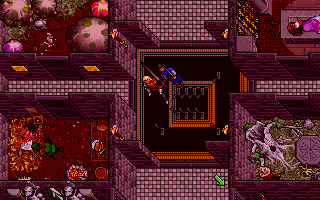
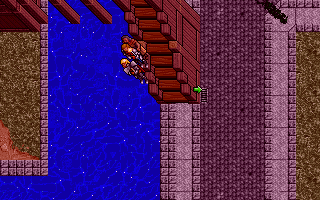
Speaking of the key I head to the woods west of Fawn in an attempt to use it and find the appropriate house.

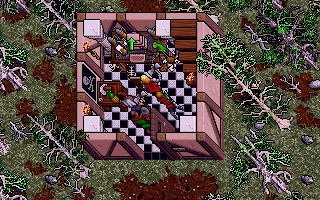
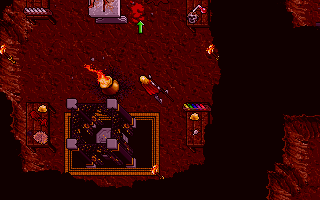
The pirate in here has a PC which looks a bit out of place. He is sat at his desk upstairs and I kill him off as the note requested. There is a bit of money around but nothing too special – I take the PC with me incase it will prove useful but I expect I don’t need it.

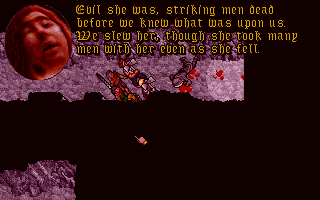
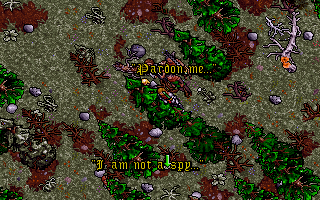
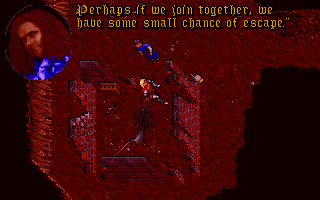
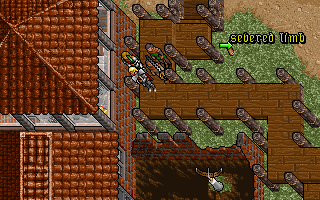
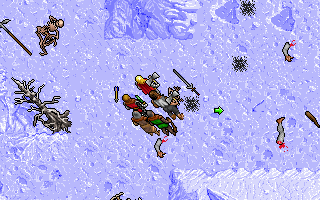
I have to walk back through the swamps again to get to the cave and this time I find I branch I missed. Just before the exit, I run into a man telling me about some evil sorceress he and his men killed. She didn’t leave him in a good way and he dies just after we find him.

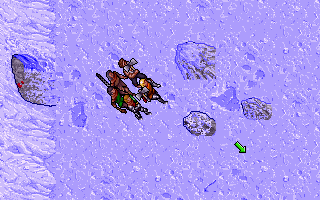
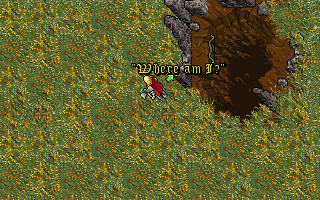
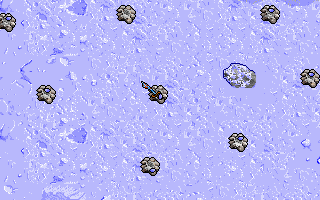
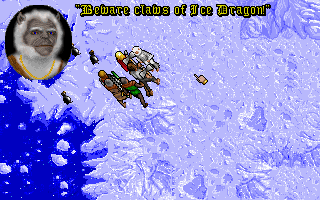
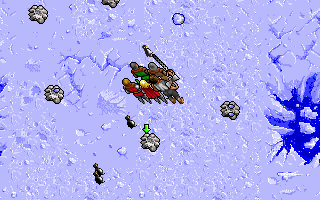
Outside the cave, I’m in a whole new environment of ice and snow. All my characters start to complain about the cold until I kit them up in fur boots, capes and hats. The new environment looks great and it gives the feeling of being arctic explorers.

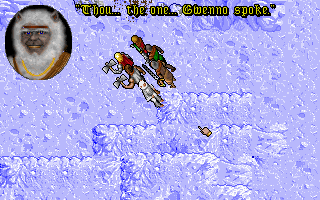
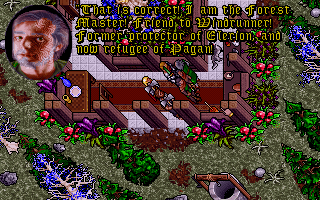
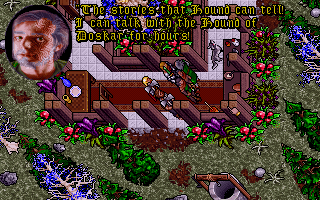
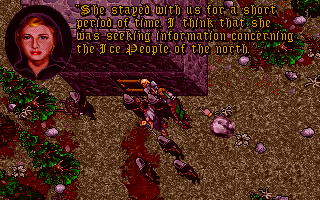
I discover a new race called the Gwani living in caves to the north of here. As ever Gwenno has been here before me.

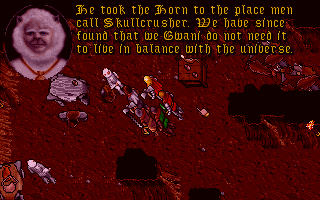
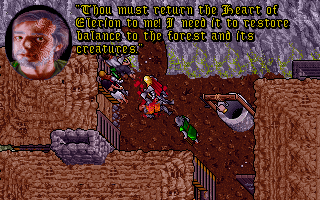
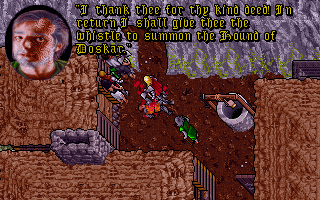
I’m told of a horn that was stolen from the Gwani and taken from here to Skullcrusher and that I’ll need this horn to enter the crypts.

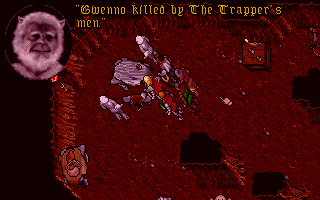
Gwenno did live with the Gwani for a while teaching them English/Britannian but was killed by the trappers men. This is a bit of a shock after following her around for the whole game. This is a world with resurrection however so I won’t give in yet. Her body is in the crypts somewhere to the west but I need that horn to enter there.

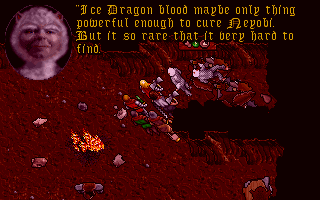
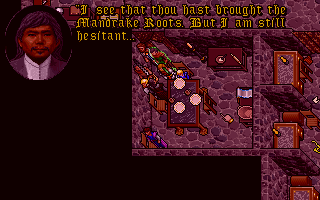
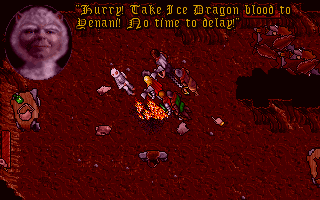
A Gwani child is sick in the village and the only cure is the blood of an ice dragon. Never one to turn down a quest, I volunteer. I’m not sure on the virtue of taking one life for another but I’m sure I don’t have a choice.

5 of the Gwani hunters have already gone out to try to kill the dragon and only 2 of them are still alive. One of them gives me directions.

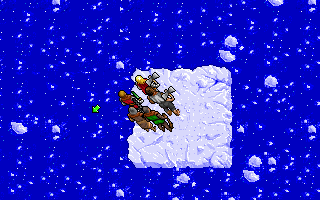
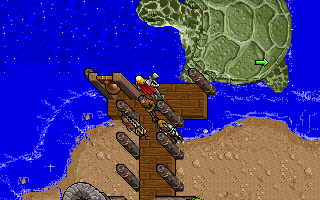
I have to sail an ice raft to the dragons island.

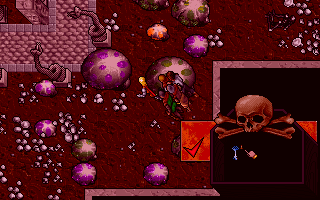
I manage to find the wrong island first and end up on one that is full of penguins. There are loads of blue eggs around so I take a load on the off chance I’ll need them later.

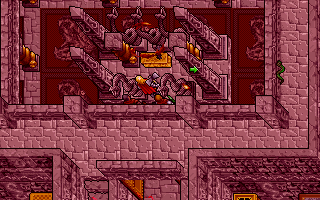
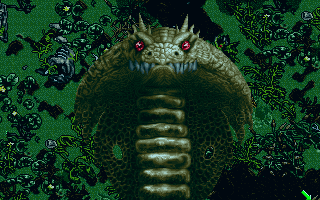
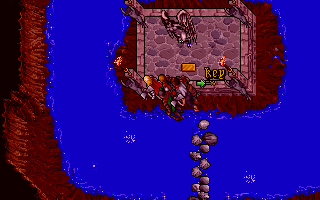
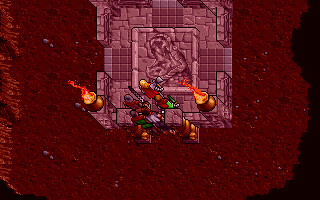
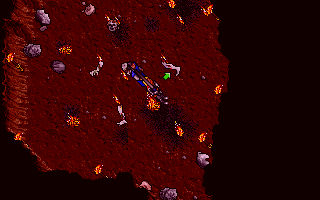
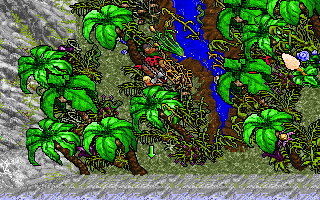
There isn’t any mistaking the dragon island when I find it.

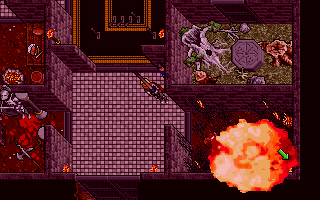
The dragon is much easier to defeat than I expected. I fill a bucket with its blood and head out into the back of its cave to explore. The cave is huge and entirely superfluous as far as I can tell. Its also one of the more infuriating dungeons in an Ultima in that it has teleports all over the place. A bit of careful mapping and I manage to find my way out again but it takes a while.

I head back to the village with my bucket of blood.

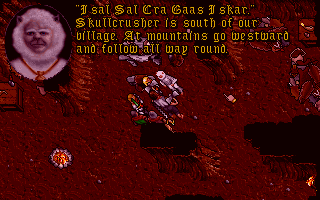
In return for the blood I’m given a phrase I will need to pass through the Skullcrusher mountains

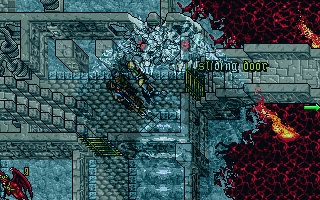
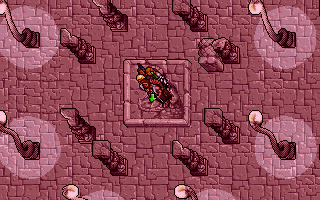
I’ve already been in this cave earlier but came across a locked door. I head back to see if I can get any further this time.

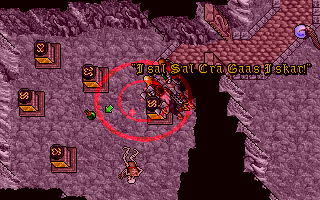
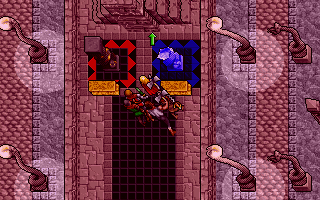
The locked door is still locked but I persevere. The runes lying around match up with the plaques. I figured this much out the first time. What I didn’t know was I then have to double click on each one in the right order. The order is easy enough to work out through trial and error and I manage to get the door open and enter the new dungeon.

Day 117

The gargoyle city turns out to be a deserted Ophidian city.

All the gargoyles are suffering from some sort of sleeping sickness in the same way as the emps back in Britannia were described to be by LB in my dream.

This city is fairly huge with all manner of buildings. I guess the culture here is vaguely Roman with a bath house and an ampitheater. When I enter the ampitheater a load of automatons attack. This does gain me a new key.

Using this key I manage to find a route to the pillars that I’ve been looking for and I grab hold of the left hand one.

I wake up in some new area with a choice of three doors to go through. I pick one and bump into Shamino who wants me to press a button which will force the women in here to be “very accomodating”. They want me to press the other button and set them free. This was described to me as a test of purity so the correct answer is apparent.

Next Dupre wants me to bash 10 worms with a mallet. This is a pretty dull job as they are quite hard to hit. All the while he tries to tempt me out of the task but I stick with it. The final door take me to a moongate which Iolo tells me leads home and I then have to refuse to step into it.

All the tests completed, I come back to the real world and the gargoyle king hands over the goodies. Now I just need to figure out how to get out of here.

I find a book which tells me how to reach the serpent gate here. I need to get two keys and combine them on an alter.

The first is in the bath house guarded by a couple of tentacles that have moved in.

The next is in the park + this body also has a serpents tooth on it which I add to my growing collection.

I find the temple, way to the North past the two pillars. I have a bit of trouble getting the keys on the altar, they have to be hanging off the top before they will stay on. Once this is done, they combine to form a new key. This key opens the door to the serpent gate. I take the first new door that opens and this gets me back to Monitor.

I still feel like I’ve not really accomplished anything that will get me past the swamp but I go and have another go all the same. I’d kind of assumed that the dream land was just a bit of fun and a way of working LB into the game but it turns out there was a lot more to do here than I realised the first time around. I can’t help but notice that I have carried the mirror of truth into the world with me although everything else has been left behind.

I run into Thoxa who tells me to look for the Moons Eye which looks like the thing behind her somewhere to the north and that is my eventual goal. I don’t get any more details before she vanishes again.

I find Iolo who is also dreaming but he also disappears again almost straight away.

In the far NW of the world, I meet someone who doesn’t vanish the moment I talk to her.

She is full of information and tells me all about her village of Gorlab which was in the area before it became a swamp. The entire village was put to sleep by one of its residents for some purpose of his own using dream crystals. Whatever his plan was something went wrong and everyone became trapped in this realm. Most have lost their sanity and I need to get the dream crystal back so she can escape the realm. As a bonus this should allow me to get through the swamp. To get the crystal, I’ll need the 3 objects of truth, love and courage which as luck would have it, I’ve already got.

I have to go back to the real world first and collect the items off my companions. Then its back into the swamp and I head for the castle at the SW of the dream world. The man here about as mad as he was described to be. He tries to test me three times but the objects of virtue hold him off.

This allows me to get the crystal which I return as promised.

After a brief conversation, she destroys the crystal and we wake up just outside the swamp again. This time however we can get through it and stay awake.

The serpent shows his face again while I’m passing through. He claims to be the great earth serpent from Ultima 3 which would explain where we met before although he wasn’t as chatty then. All he did was block the route to Exodus’s castle as I recall until I shouted the password. Ironically, for an earth serpent he spent the whole game in the sea. I don’t know if he’s on my side or not but will no doubt find out more later.

There are some ruined buildings in the swamp and a load of bodies. I don’t seem to be able to get to them. This can’t be Gorlab though or the bodies wouldn’t be fresh.

Just out of the swamp there is a castle which I don’t seem to be able to get into either. I give in on this and keep following the road.

I find a small encampment after the road peters out. This is headed by a dislikeable character called Draygan who regards himself as invincible. He tells me how he came over on a boat seeking gold – most of his companions have been killed off with just 3 remaining.

One of these, isn’t too happy about the situation and gives me a plan to get rid of him. I need to create a sleep arrow and shoot Draygan with it. To find the plant I will need to make the arrow, I need to find the forest master far to the SW.

Finding people is forests in this game seems to be a serious problem for me and this forest is big. I wander around for ages finding all sorts of stuff except the guy I’m looking for. I discover the ship that Draygan and his band sailed in on.

Next I find a dungeon which I figure I may as well explore since I’m here. This is one of the more dangerous dungeons I’ve been in since Silver Seed with a lot of fire traps.

The only thing of note that I find in here is a key on a grave.

There is a note with this which directs me to a pirates cave west of Fawn. I’ve got the notion that this pirate might have the flux analyser which I need to get the black sword fixed but this could be wrong. I can’t be bothered walking through the swamp again right now so I’ll go back and pick this up when I find the next serpent gate. This is one of the very few side quests that I’ve discovered in Serpent Isle – nearly everything else has been central to the plot.

All the time that I’m walking around here searching for the forest master I’m followed by some guy who claims not to be a spy but blatantly is. I’m tempted to attack him but I guess that wouldn’t be very avatarly so I leave him alone.

The forest master is more to the west than the south. He isn’t what I expected at all. He is a refugee of Pagan (where I’ll end up in Ultima 8) and came here after fleeing the guardian.

He can talk to plants and animals and looks to be quite a powerful being. He tells me how he put a lot of his power into an orb which Draygan has stolen and he is no longer powerful enough to defeat him with the orb. This is where I come in – I’m already on a quest to beat Draygan anyway so getting rewarded twice can’t be a bad idea so I accept.

He tells me where to find the plant I need to create a sleep arrow. Its not too hard to find.

I have more trouble finding an arrow but I should have known there would be one in the village. I shoot Draygan with it, then hit him some more while hes down. I grab the orb off his corpse and the forest master teleports in.

In return for the orb, he gives me the whistle to summon the Hound of Doskar. This goes right back to the quest for the missing child I got in Monitor 15 hours+ of gameplay back.

The hound of Doskar is surprisingly normal – I was expecting some sort of strange creature. It isn’t as helpful as I might have liked and rather than leading me to the correct location, I just get a compass direction and have to follow that and call it again.

I’m told to head east which I do and find somewhere very familiar to Shamino. I don’t know if this is where I needed to go but I’m going to have a look while I’m here. The entrance is blocked but he draws me a map and tells me about a secret entrance to the West

As soon as we enter the ghost of Shamino’s ex greets us. She’s friendly at first but not after she spots Shamino.

I’m keen to find out the backstory of Shamino’s here. Its been a long time coming since I first heard about the castle in the Sleeping Bull. The overall story doesn’t seem close to drawing to a conclusion yet – other than chasing Batlin & Gwenno + finding this moons eye thing I don’t really know what the real aim of the game is. I want to restore the balance somehow but still have no idea how. I am, however running out of map to explore and don’t have a lot left other than the icy region in the north.

Day 116

I find Iolo learning magic with one of the mages in Moonshade. This same mage also says he can repair my black sword but will need his flux analyser which got swapped for a pedastel from a serpent temple at some point. I’ll have to keep an eye out for this.

He also wants me to help out with his experiments into the teleportation storms. I never refuse a quest so I agree.

He wants me to head up to that stange building I noticed to the north of Moonshade some time back and observe the effects first hand. This contraption will cause a storm once I add the missing energy globe which he give me.

I pull all the levers and watch the effects of the various colours of lightning. Boyden gives me a prompt when we have observed all three.

I get struck by lightning myself before we get clear of the structure but it doesn’t send me too far so I walk back to the north to fetch my companions.

The purpose of these experiments is to track down the missing brother of one of the people who travelled over with me on the boat from the Sleeping Bull. I’m sent to see the magister who suggests I use his crystal ball.

I see a cutscene showing the missing man walking around before getting caught in a storm.

He is struck by lightning and transformed into a parrot which has been his brothers pet all along.

I now have to walk all the way back to the tower with the parrot and use the machine to tranform him back again.

I do this and it works first time. I’ve been promised some spells for helping out so I head back to collect then.

I get the mirror of truth for my troubles. I’ve no idea what this is but I’m sure it will be useful. He also teaches me every spell he knows for free.

I’ve still not found Shamino who is somewhere in the woods to the West. These woods are huge and it takes a lot of walking around before I spot him. He’s bearing gifts from Frigidazzi.

I get a magic scroll with a chill spell, an earring (one of the three serpent items I was told I would need right back at the start of the game) + a note.

The note is an apology from Frigidazzi who is going to keep out of my way from this point but has at least given me some nice items.

At this point a snake fills the screen. In the first bit of in-game speech it asks who I am and curses the imbalance that is clouding its vision. I have absolutely no idea what this is about.

I think I’ve finally run out of things to do here and its time to look for the way out. I can get the key to the catacombs from the Julia once I prove I will be able to survive the heat down there (I needed the chill spell).

The catacombs aren’t actually all that warm at least at this point. The ratmen village is down here but the harp stops them attacking.

This gets me to the hot area I was warned about. I take damage all the time I’m in here until I use the chill spell

On the far side of a raised bridge is a gargoyle king.

It seems the gargoyles here have their own prophecies about a hero from another world. He tells me that my main enemies are the trinity, some sort of ghosts that walk the land. This doesn’t sound like anything to do with Batlin.

He does have the ring of the serpent to give me, if I can prove myself to be the hero.

He gives a little more detail about the trinity, including that one has a serpents head which immediately puts me in mind of the snake that spoke to me earlier.

I have to complete some sort of trial to prove I am the hero from another world. On my way there the snake appears again and although he still calls me a stranger claims that we have met before. I think I’d remember but I’m intigued to find out more.

Day 115

I try heading back through the serpent gate and sure enough one of the other doors opens up and I find myself in a new area

There are enough people around wearing cowls that this has to be monk island. Most of them won’t speak to me but there are a few who do. One problem here is that the monks all follow a routine based on the tolling of bells on the isle and keep moving around – add to this that they all look exactly the same and trying to talk to the right one becomes a case of trial and error.

I ask about Gwenno but shes already left to go to the northlands – she certainly gets about. This is feeling like the thankless task of chasing Elizabeth and Abraham around in U7.

One of the monks tells me how to collect mandrake roots from the swamp to the north whent he tides are right. This has to be the reason I’m here as the teacher in moonshade wanted me to collect some mandrake before he would give me a spellbook. The tides aren’t right at the moment to collect it however.

I don’t find a huge amount to do on Monk Isle but it doesn’t take long for the tides to change so I go to search the swamps. I find a ruined house who’s key is in a tree stump outside. I follow it through a series of locked doors only to emerge back at the serpent gate I came in on which was a bit of a waste of time.

The mandrake was just lying around the edge of the swamp so I go back and collect some. I have a look around the monks library on the way back which is full of old prophecies + this poem by Minax. The lens in the middle helps me translate them all for a time. Most of the prophecies are about my current quest but are all a bit vague with stuff like my friends becoming my enemies. I’ll no doubt find out what they mean later.

I go back to Moonshade through the gate and hand over the mandrake. I have to go through a series of tiresome copy protection questions before he hands it over. I’d be thinking it was a while since the first lot. A spellbook has been a long time coming in this game and should help no end especially with my reagents ring.

There doesn’t seem to be all that much to do in town at this point. There is still the matter of Mosh telling who claims that the green enchantress is her sister and is only beautiful because she stole a magic comb from Fawn. I tell Mosh I believe her claims which she seems to take as a cue for me to offer her food. When I go to the pub to buy some, I’m told she’s partial to the fish so I buy a portion of this. This puzzle strikes me as a bit unfair as I had to actually attempt to buy the fish before I got the clue.

It appears that beggars can be choosers after all and I hand over the fish.

In return Mosh gives me a magic harp which I can play to stop the giant rats from attacking me in the catacombs. These must be the ones that will get me back to the main island. She doesn’t tell me where the entrance is but I’m not really looking yet anyway.

This still hasn’t gotten me any closer to finding the magic comb so I take it into my hands to pry around Columna’s house and see if I can find anything. This involves a bit of theft of keys and the like. In the basement, along with a nasty buzzsaw trap, I find a scroll which implies she is definitely guilty + a key to something or other.

There is a button on the back wall of the house that lets me into the guardian. In a well hidden spot round the back is a chest with the comb which I grab.

Columna’s lost her looks to some extent although shes looking better than Mosh still. I go back to tell Mosh and there aren’t even any new conversation options which is a bit annoying.

There still has to be more I need to do here. I do notice that Frigidazzi has finally shown up. When I ask her about spells she invites me back after midnight.

She asks me to send my companions away but is far more interested in me than selling me magic.

When the subtle approach fails she tries the dance of passion.

I give in to the inevitable at this point but the MageLord choses this worst possible of moments to pay a visit.

She may only be his mistress and not wife but hes angry enough to put me on trial. The trial is about as fair as Dupre’s was.

I’m quickly found guilty and sent to the freedom mountains. I knew I’d have to go there sooner or later.

On the plus side by the law of the land if I escape I’m free to go.

Most of my possessions are removed and I’m teleported straight into a cell in the dungeon. An automaton introduces me to the place.

I’m trapped in this cell for now but the automaton does eventualy decide to wander out of his locked area and I take the chance to raid his room for stuff including the key out. Once out, I’m enter a maze of sorts and work my way through to find a secret passage out. I disturb a mage lord carrying out some sort of ritual involving a dead woman on an altar but he teleports out before I can stop him.

I run into the mage/thief who someone in Moonshade told me about. He claims to have been unjustly imprisoned but is blatantly a thief so it probably wasn’t that unjust.

He want’s to join up with me and tells me that there are two switches that must be thrown at the same time somewhere in the dungeon. If this is true then I’ll definitely need him. I’m also led to think of the prophecy on monk isle that said I would have to join with a thief and braggart during my quest and this guy pretty much fits the bill.

We work our way through the dungeon and at long last I find my black sword.

He wants me to release him and claims I will need to do so to leave this place but I’m not about to do that.

I run into the mage again and this time he transforms someone into a dragon skeleton and scarpers again.

My companion was telling the truth I a come to an area with the twin levers.

The next area has a raised drawbridge I can’t lower and a teleport surrounded by bodies. One of the bodies has a telekinesis scroll which I transcribe to my spell book.

I cast the spell and lower the drawbridge to reach the next section.

This gets me through to a very strange area with a load of levers and some very strange rooms. I guess the whole dungeon is supposed to be a sort of trial by fire so this is just a magical test of sorts.

Each lever opens a different door and I seem to have to use things from one room in another. To start off I wake a woman who wants me to lead her to her nightmare. When I walk into a room with a dead horse they are consumed in a fireball. I find a key + carrots on her body. There is a room with a dead rabbit, when I drop the carrots in here it transforms into a woman who gives me flowers.

I give these flowers to a mouning man who then fixes a broken lever in the main room before turning into a skeleton.

A few more lever pulls and I make my way out of this area and end up in a literally endless corridor in a dungeon. There is a secret passage to the east which is a bit tricky to find but I do so in the end.

Another automaton offers to sell me potions, then decides to attack me.

This isn’t my final obstacle as there is still the small matter of the lord to deal with. The demon wants me to release him and it appears I have no choice.

The demon is pretty happy about being released after all this time.

He calls me a fool for releasing him but is surprisingly true to his word and the lord is obliterated. I’ve still got the sword and I can still wield it but I’ve no idea how much damage it does now. Technically I shouldn’t be able to wield it without the demon to make it lighter. It may still be as useful in combat as ever for all I know.

I teleport back into Moonshade and all my posessions are in the chest by the teleport. I also find a couple of serpent teeth that I either don’t remember collecting or weren’t there before. My companion leaves for now but I get the impression I could ask him to rejoin if I wanted. I’ve now got a choice between my axe from Silver Seed or the black sword. There is no way to tell how much damage any of these things do so I take the safe option of the axe and I’ll give my sword to one of my companions when I find them again.

I take a guess at them being in the nearest pub and sure enough I find Dupre in there waiting for me. The rest of them have scattered around but Dupre knows roughly where to look. I’ll gather them together and then maybe see where these new teeth will take me. I should also talk to anyone in town to see if I can learn anything new on the way also.

I’ve achieved a bit in Moonshade and been in the area for quite some time now but I still don’t feel that I’ve done whatever is required before I head back. The size of this game is truly unbelievable for a few floppy disks, not just for how long its taking to play through but the fact that I’m always doing something new or exploring a new area. The trigger based nature of the gameplay is becoming more apparent than it was earlier. Its something I’m used to in games but Serpent Isle feels like less of a virtual world than Ultima 7 because of it. The stronger story is making up for this and I can see the merits of both approaches. I would say that some of the Ultima-ness of the game has been lost but this game is effectively a spin-off and not led by Richard Garriot so I would expect that. Despite that, this game is definitely going to be one of my favorite Ultimas. It potentially could even top the list but I won’t be able to say for sure until I’ve seen how the story develops.

Day 114

One of the people in Moonshade mentions that Pothos bears an uncanny resemblance to Erstam which turns out to be the trigger for him to confess that he is infact his son next time I talk to him.

He now gives me the blood moss quest which I’ve already done.

I hand it over and in return he gives me a set of instructions to get to Erstams island which involve heading for some docks at the north end of the island, ringing a bell, and riding a giant turtle.

I’m about to do just that but as soon as I step outside Shamino is teleported away.

The Lord of Moonshade is one of the few people up at this time of night. He asks me who I think  might have kidnapped Shamino and I get the option of Batlin or the mage who was hurling fireballs at me during the banquet. She seems the most likely so I accuse her (even though I don’t have any evidence) and he tells me to go and search her house.

When I enter her house, her automatons take immediate offense and I’m forced to fight them. I don’t find much in here, there is a locked chest with a key + a couple of scrolls showing that the lord and her used to be lovers but he broke it off. I’m expecting to find a secret passage or something but I admit defeat and head back to the lord.

He seems quite keen to admit the affair and tells me that he had a love-palace built in the middle of the lake for her some time back and tells me to search there next. He also gives me permission to use his barge.

In the palace, I catch her in the act of trying to torture the information out of Shamino.

Just like everyone else who I’ve caught out in this game she immediately attacks me. She puts up more resistance than most, conjuring up a few gremlins but shes no match for the 3 of us.

She curses me with her dying breath but nothing seems to come of it so I grab the key off her body and release Shamino.

After this distraction, I head out to try to get to Erstams island again. I end up going the wrong way to start with and end up exploring the area north of Moonshade. There are a lot of strange little buildings including this odd contraption that seems to be missing a part but I’ve no idea what that is or what it would do anyway.

It turns out I needed to follow the East coast to reach the docks. I follow the instructions and an island sized turtle swims up.

It drops us off at another dock. I know I must be in the right place by the wriggling limbs lying around.

Erstam lives here with his hunchback assistant. He is less mad than I was possibly expecting and is attempting to find the secret of immortality. To discover the secrets of life and death, he has decided to go the opposite way and attempt to create life, Frankenstein style. These experiments are dangerous, especially to his assistants who’s limbs are the ones that decorate the house.

He tells me that our missing dagger is around here somewhere and I find it behind the steps.

He also identifies the blue egg I’m carrying and tells me to look through his telescope. When I do so I see our missing sword in the middle of a load of ice. It must be in the north of the main island which I will need to cross the swamp to get to.

Erstams current assistant is not the best at keeping secrets and tells me that his master knows all about teleportation and uses some sort of jawbone to do it.

Erstam won’t tell me more unless I help him out first. He wants a Phoenix egg from a northern island. I agree to fetch it and he teleports me there.

I emerge into a small cave with some sort of tropical garden outside.

Just inside a further cave is a dead bird lying in the middle of some lava. I pull the inviting looking lever on the wall and the flames spread in from the north.

The bird sets alight and the phoenix is reborn. I was expecting a big dungeon crawl here but there was hardly anything to do in the end. The phoenix is also from Britannia and came through the gates and is attempting to restore balance in its own way.

Just to the south past a cyclops I find a teleporter which takes me back to Erstams. He now wants me to build him a creature from the body parts + egg which I throw into his contraption in the middle of the lab.

As soon as I do this the creature springs to life. True to his word Erstam hands over a key to allow me to get his magic serpents jawbone. He doesn’t tell me how to use it but I notice there are slots for the two teeth I have to fit into (and room for many more).

His monster wants to join us in the quest and I can’t see a reason why not despite a few of my companions objecting so I accept.

I now need to figure out how to use the jawbone. I try using the conviently placed serpents gate and sure enough this teleports me to a new area. This is basically a teleport hub similar to that in Savage Empire as far as I can tell. There are a lot of possible exits with doors barring the way, but a couple of doors open for me so I assume which teeth I own controls which ones open. I take the first exit I find and teleport back to Moonshade.

I’m not certain what to do next but there must be more I need to do before heading back to the main island. Since I have 2 serpents teeth I’m thinking I may have an alternative exit from the serpents gate (although this may just take me back to Erstam). I’ll try that first and failing that talk to everyone in town again and see if I haven’t missed something.